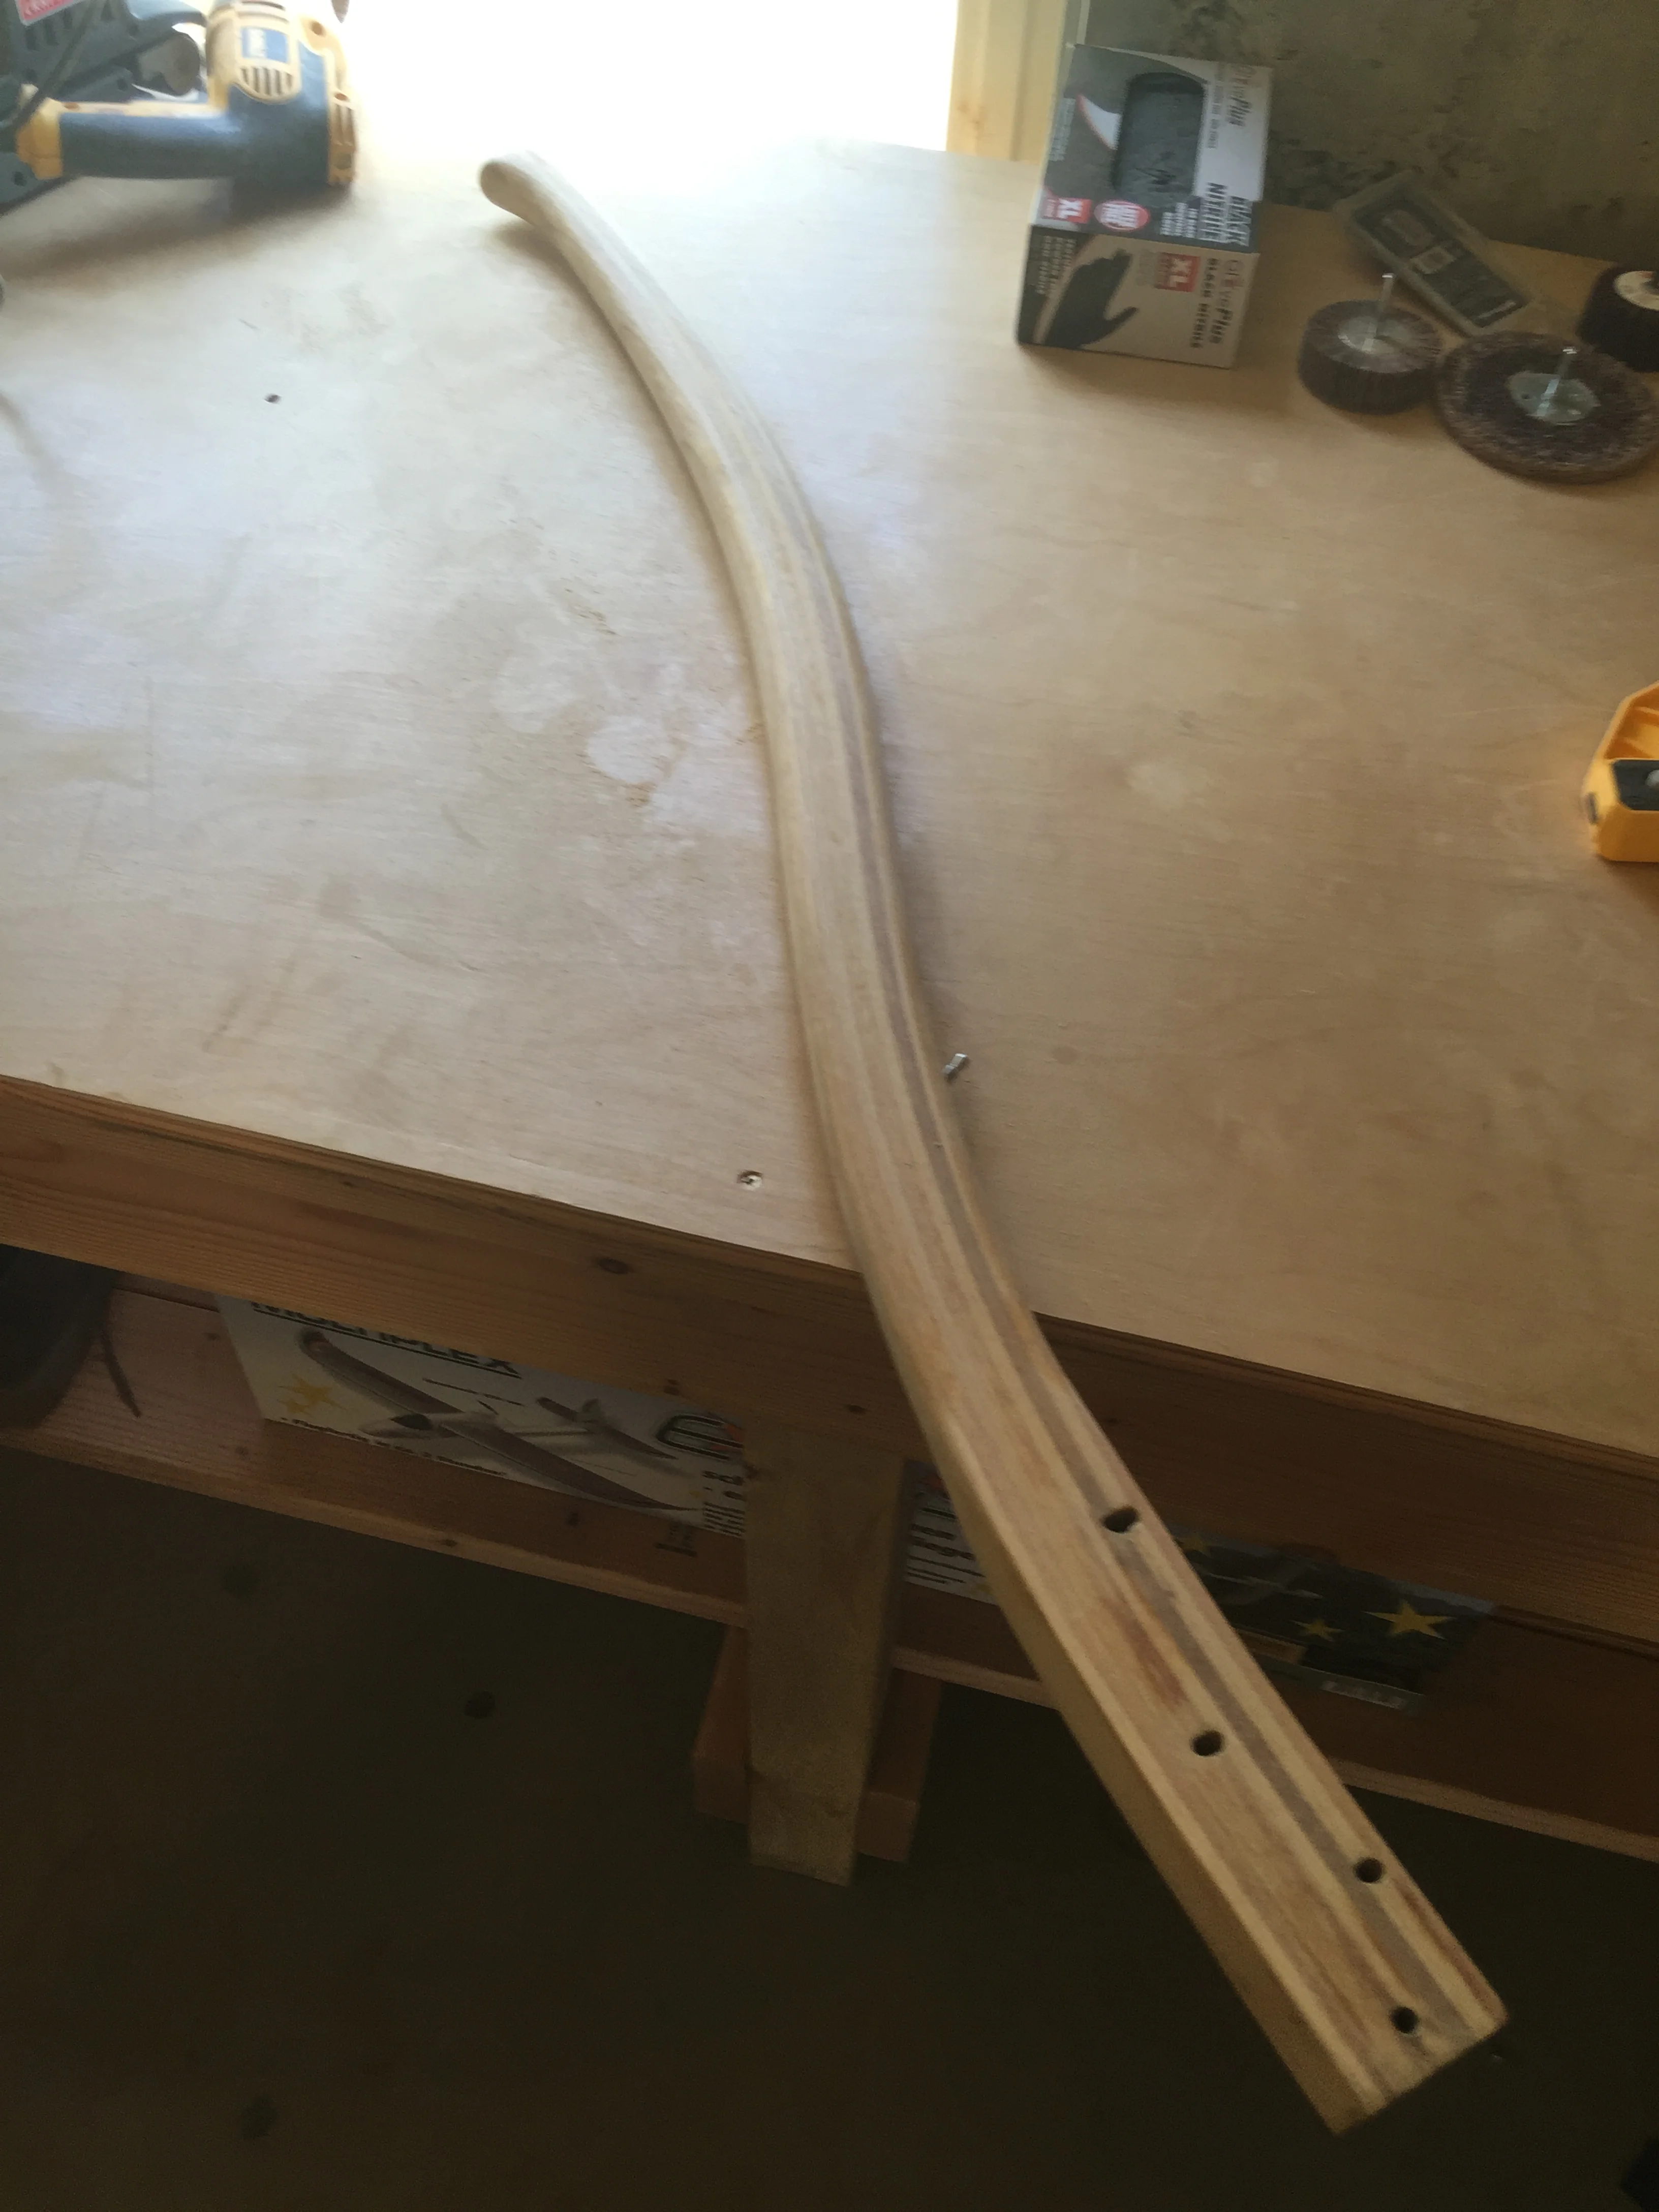
Total waste of the $33.58
Allright...I finally starting actually doing some fixing up as the main page of the blog promises. I started with the small cockpit panels that I took of the boat when I visited her on Jun 13th since those would be easily re-made if I eff something up completely. I had bought Jasco Premium paint & Epoxy remover. It is some nasty chemical stuff that is supposed to allow you to simply slather it on and scrape off the expoxy and/or paint (which I assumed was what was covering the panels. But after two consecutive tries, whatever was covering the panels was not coming off...Time for plan B.
A stock photo of the Ryobi Circular Sander I use
I tried to manually sand the panel but that did not do very much so time for the powertools! I already had a circular sander and a bunch of different pads with "hook-and-loop" (since you can't say Velcro since (TM) ) so I put those to work. Although sanding is better done with the grain, this circular sander was just going to be used to get most of the epoxy (still think it is epoxied) off, and finish it up with the hand sanding blocks. This worked really well.
Here are some before and after pictures:
Obviously a before situation
...and the after shot
I was pleasantly surprised at how well the circular sander worked on these little panels, but it was obvious that the panels had been painted since one of the panels consists of two separate pieces which was not obvious from the original pieces. I also was pleasantly surprised at how nicely the wood cleans up with the sanding. The gray patine completely disappears with only a little sanding something that will be even more obvious and satisfying later. Sanding the little finger holes was straightforward after I found my little round sanding file. The backside had been painted white for some reason; not sure why but they are no longer white. Not sure how I am going to color/paint the panels, but that is something for later.
Flappy sanding discs you stick on a drill
After this successful first session I felt up for something more challenging; the helm. The helm was not in bad shape, but it was mostly rounded edges and did suffer some dings and scuff marks so I had to sand all that smooth. The circular sander had obvious some problems with all these rounded edges so i resorted to the "flappy sanding discs" I picked up from Ace Hardware. I did not actually get the DeWalt versions but there are better pictures for those. I am getting those through Amazon as well now though.
These sanding discs work really well although you have to be a little careful not to sand in one place too long since you will get ruts etc. After the heavy lifting was done, the foamy sanding blocks I had did the rest. First smoothing everything out with 60 grit and then finishing it off with 120 and 220 for a smooth finish. The before and after pics, below, don't do it justice but the help came out nicely as well.
A stock photo of a typical foamy sanding block
Next was an even harder challenge; The hand rails. Those were the worst and almost completely bald at the sea sides. Most of the hand rails were rounded so not much use for the disc sander so I resorted to some limited use of the flappy sanding discs and mostly manual sanding with some nice foam sanding blocks I picked up from Ace Hardware.
I did not have much hope of restoring the hand rails to their former glory since they were almost completely bald and rough and had that gray patine but after only a couple of strokes of the sand blocks, the original wood came back nicely.
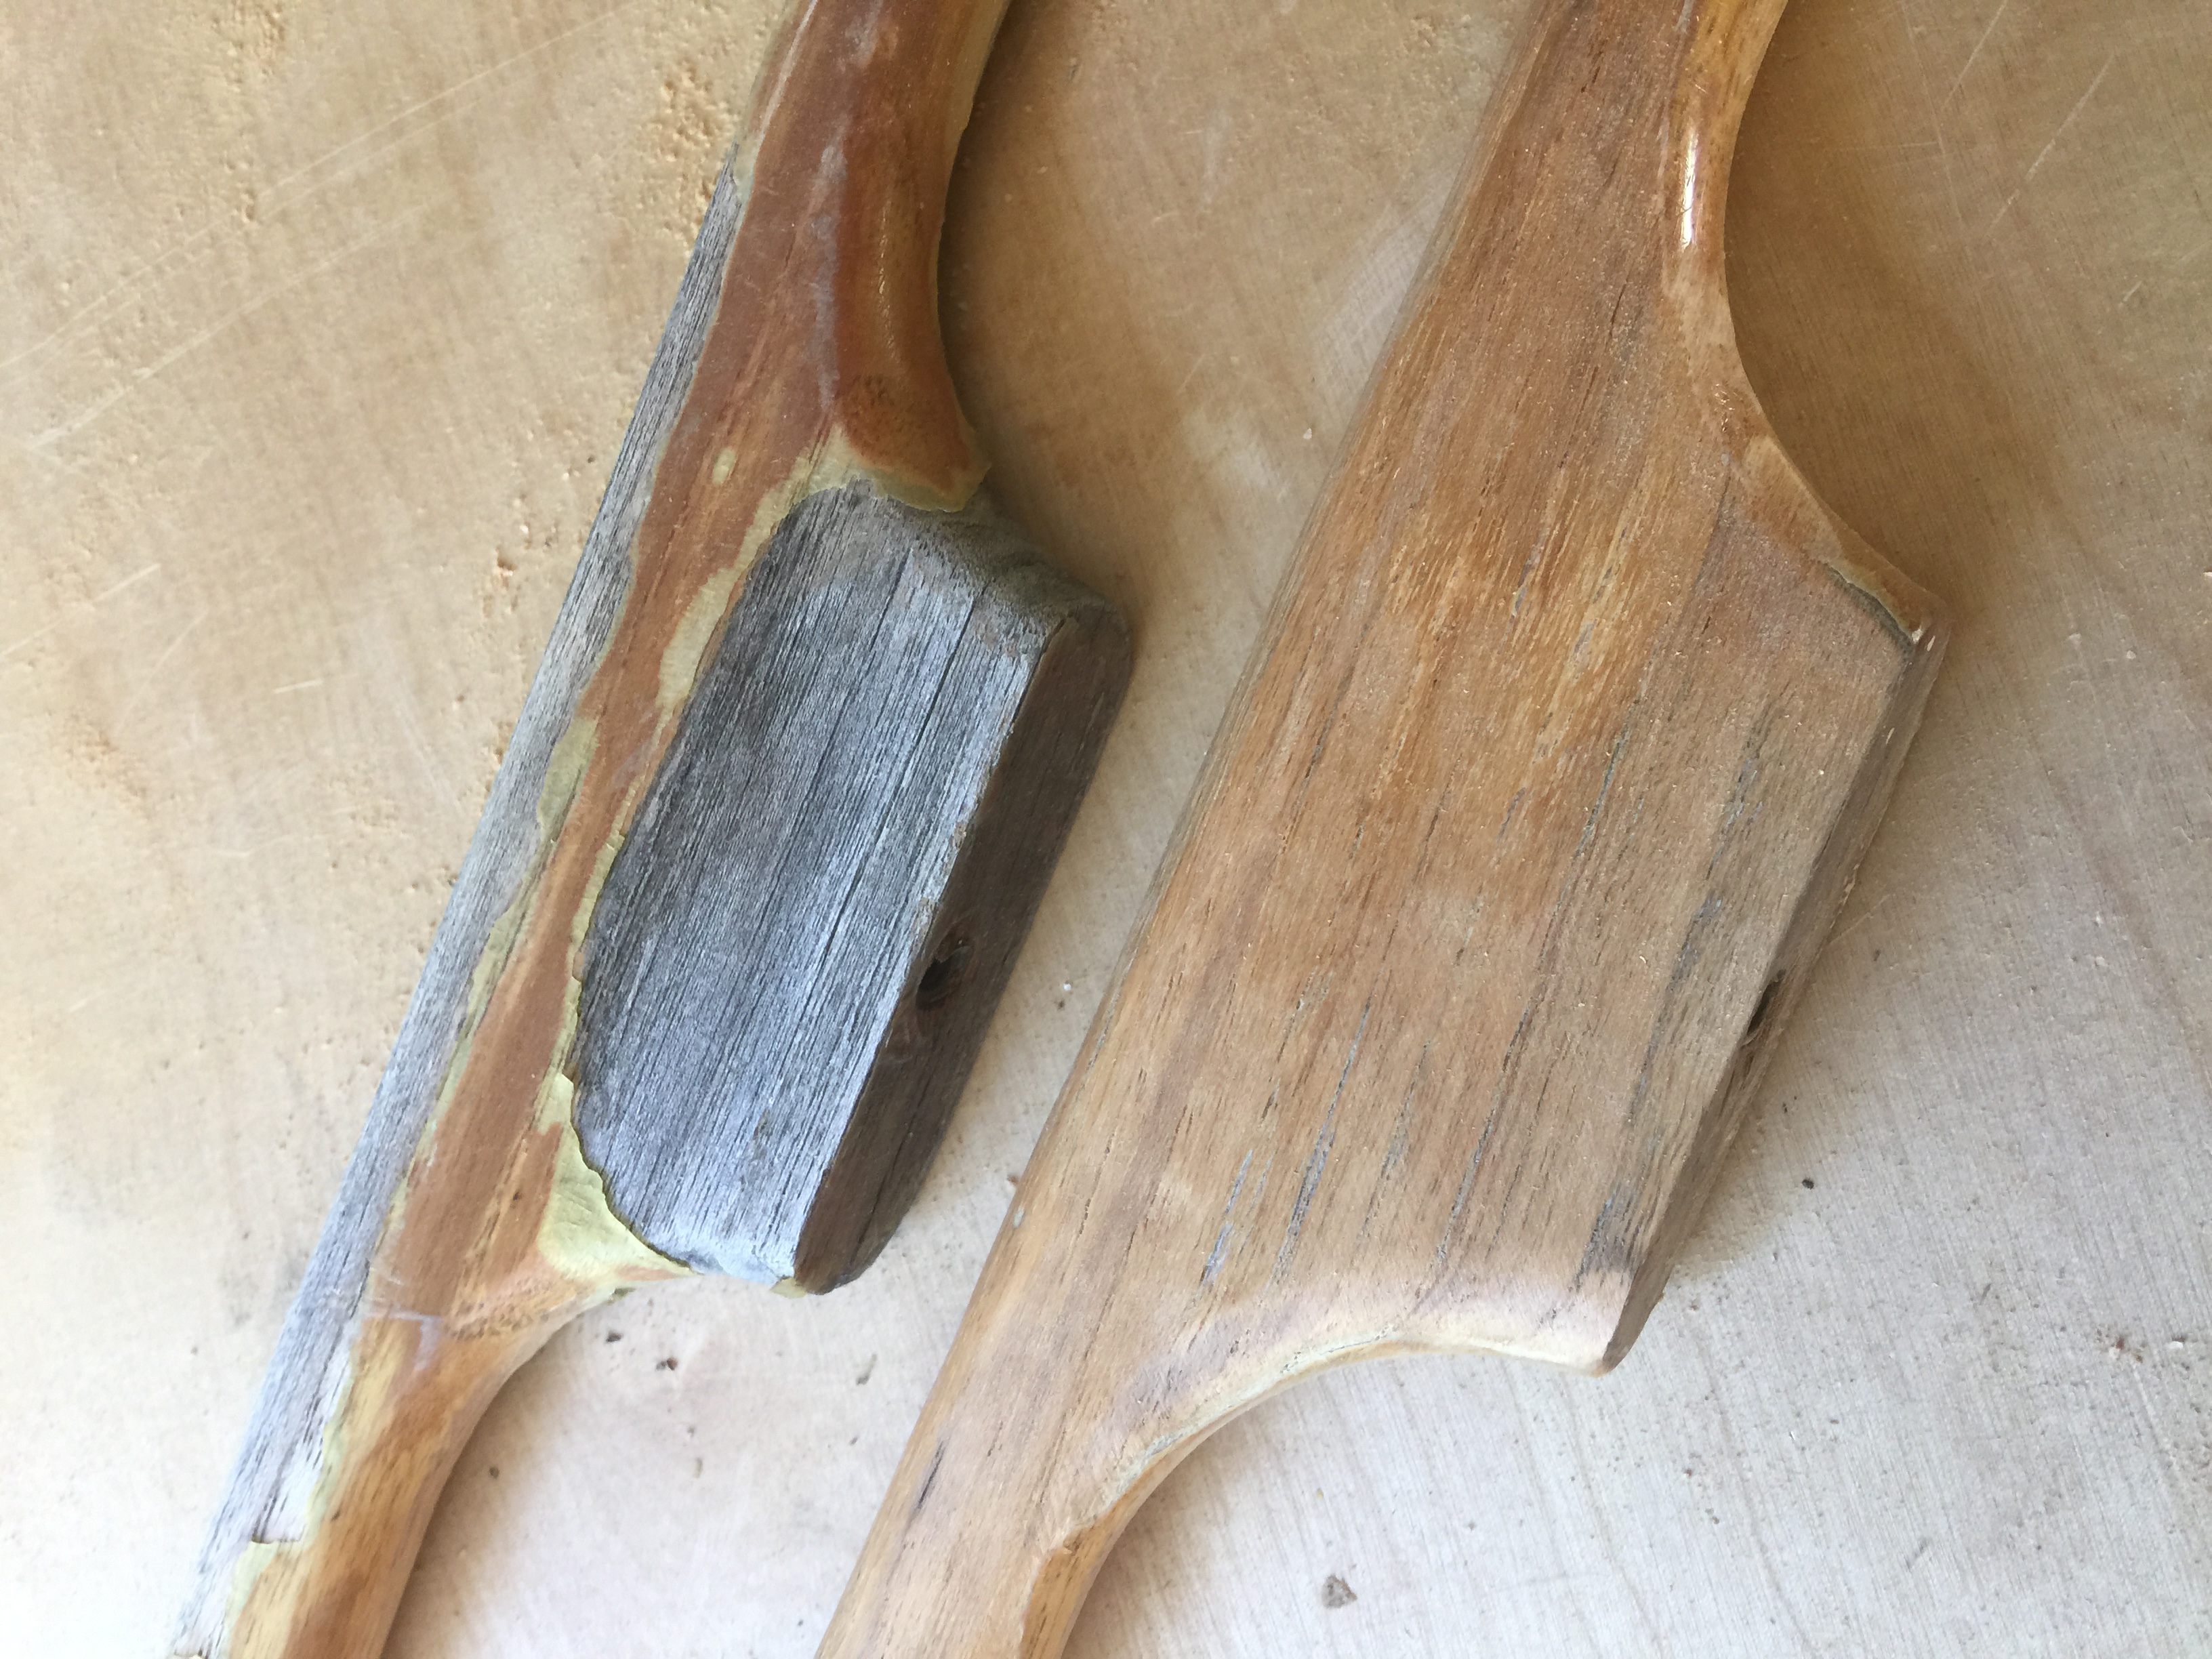
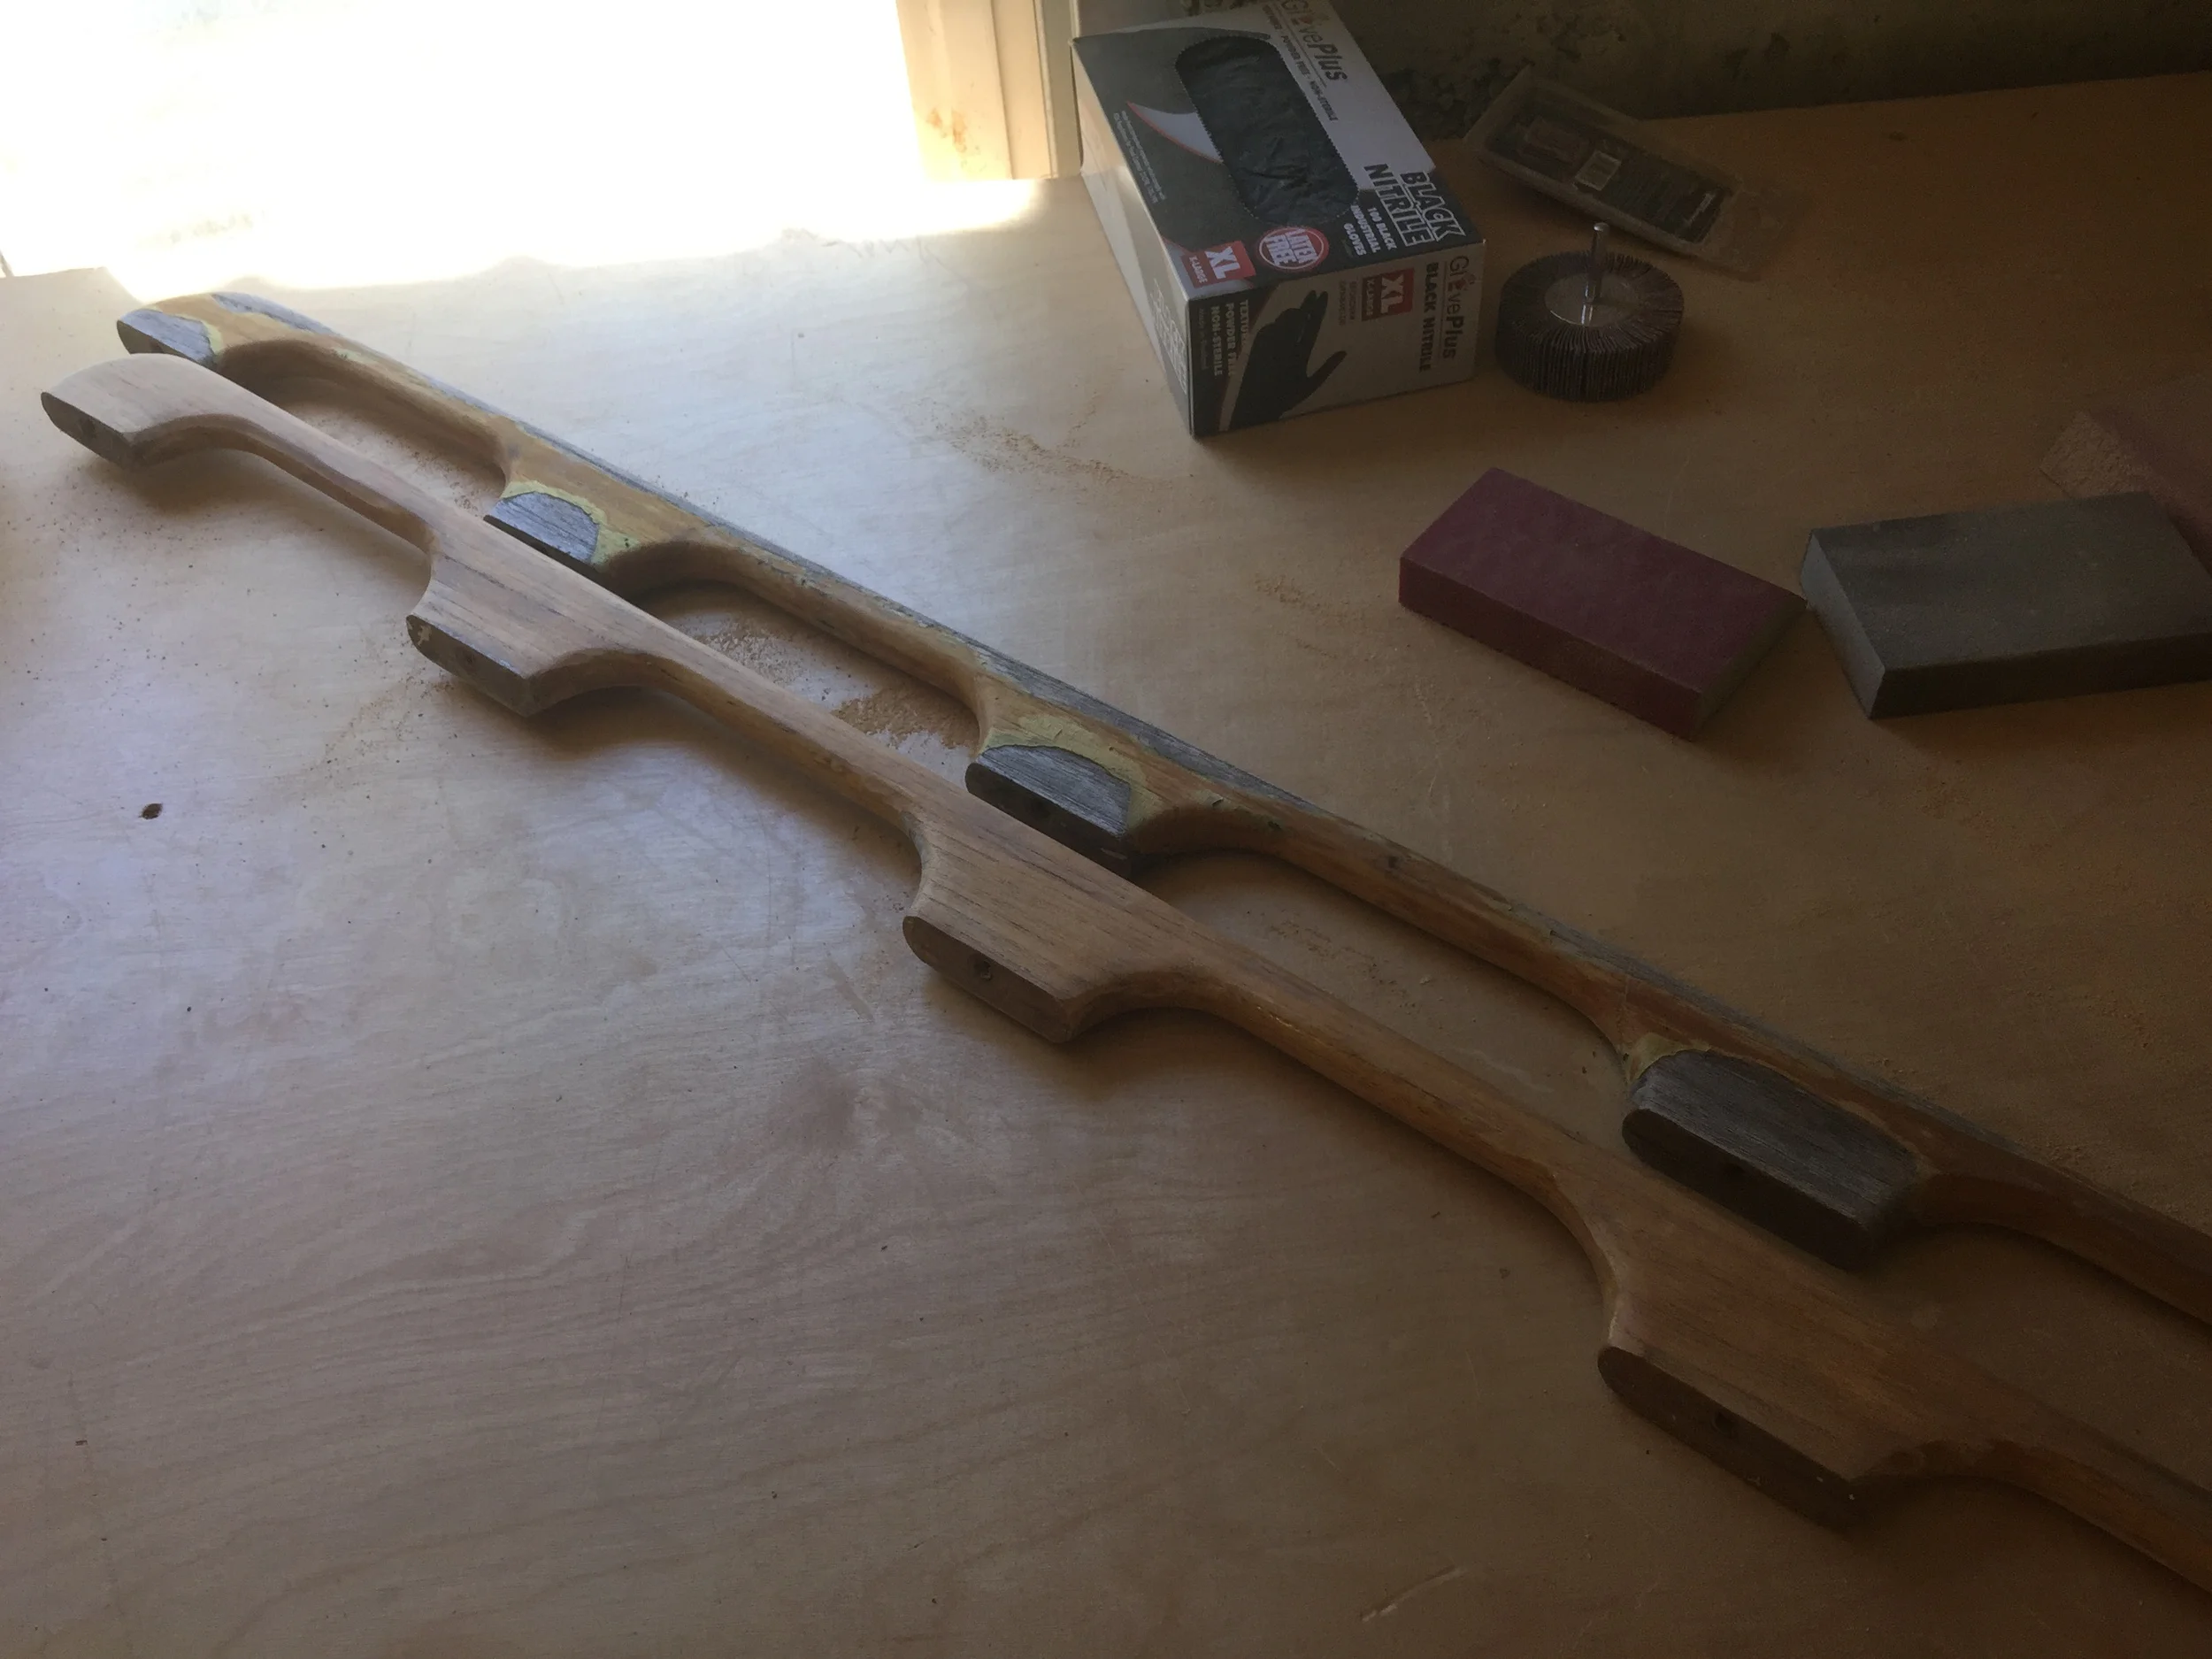
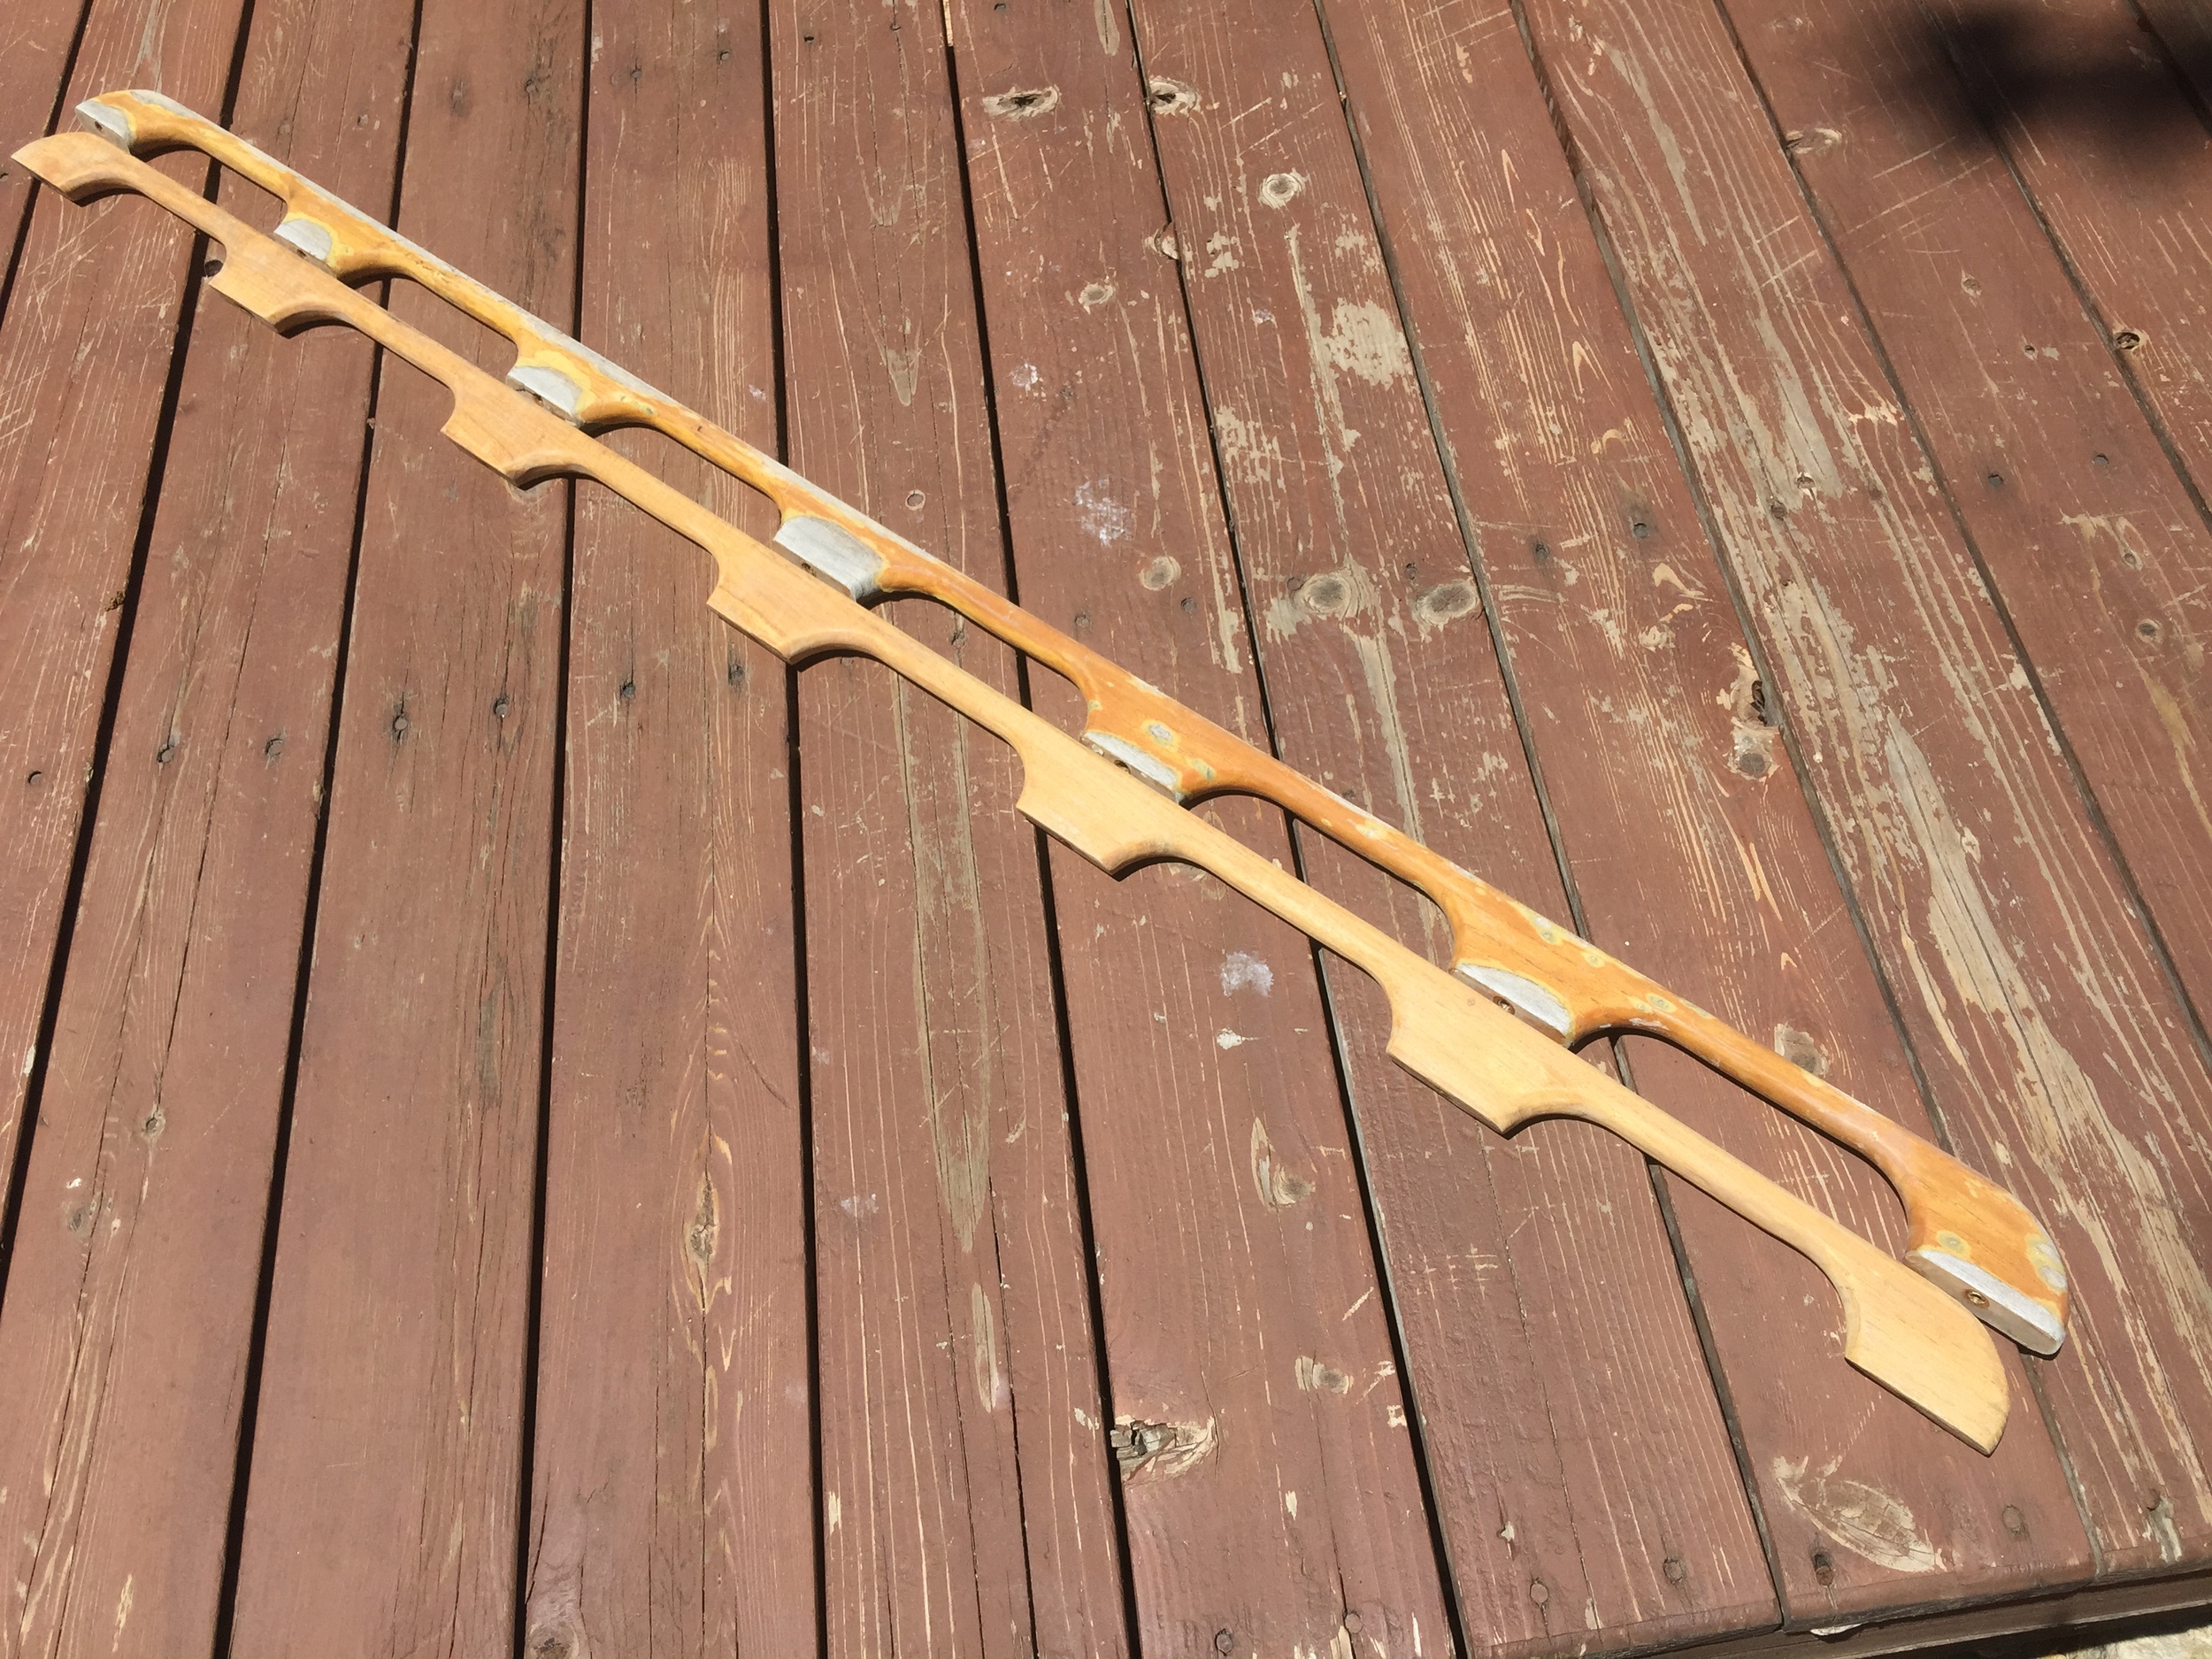
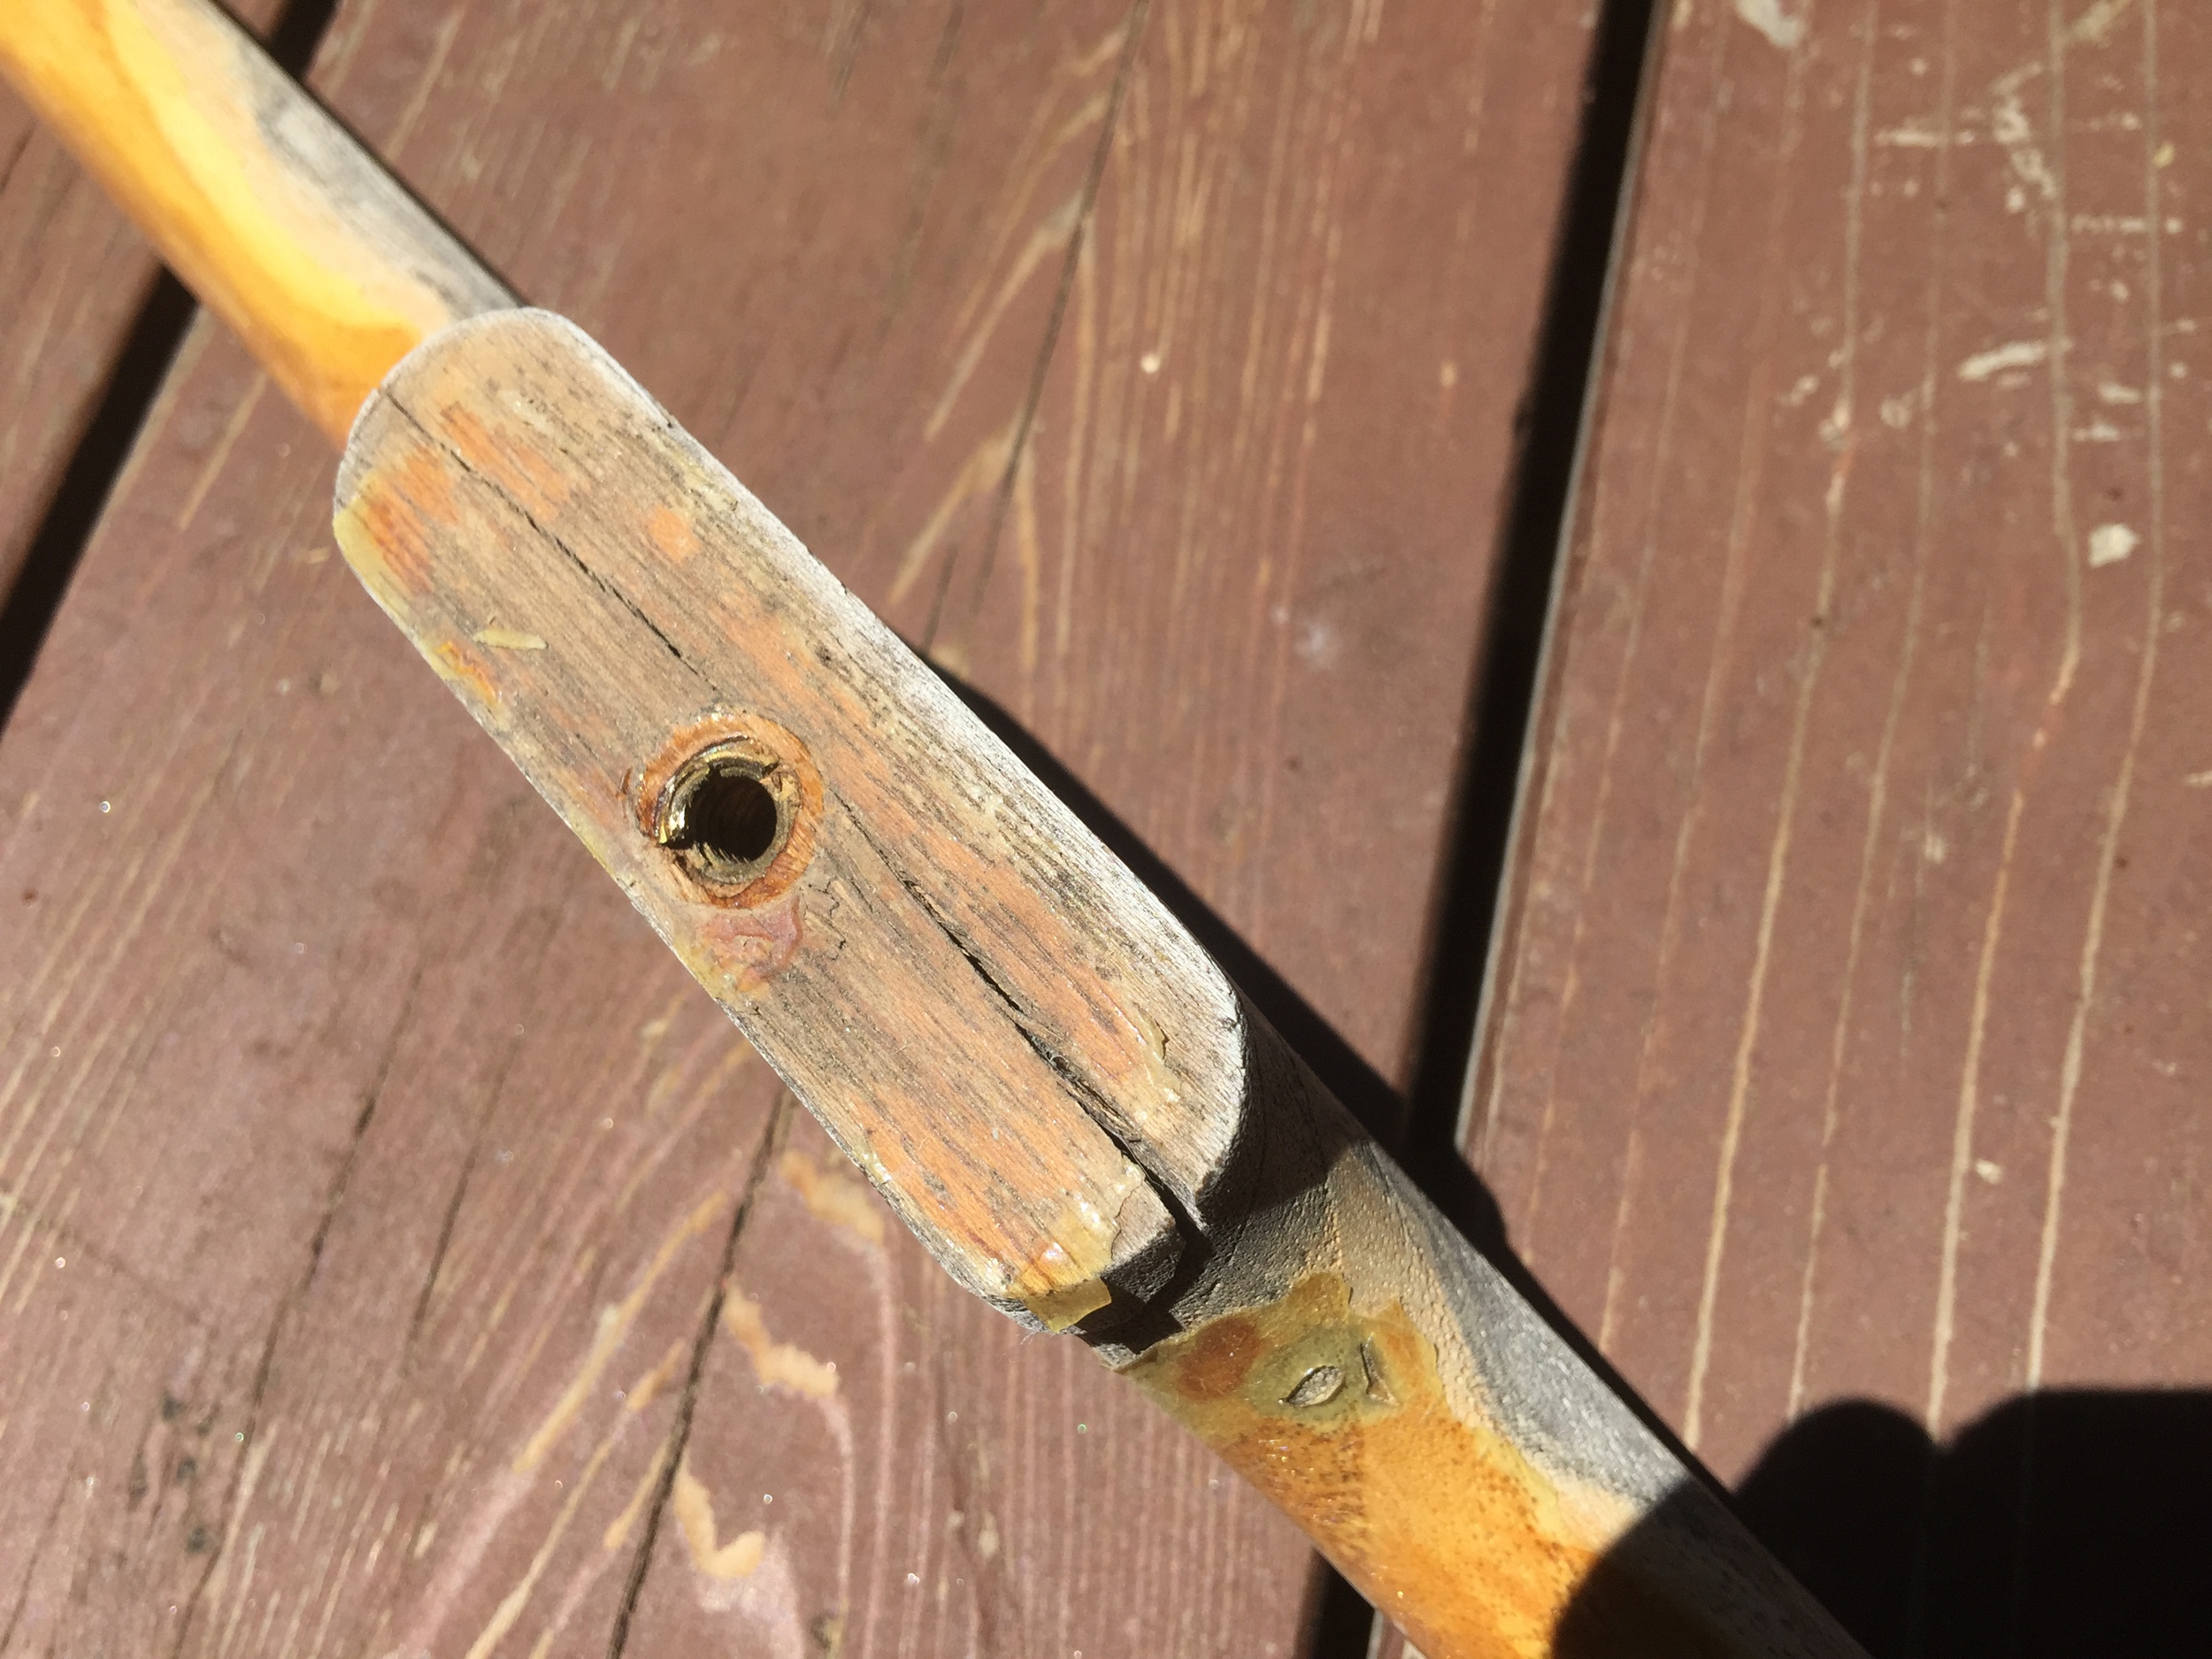
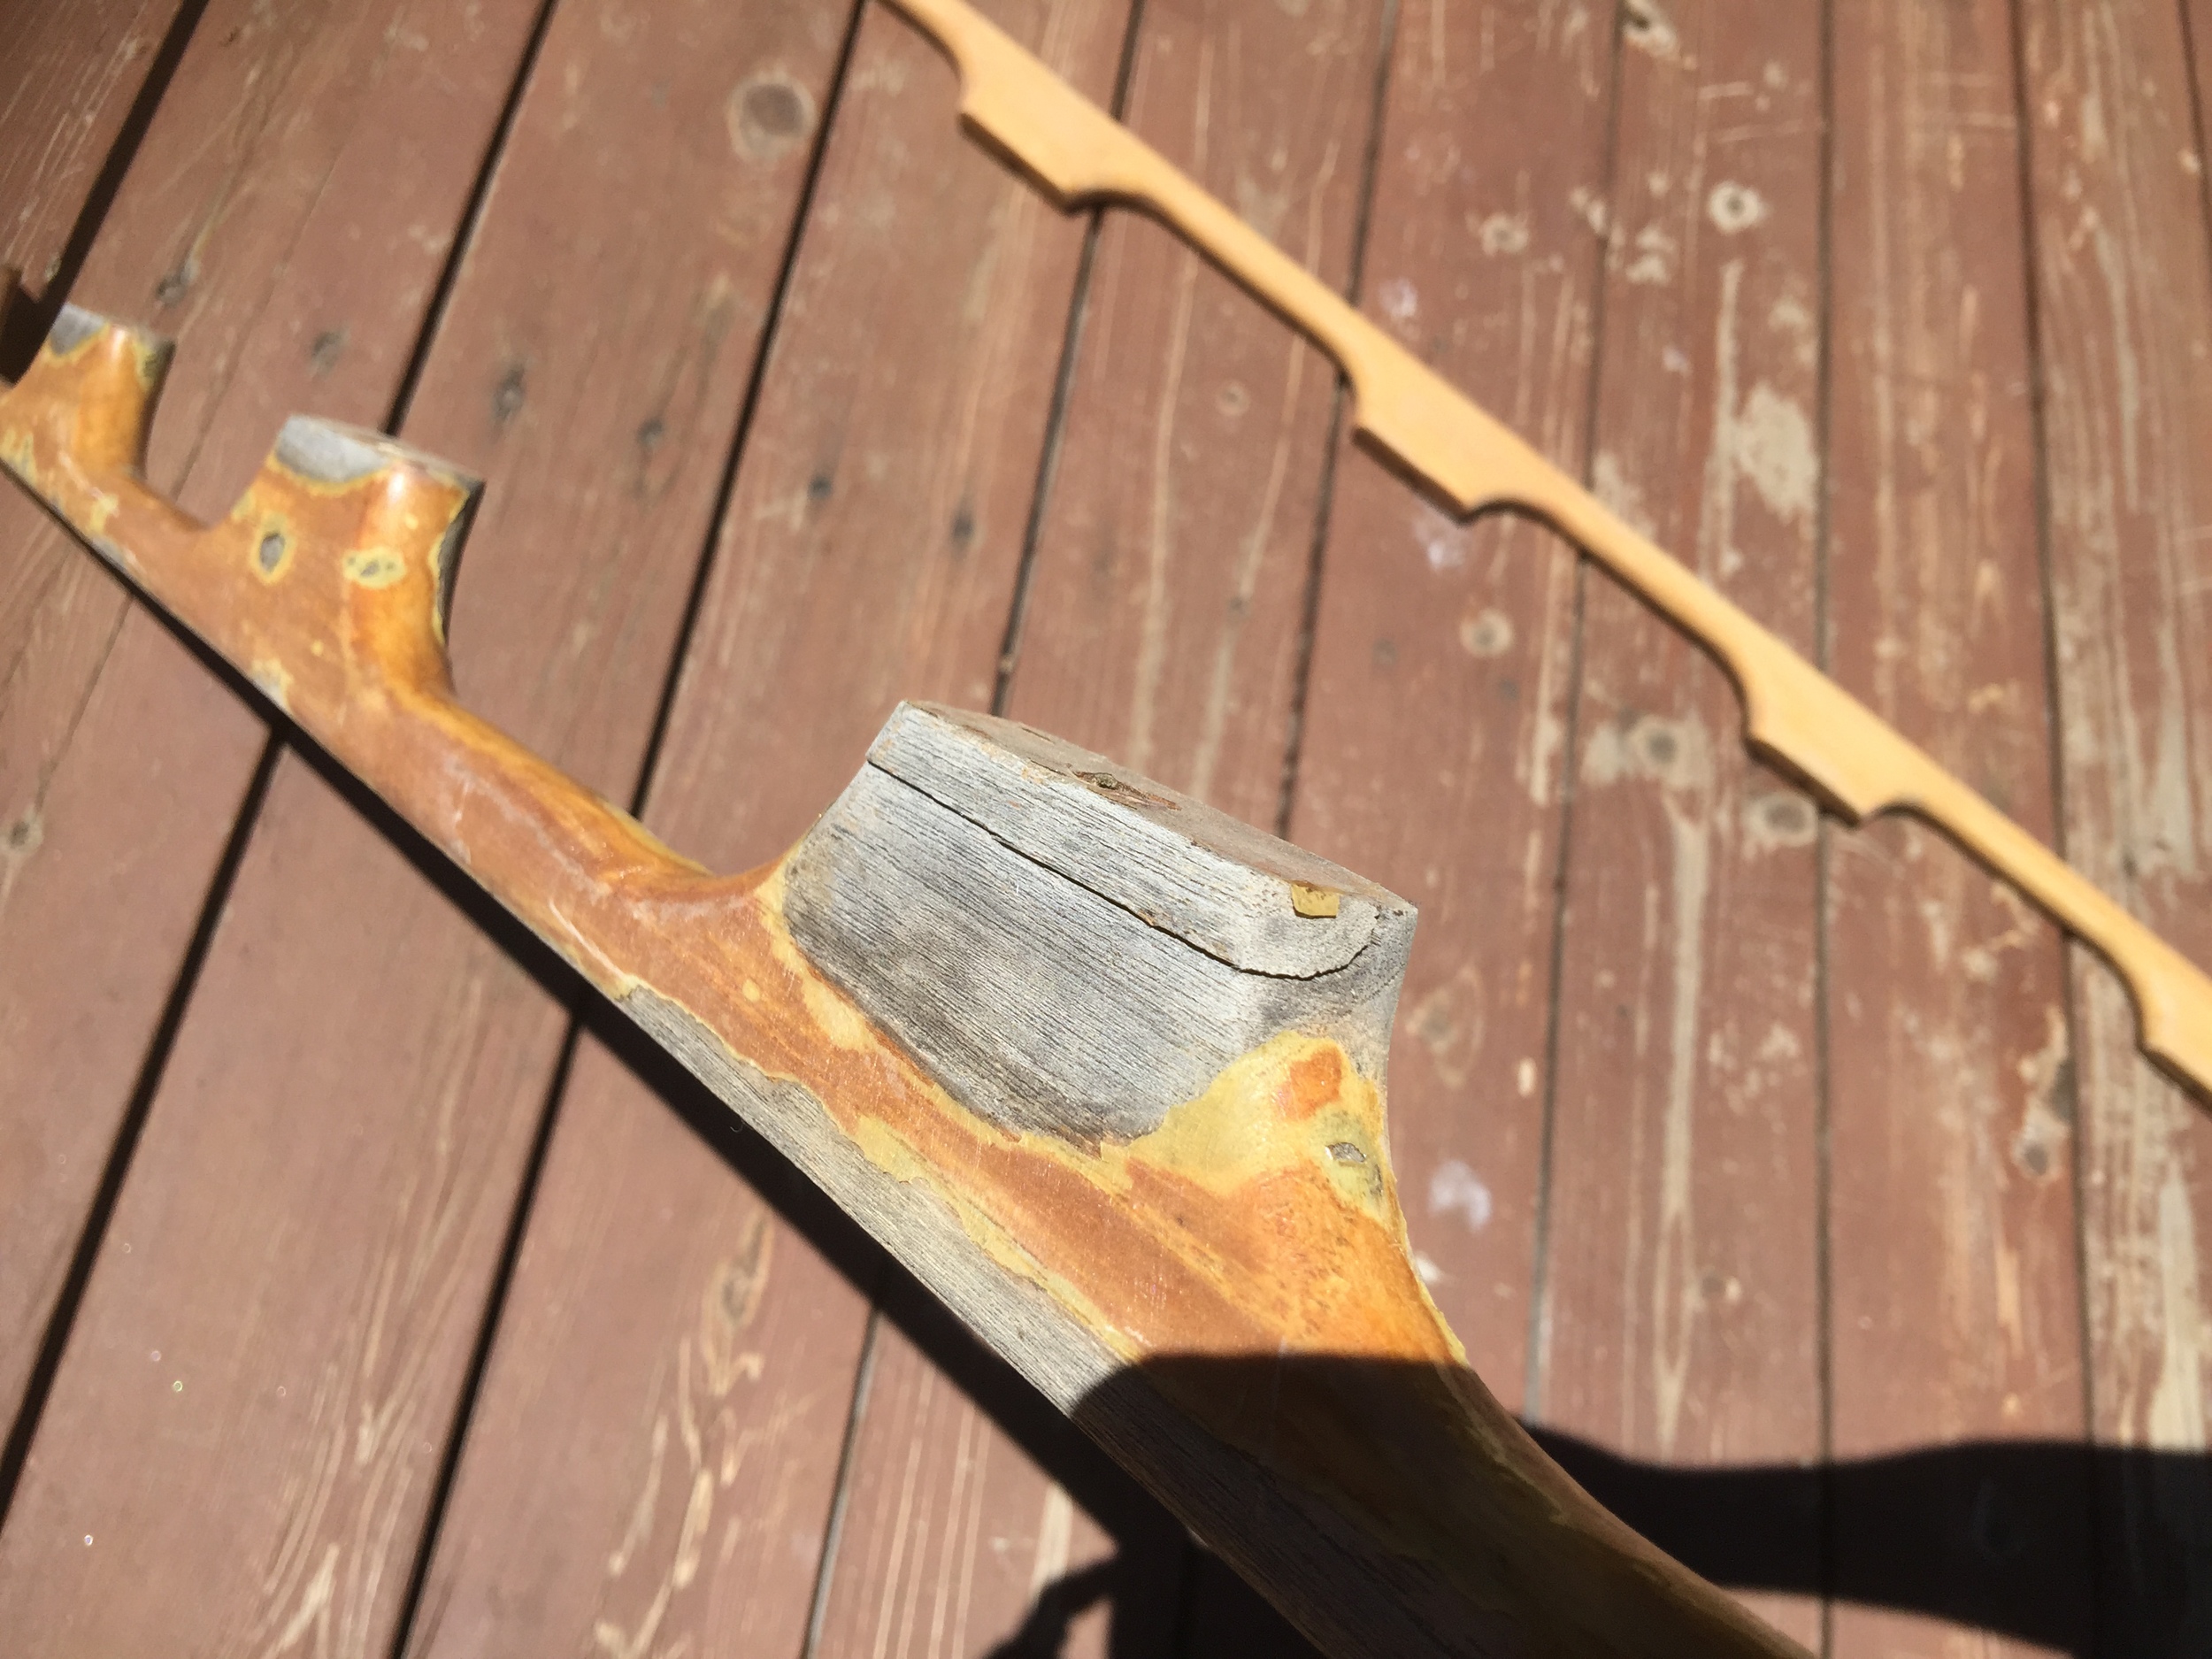
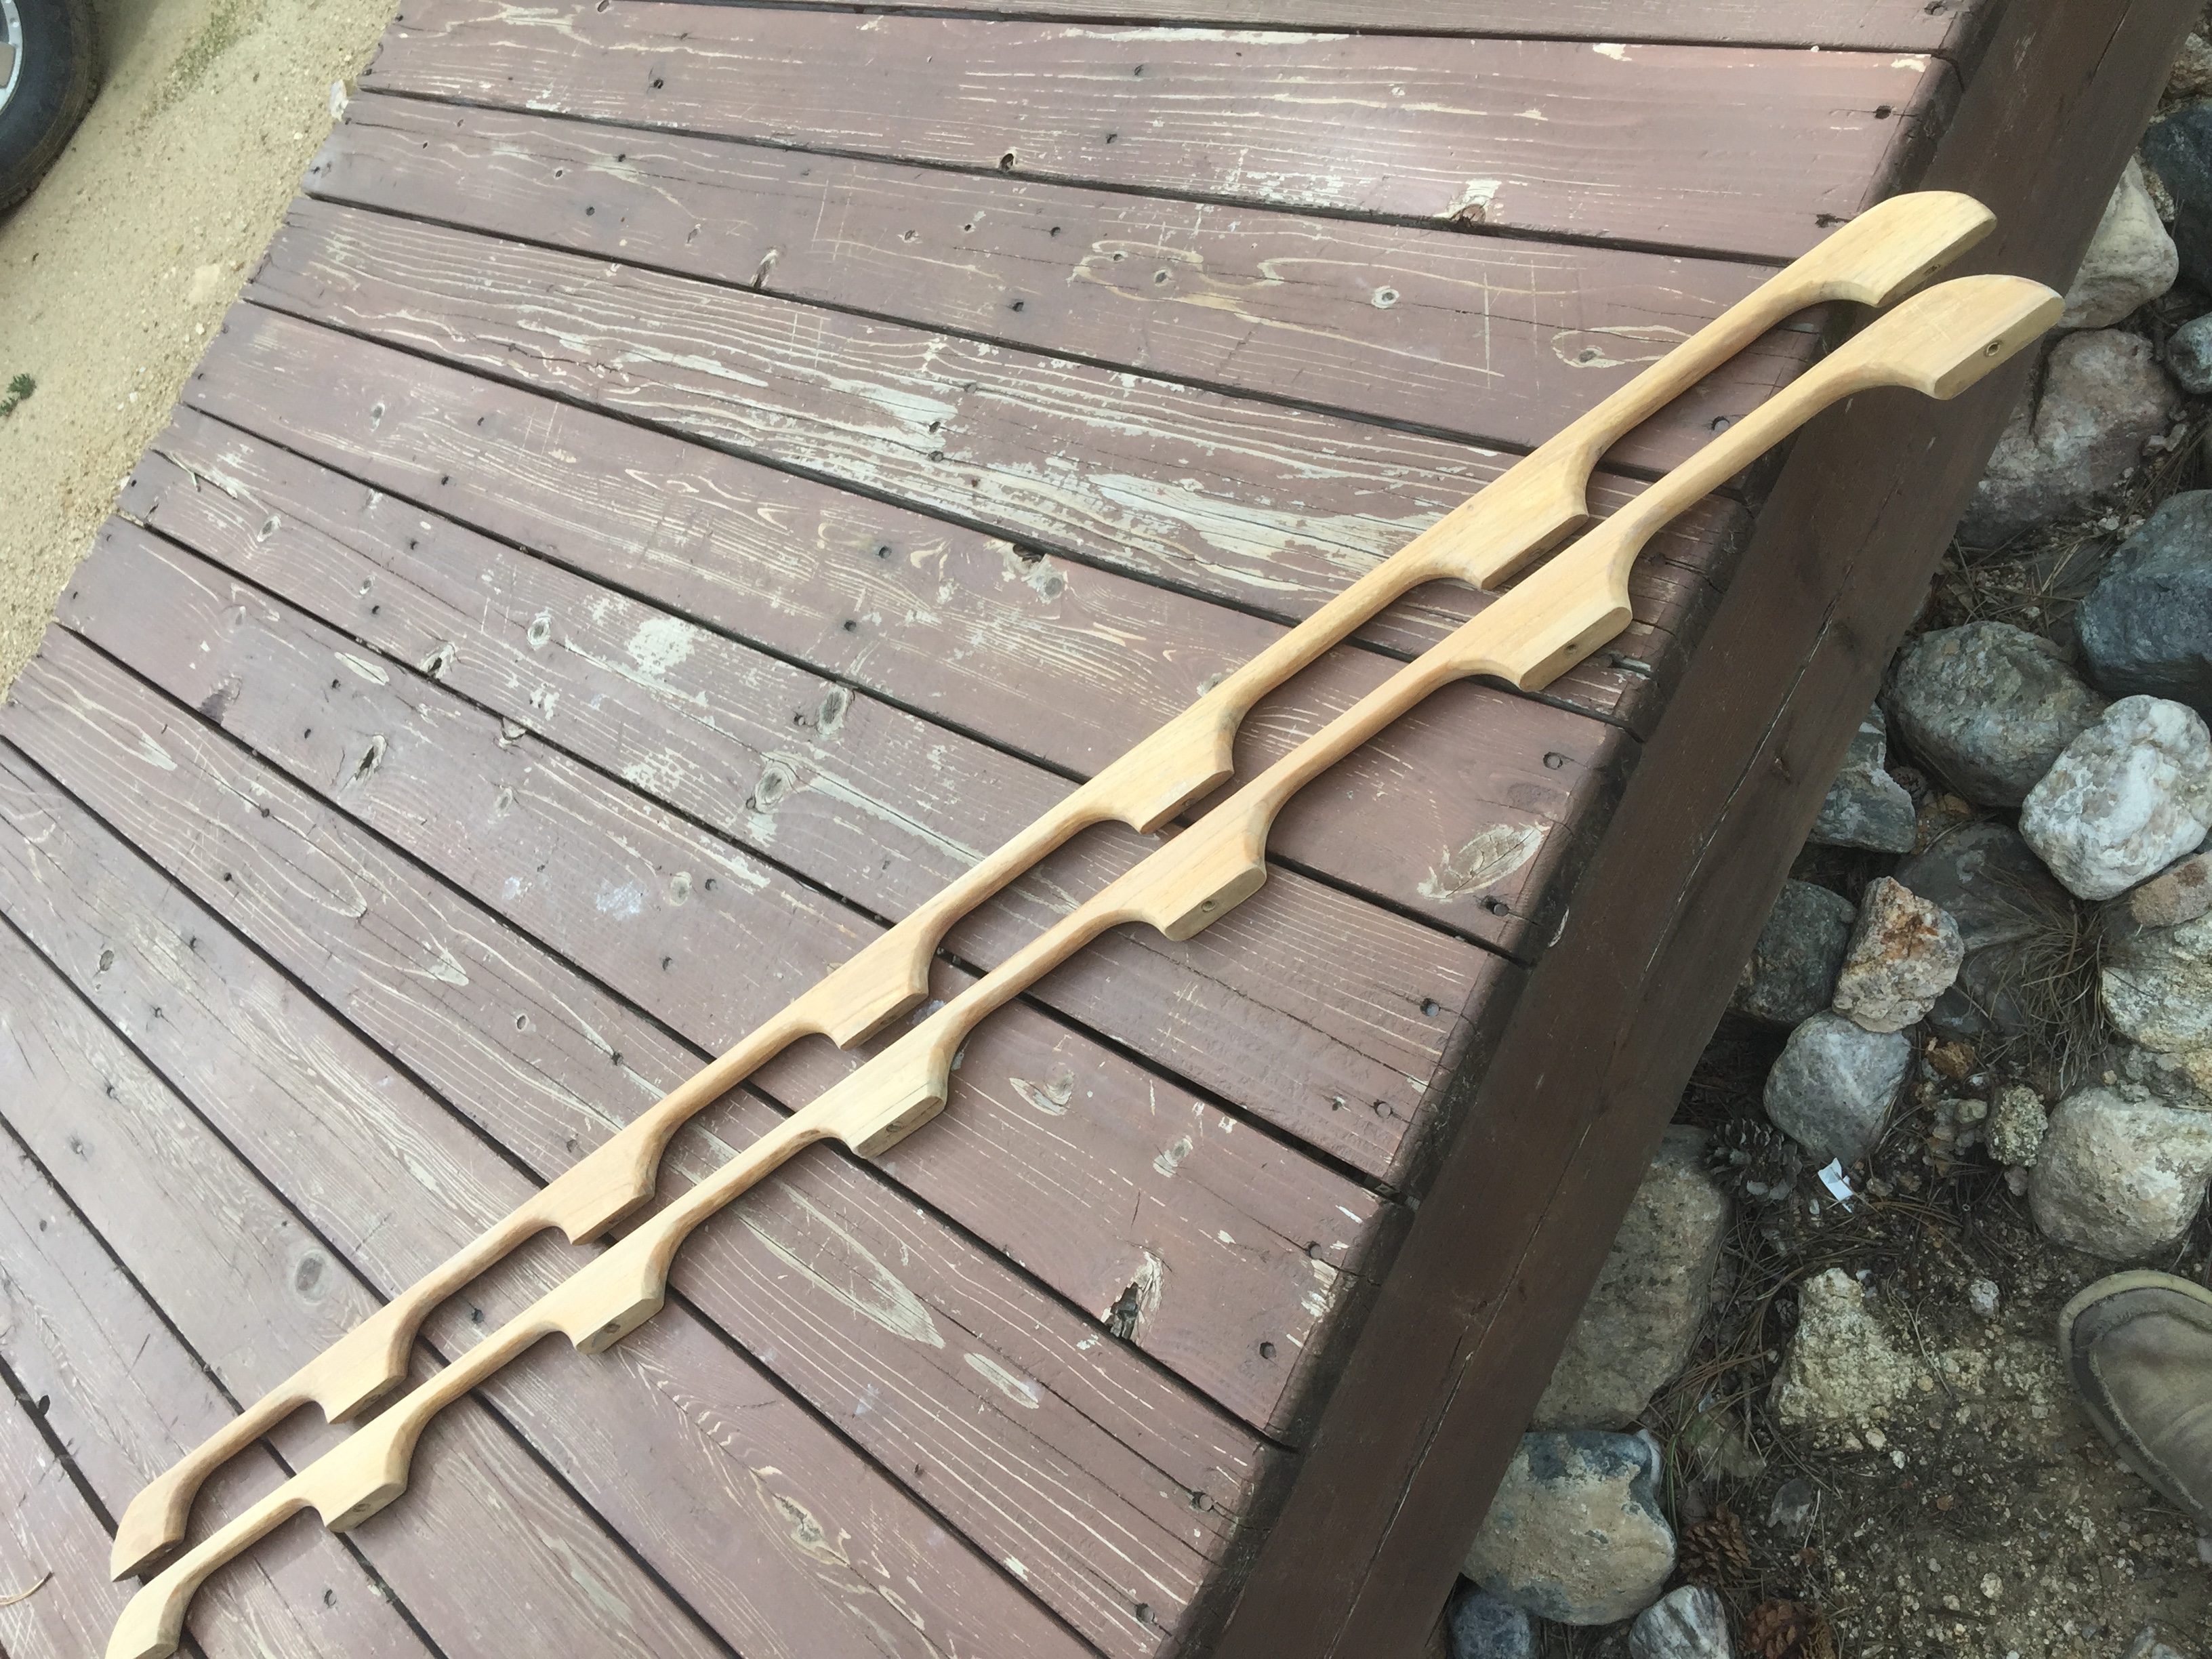
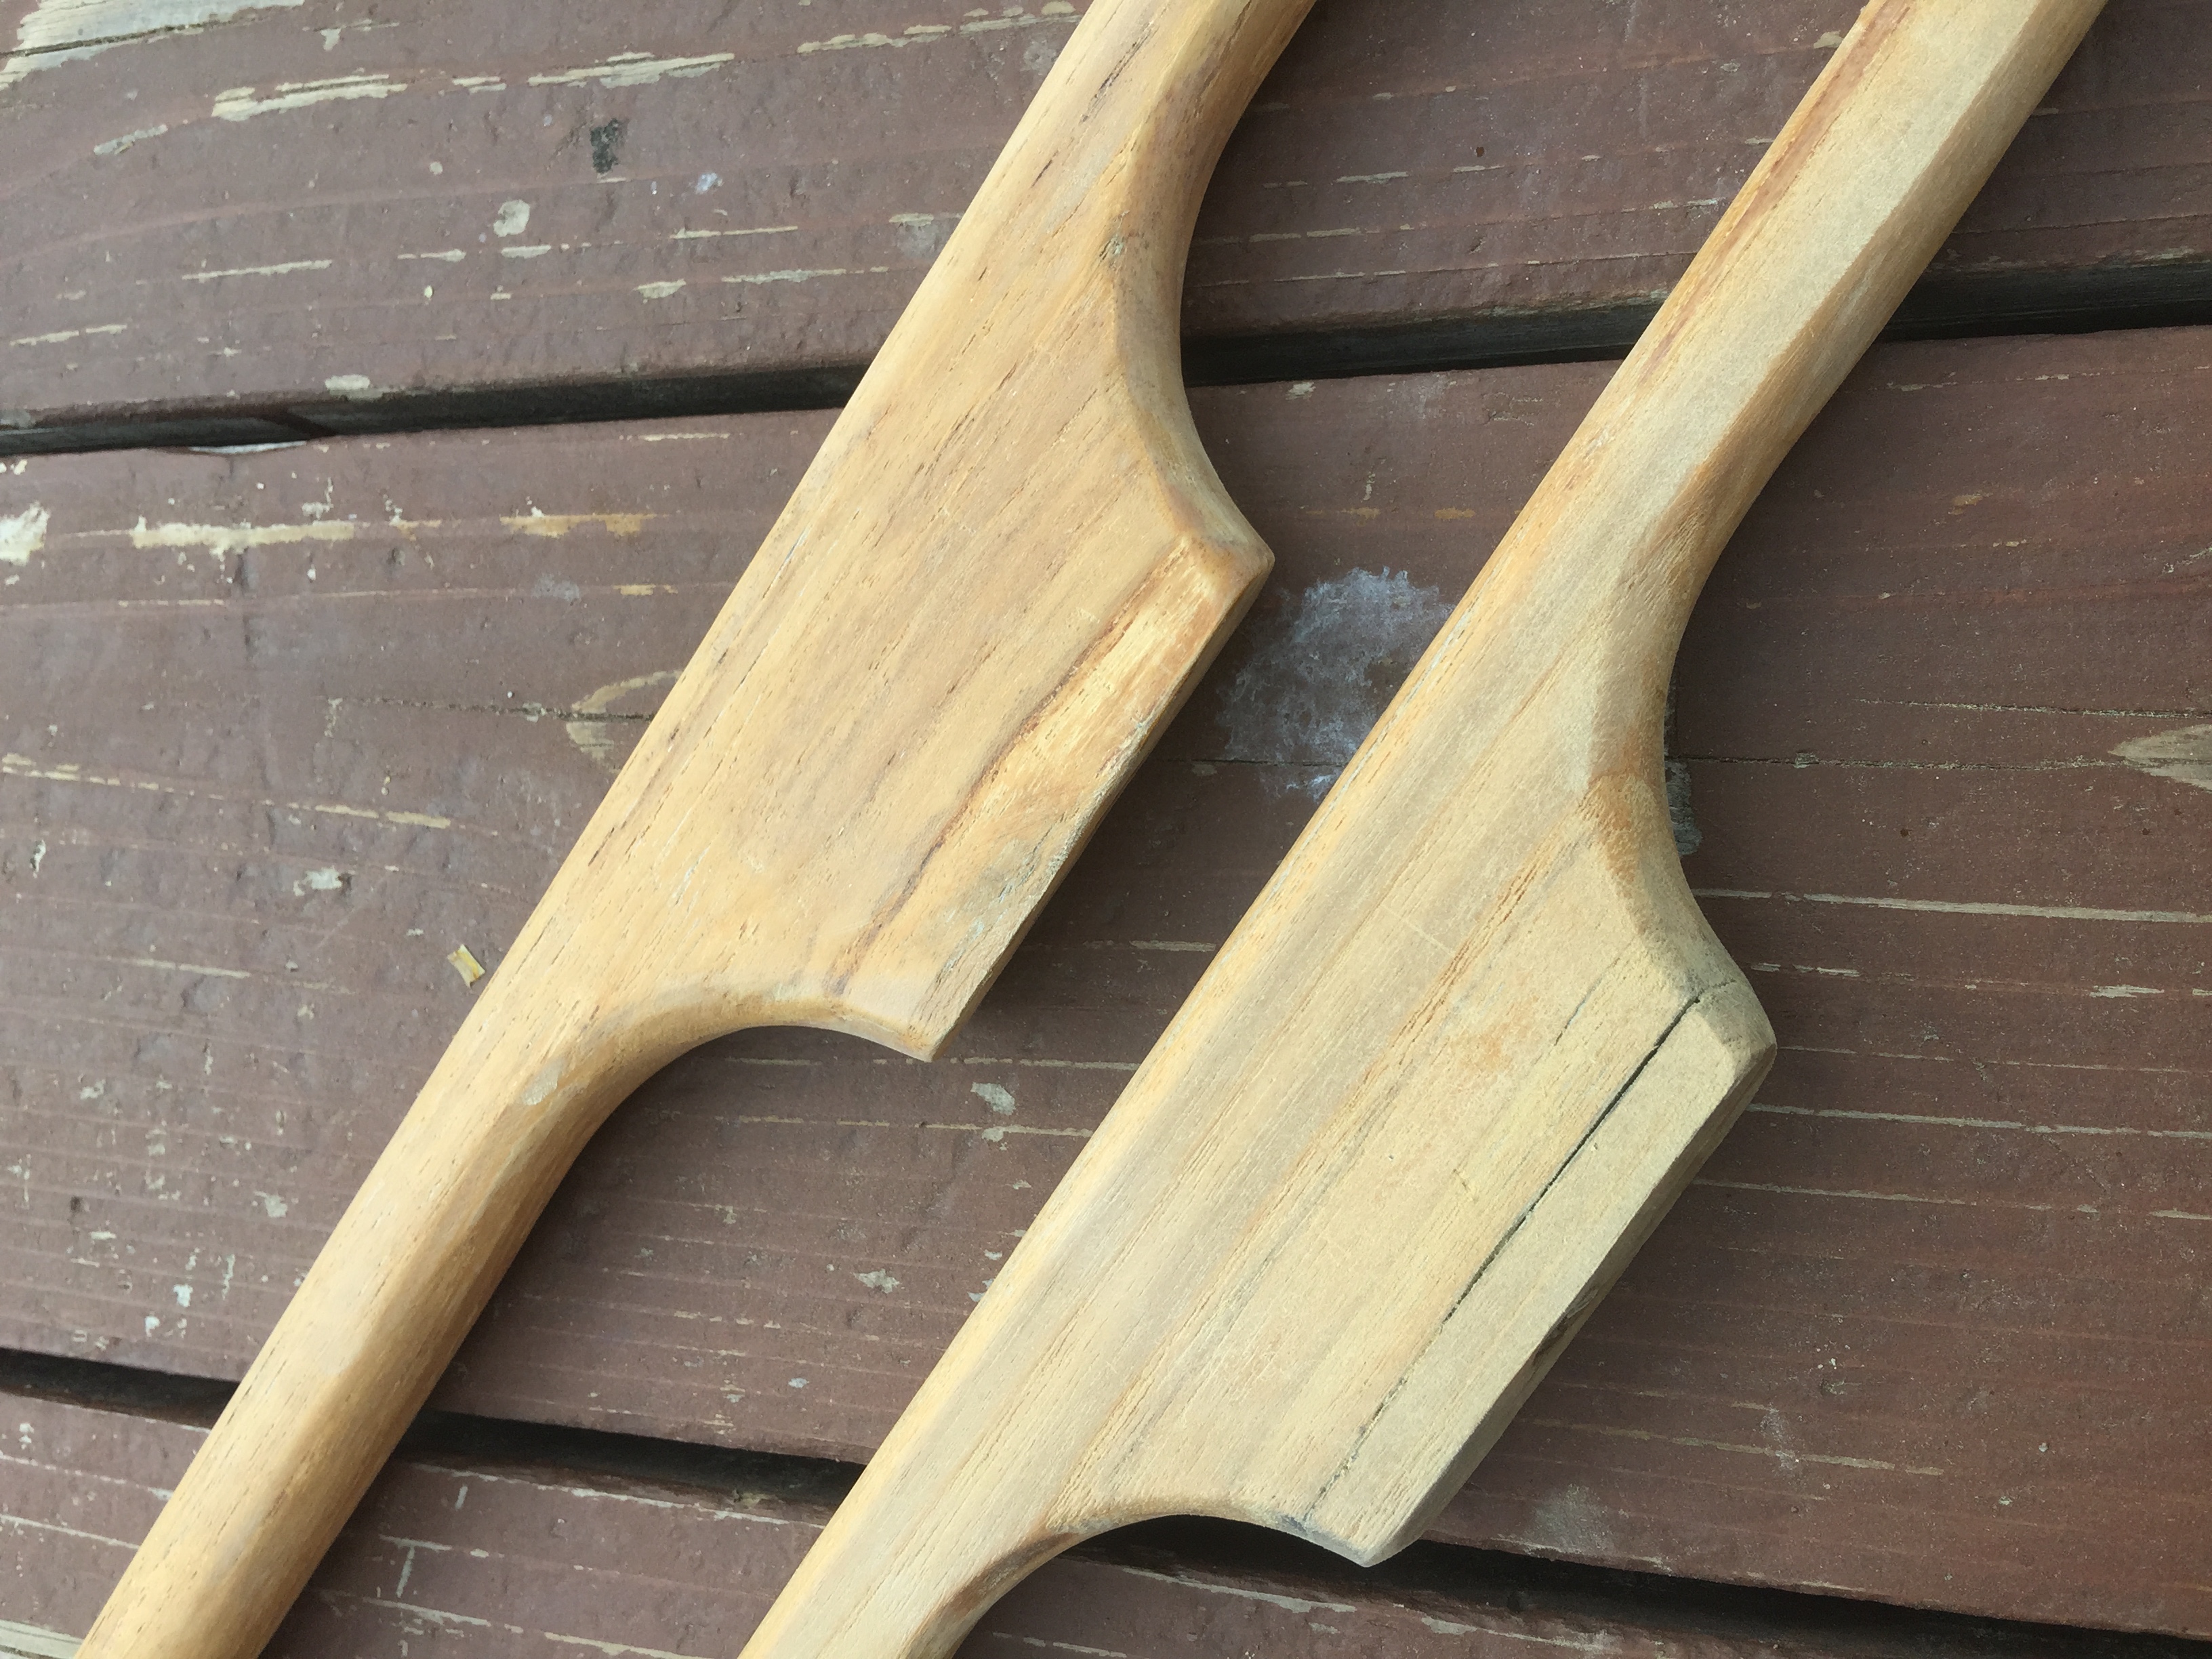
I noticed that one of the bases of one of the handrails had cracked a little but a little CA ("SuperGlue") and a couple of clamps and it was all good again. I did see some blackening, which is the first sign of rot and fungus infection but I am pretty sure I got there in time. But something to look out for in the future. The use of the flappy sanding wheel did leave the top of the rail a little "bumpy" and I was not yet able to remove those with the foam blocks but I will get back to that later. And this is what the final product looks like...A nice smooth hand rail with some nice light wood coloring compared to handrail that had not been treated yet. Isn't wood wonderful!
A close up shot of one of the two hand rails after being restored to their former glory (before the varnish etc.)
Feeling really good about how things are progressing, I started on the two panels for the cabin. They were actually in pretty good shape, although the bottom of the panels, that probably saw some water etc. was getting rough. I decided to sand down the complete panels and since this was mostly flat surface the circular sander was perfect for this. The only problem I ran into was sanding down the little grooved bottoms and tops of the two panels, but a fresh flappy panel did the trick nicely. I did notice a few black spots that obviously had some dealings with fungus and I was not able to sand it down completely, but I will just have to keep an eye on things.
There were also two screw holes that did not go all the way through, but since they were exposed to the elements also had started to turn black. I will just fill those holes with liquid wood or wood filler and hope for the best.


