This is where I go
from THIS
To THIS
So it will end up looking (almost) like THIS:
But, how did I get here? Well...Take a look at these posts!
The slats on the starboard bench (left in the picture) is quite different from the port-side bench.
The original benches had two separate patterns of slats on the underside of the benches. Probably to prevent the warping and sagging which was unsuccessful since the benches had warped significantly, to the point of cracking.
I could not figure out why the pattern was so different so I decided to add the slats to both benches in the same way and just perpendicular to the grain, to avoid the warping in that direction. Since the benches will be mostly resting on the bench support and also be hanging from two hinges, I did not bother with the support slats in the lateral direction. This may be a decision I will come to regret, but time will tell!
I also was not going to bother with the support slats for the middle bench backside, since the wood I used was thicker that the original wood (4/4 on the new back, versus what looks to me like 3/4 on the old) and there will not be that much pressure on that bench, since it is not a bench that will be used much. (You always want to sit on the high side of the boat!).
2 inch wide, 4/4 African Mahogany for the support slats
I got some 2 inch wide, 4/4 African Mahogany pieces that I was going to use for the slats. I also had to decide how to attach the slats to the underside. In the original benches, it seems that some of the slats had been attached from the underside, while on the curved side, they were attached from above, or at least there were obvious plugs inserted and one had fallen out as well. I decided to attach the slats from the bottom, and while not absolutely necessary (It would not get a lot of water splashing on it I would imagine) , I decided to counter sink the screws and plug the holes with mahogany plugs, if anything to train in how to cut plugs and use them to make it all look nice.
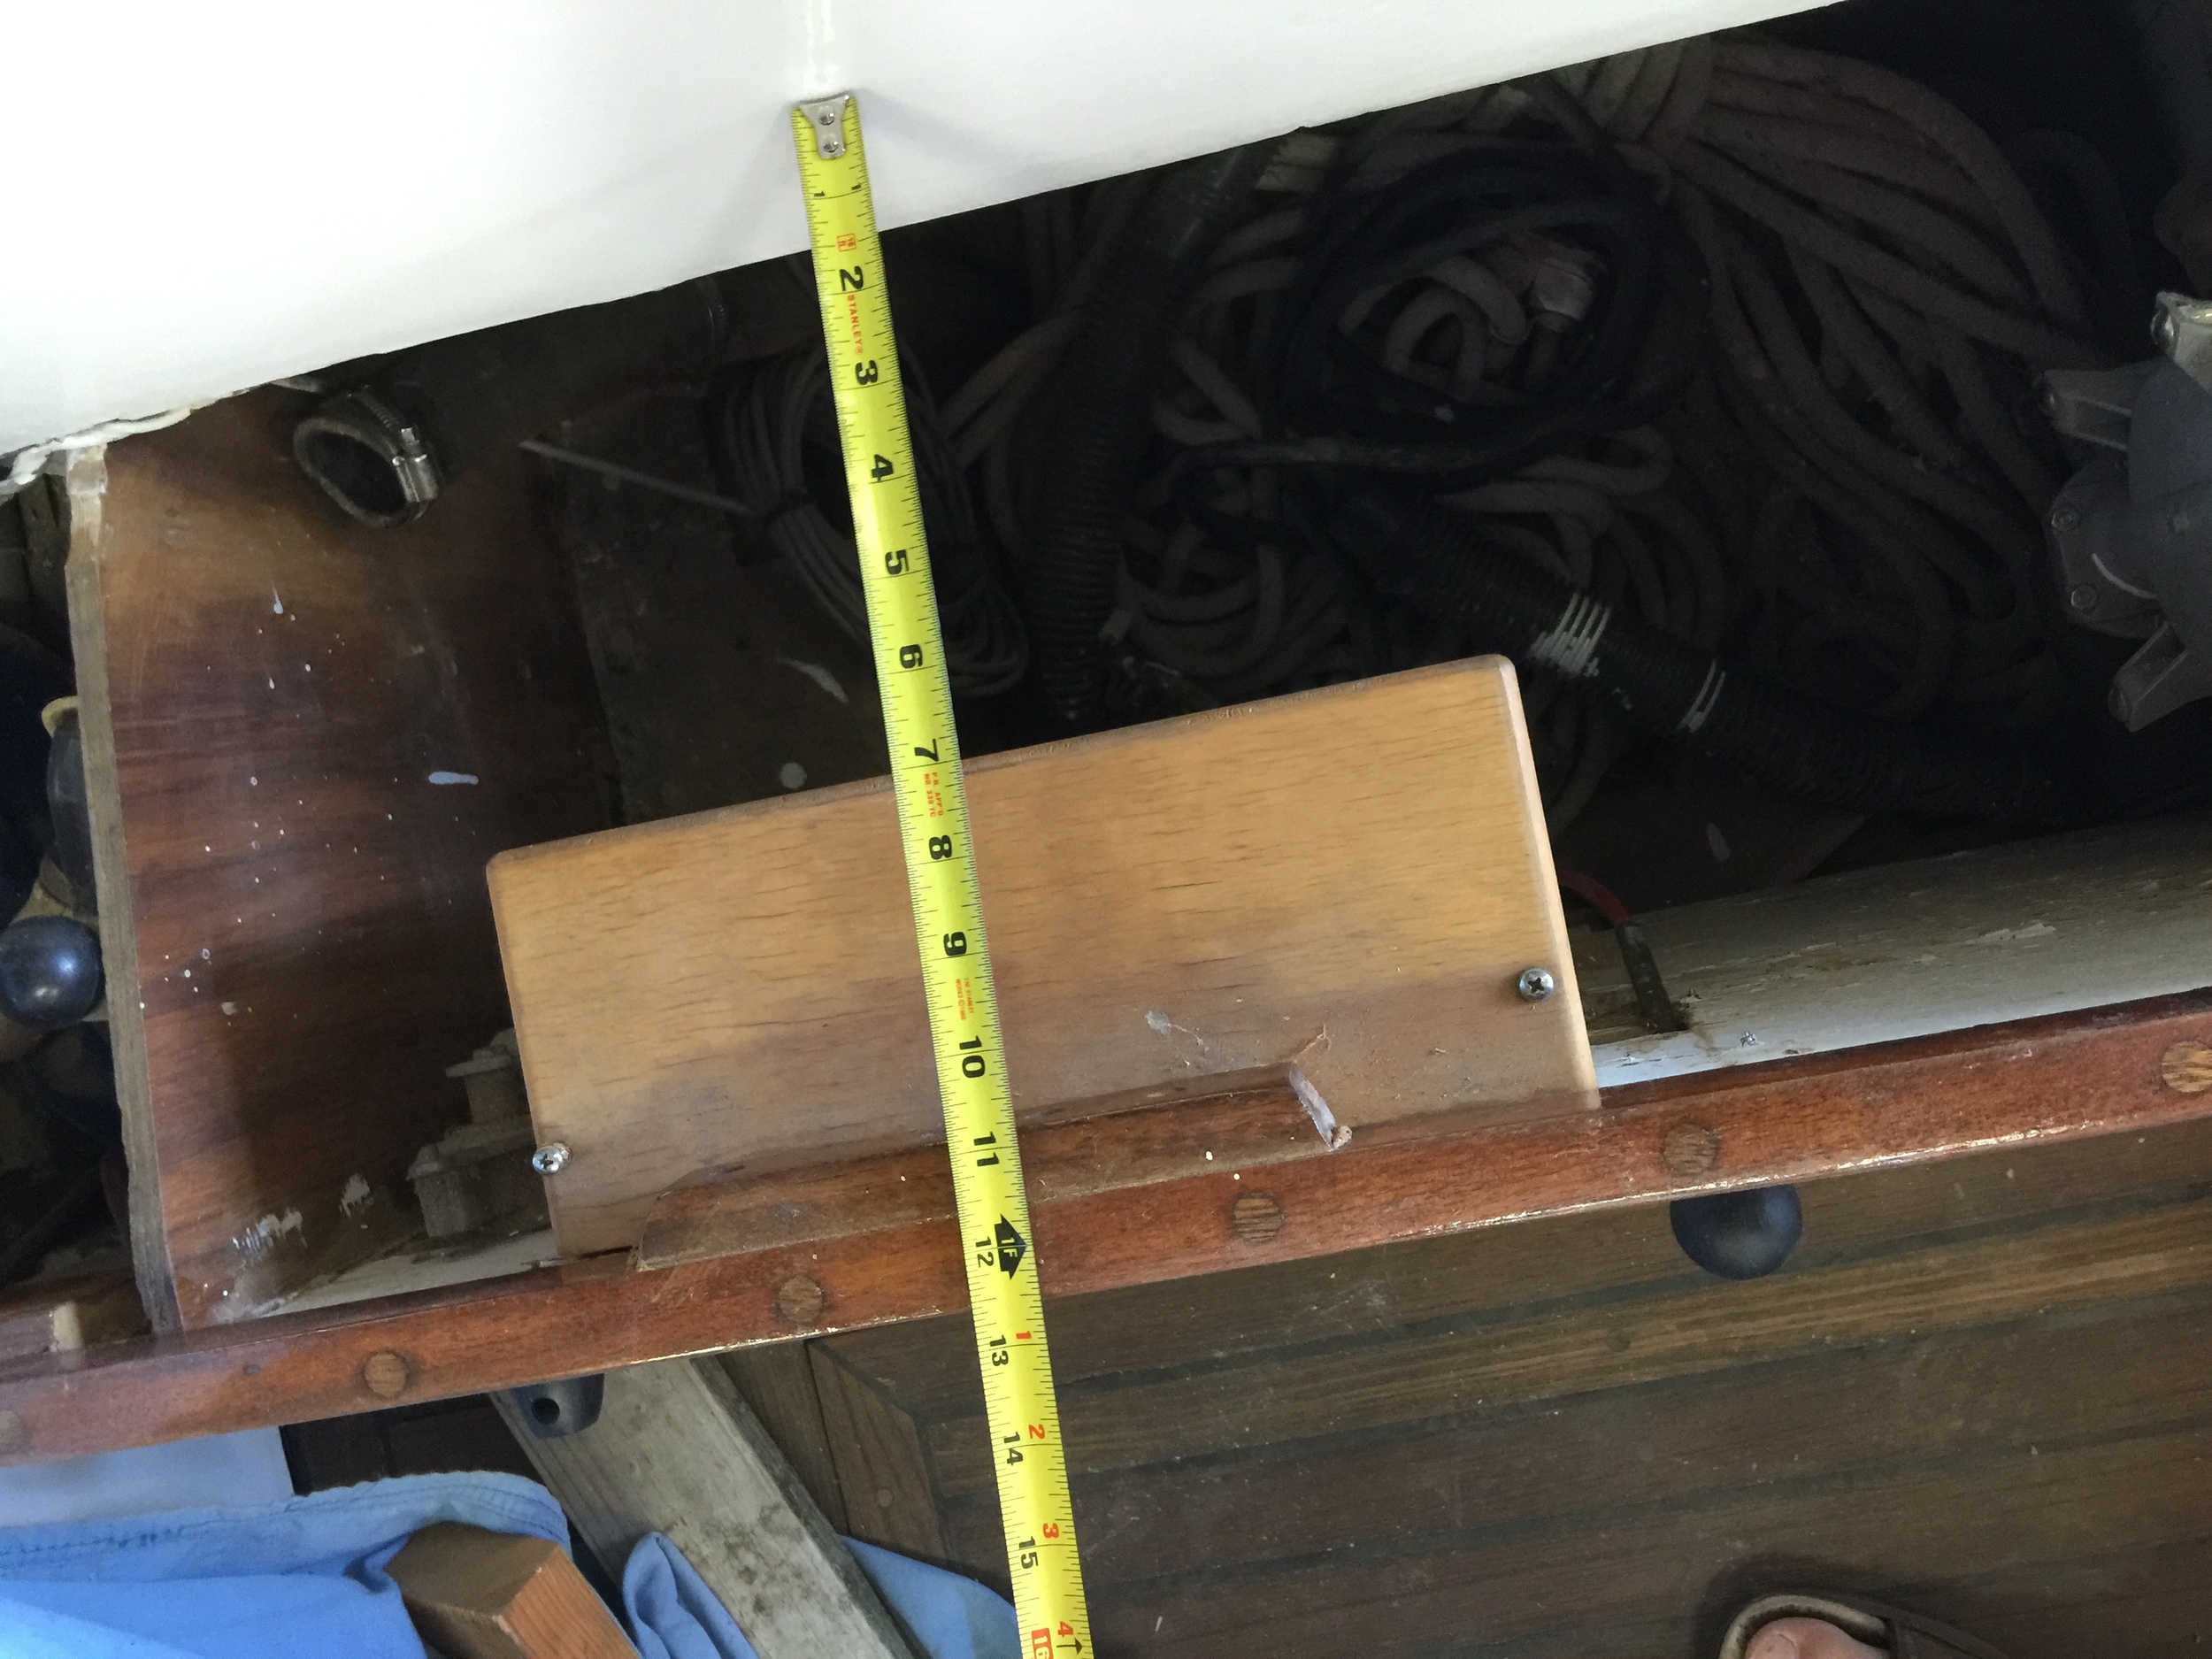
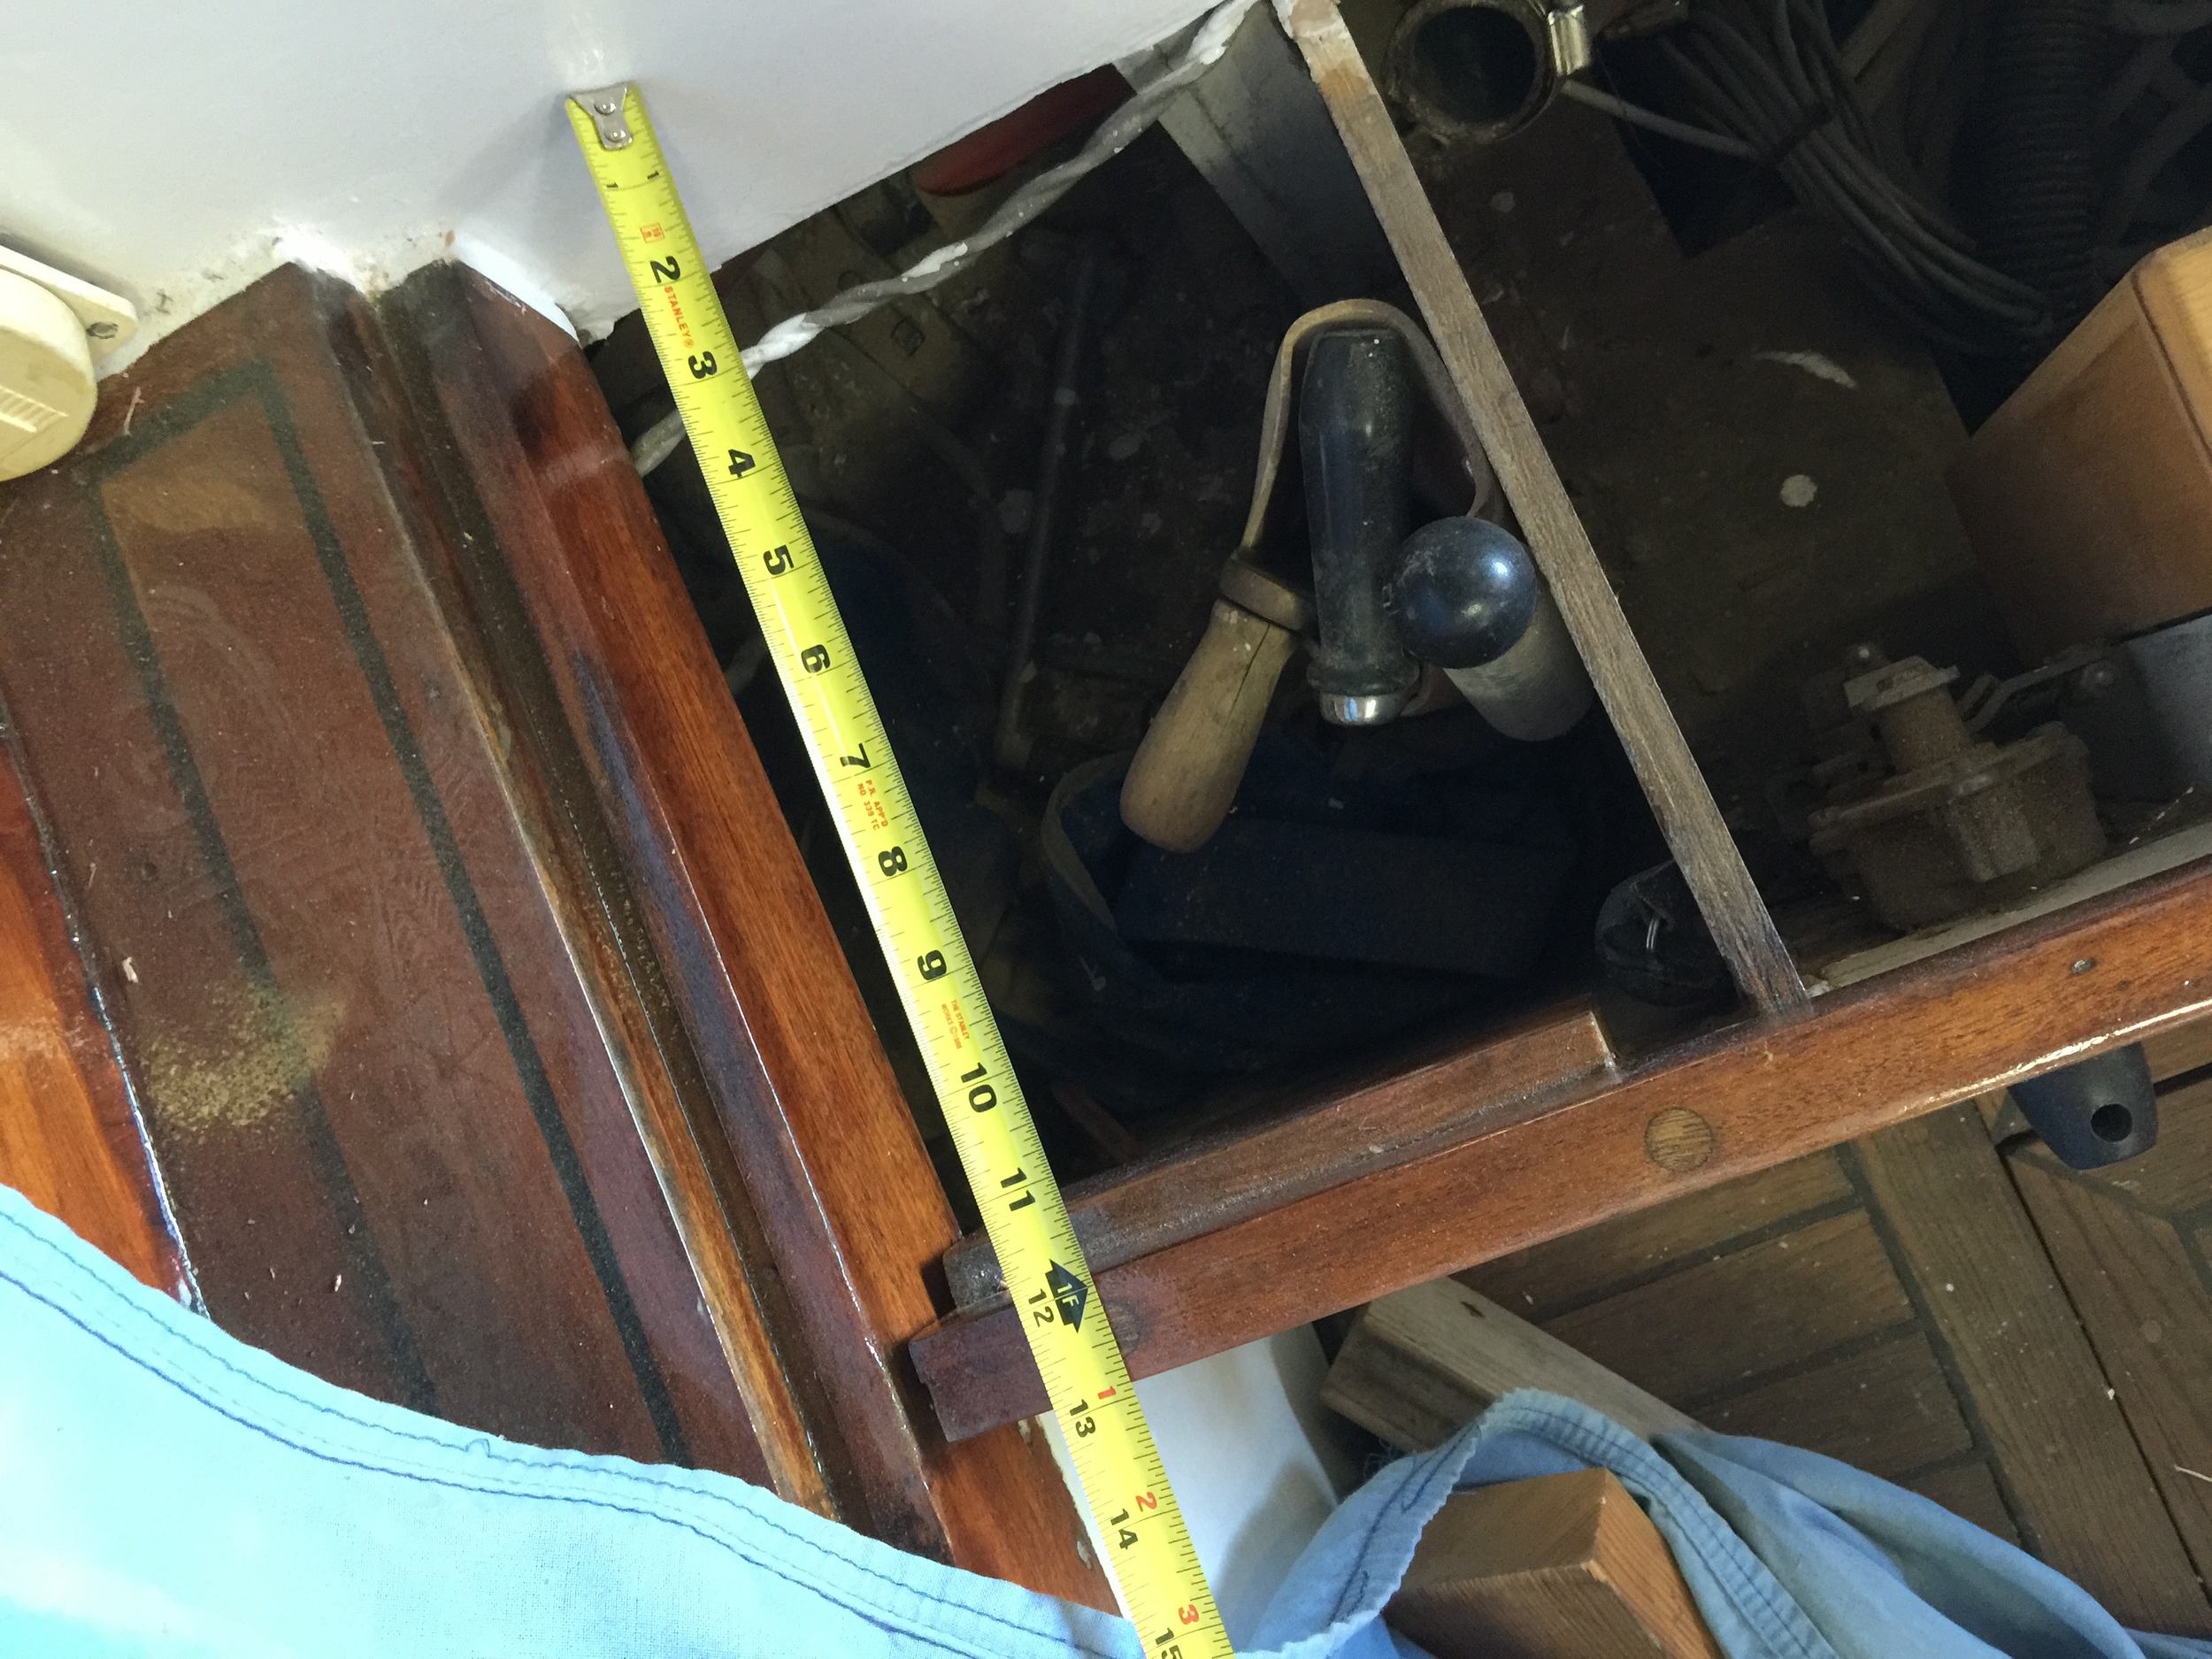
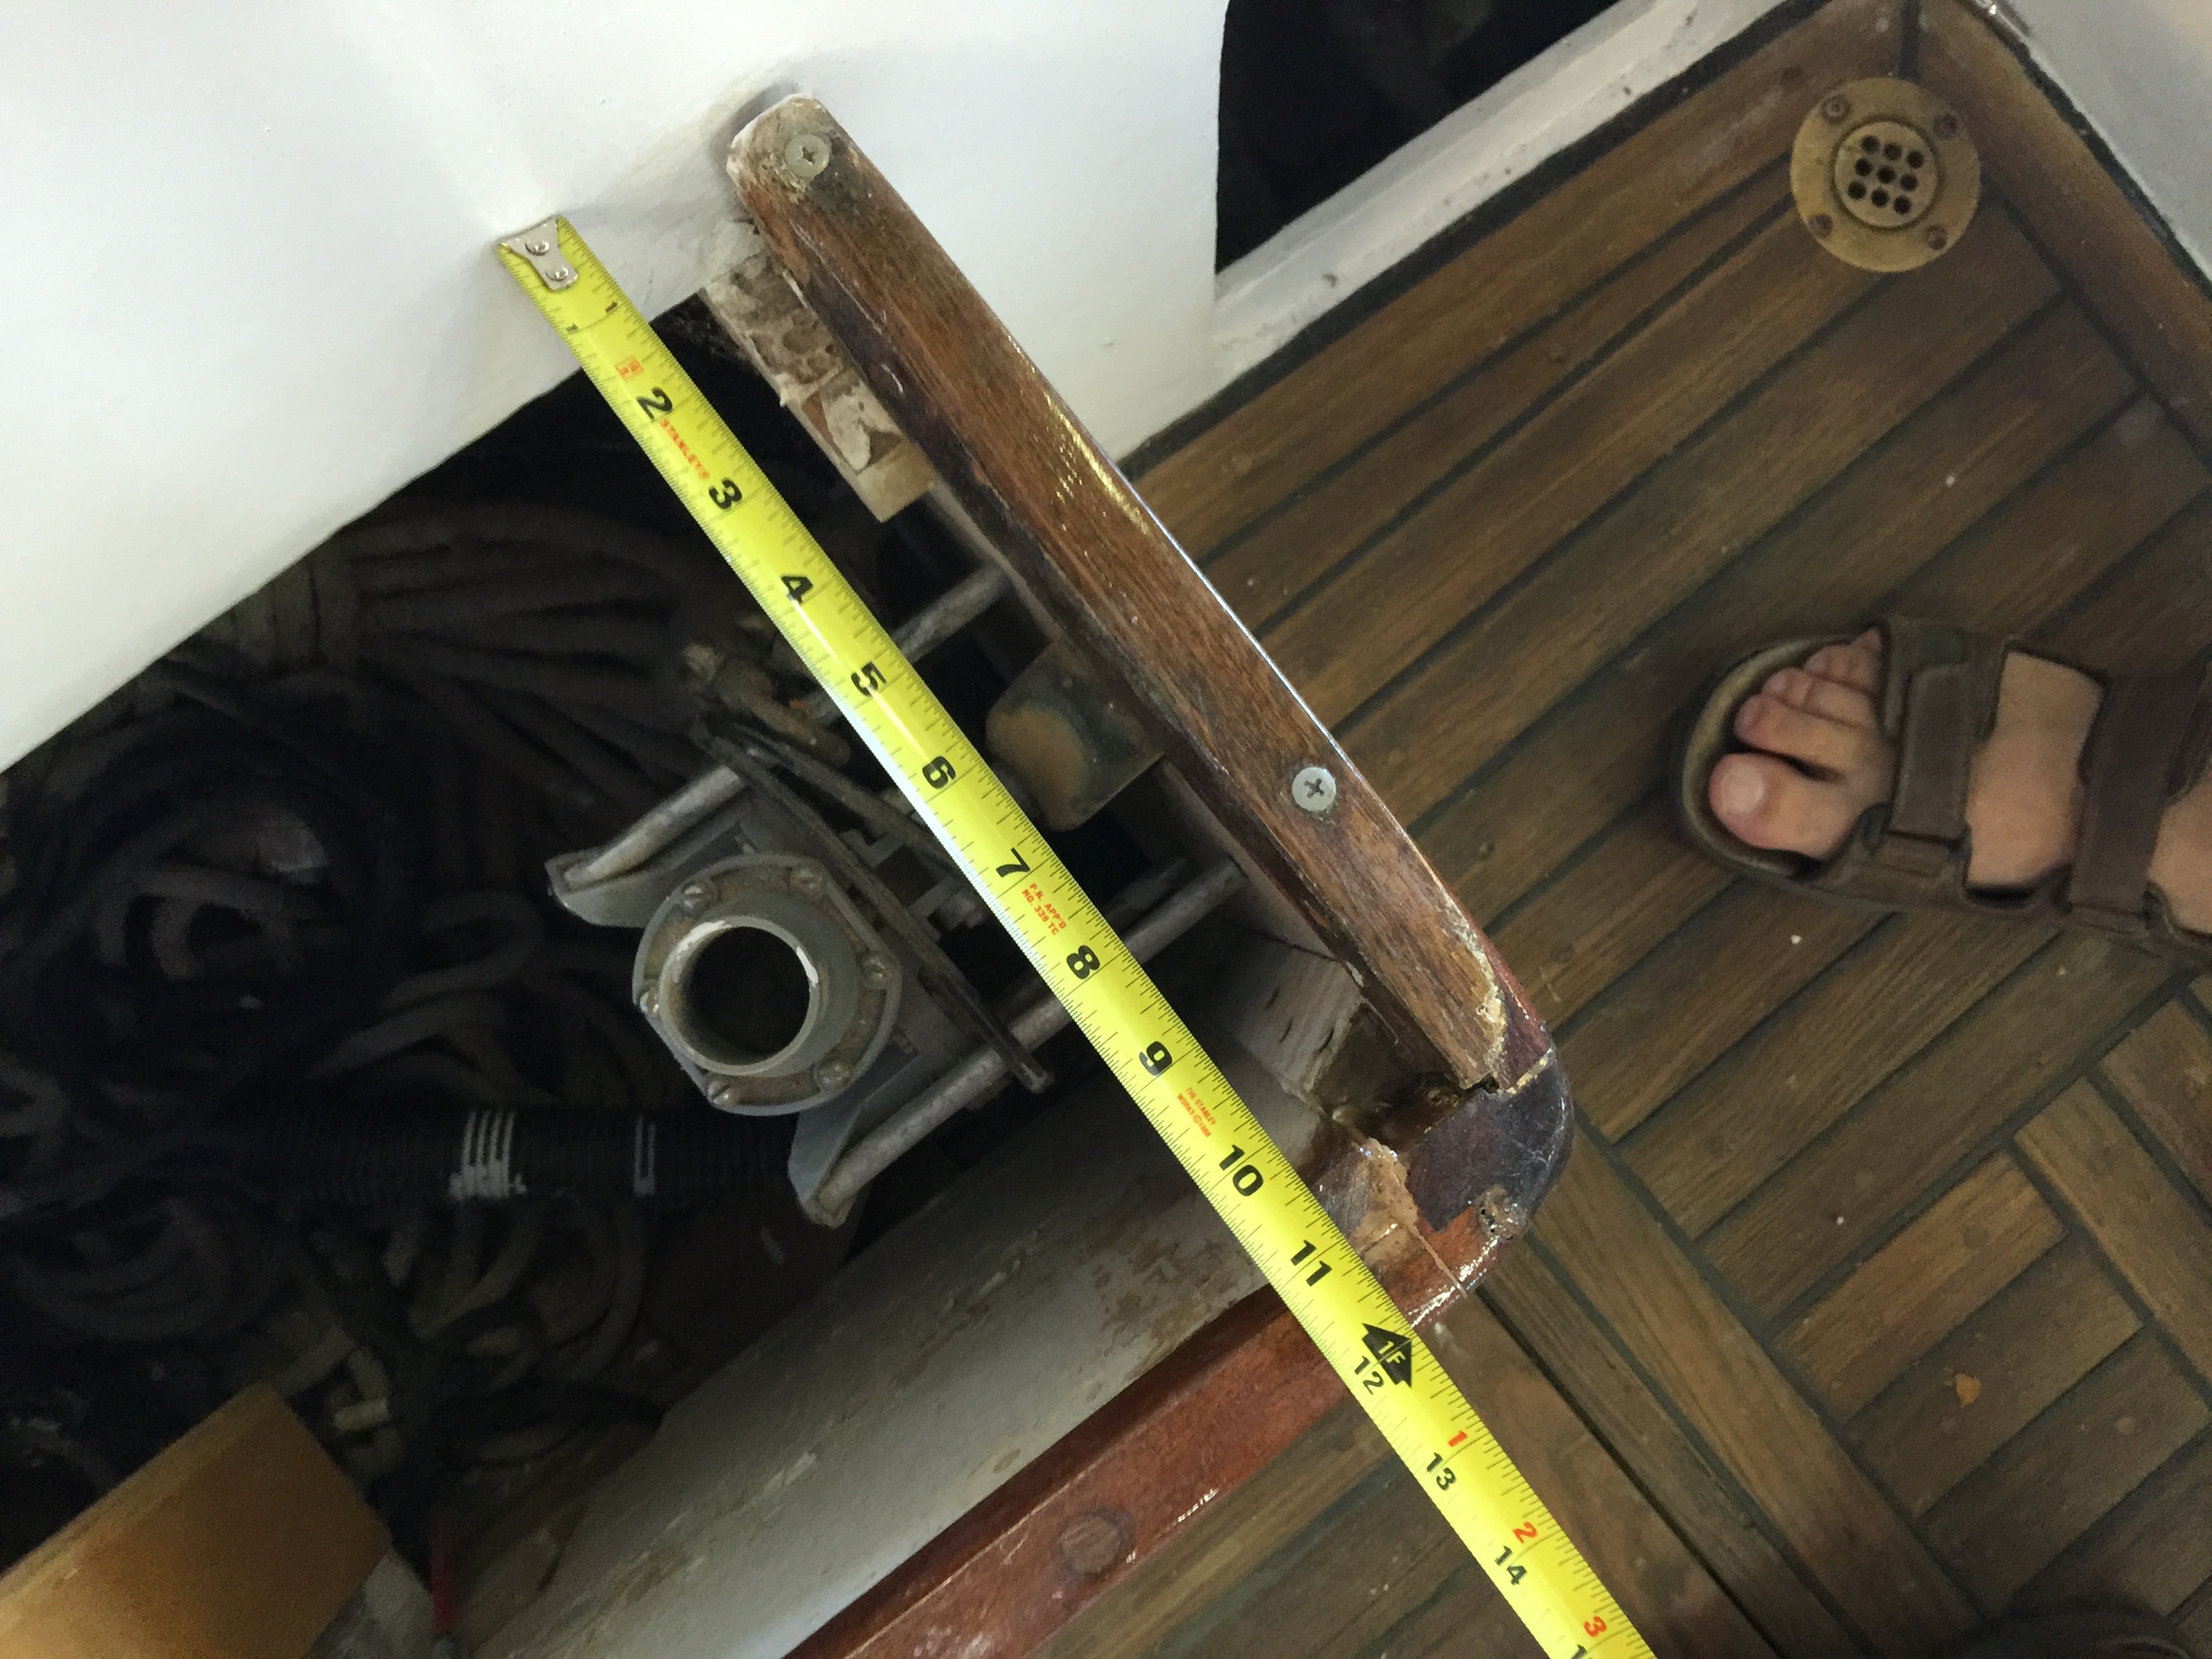
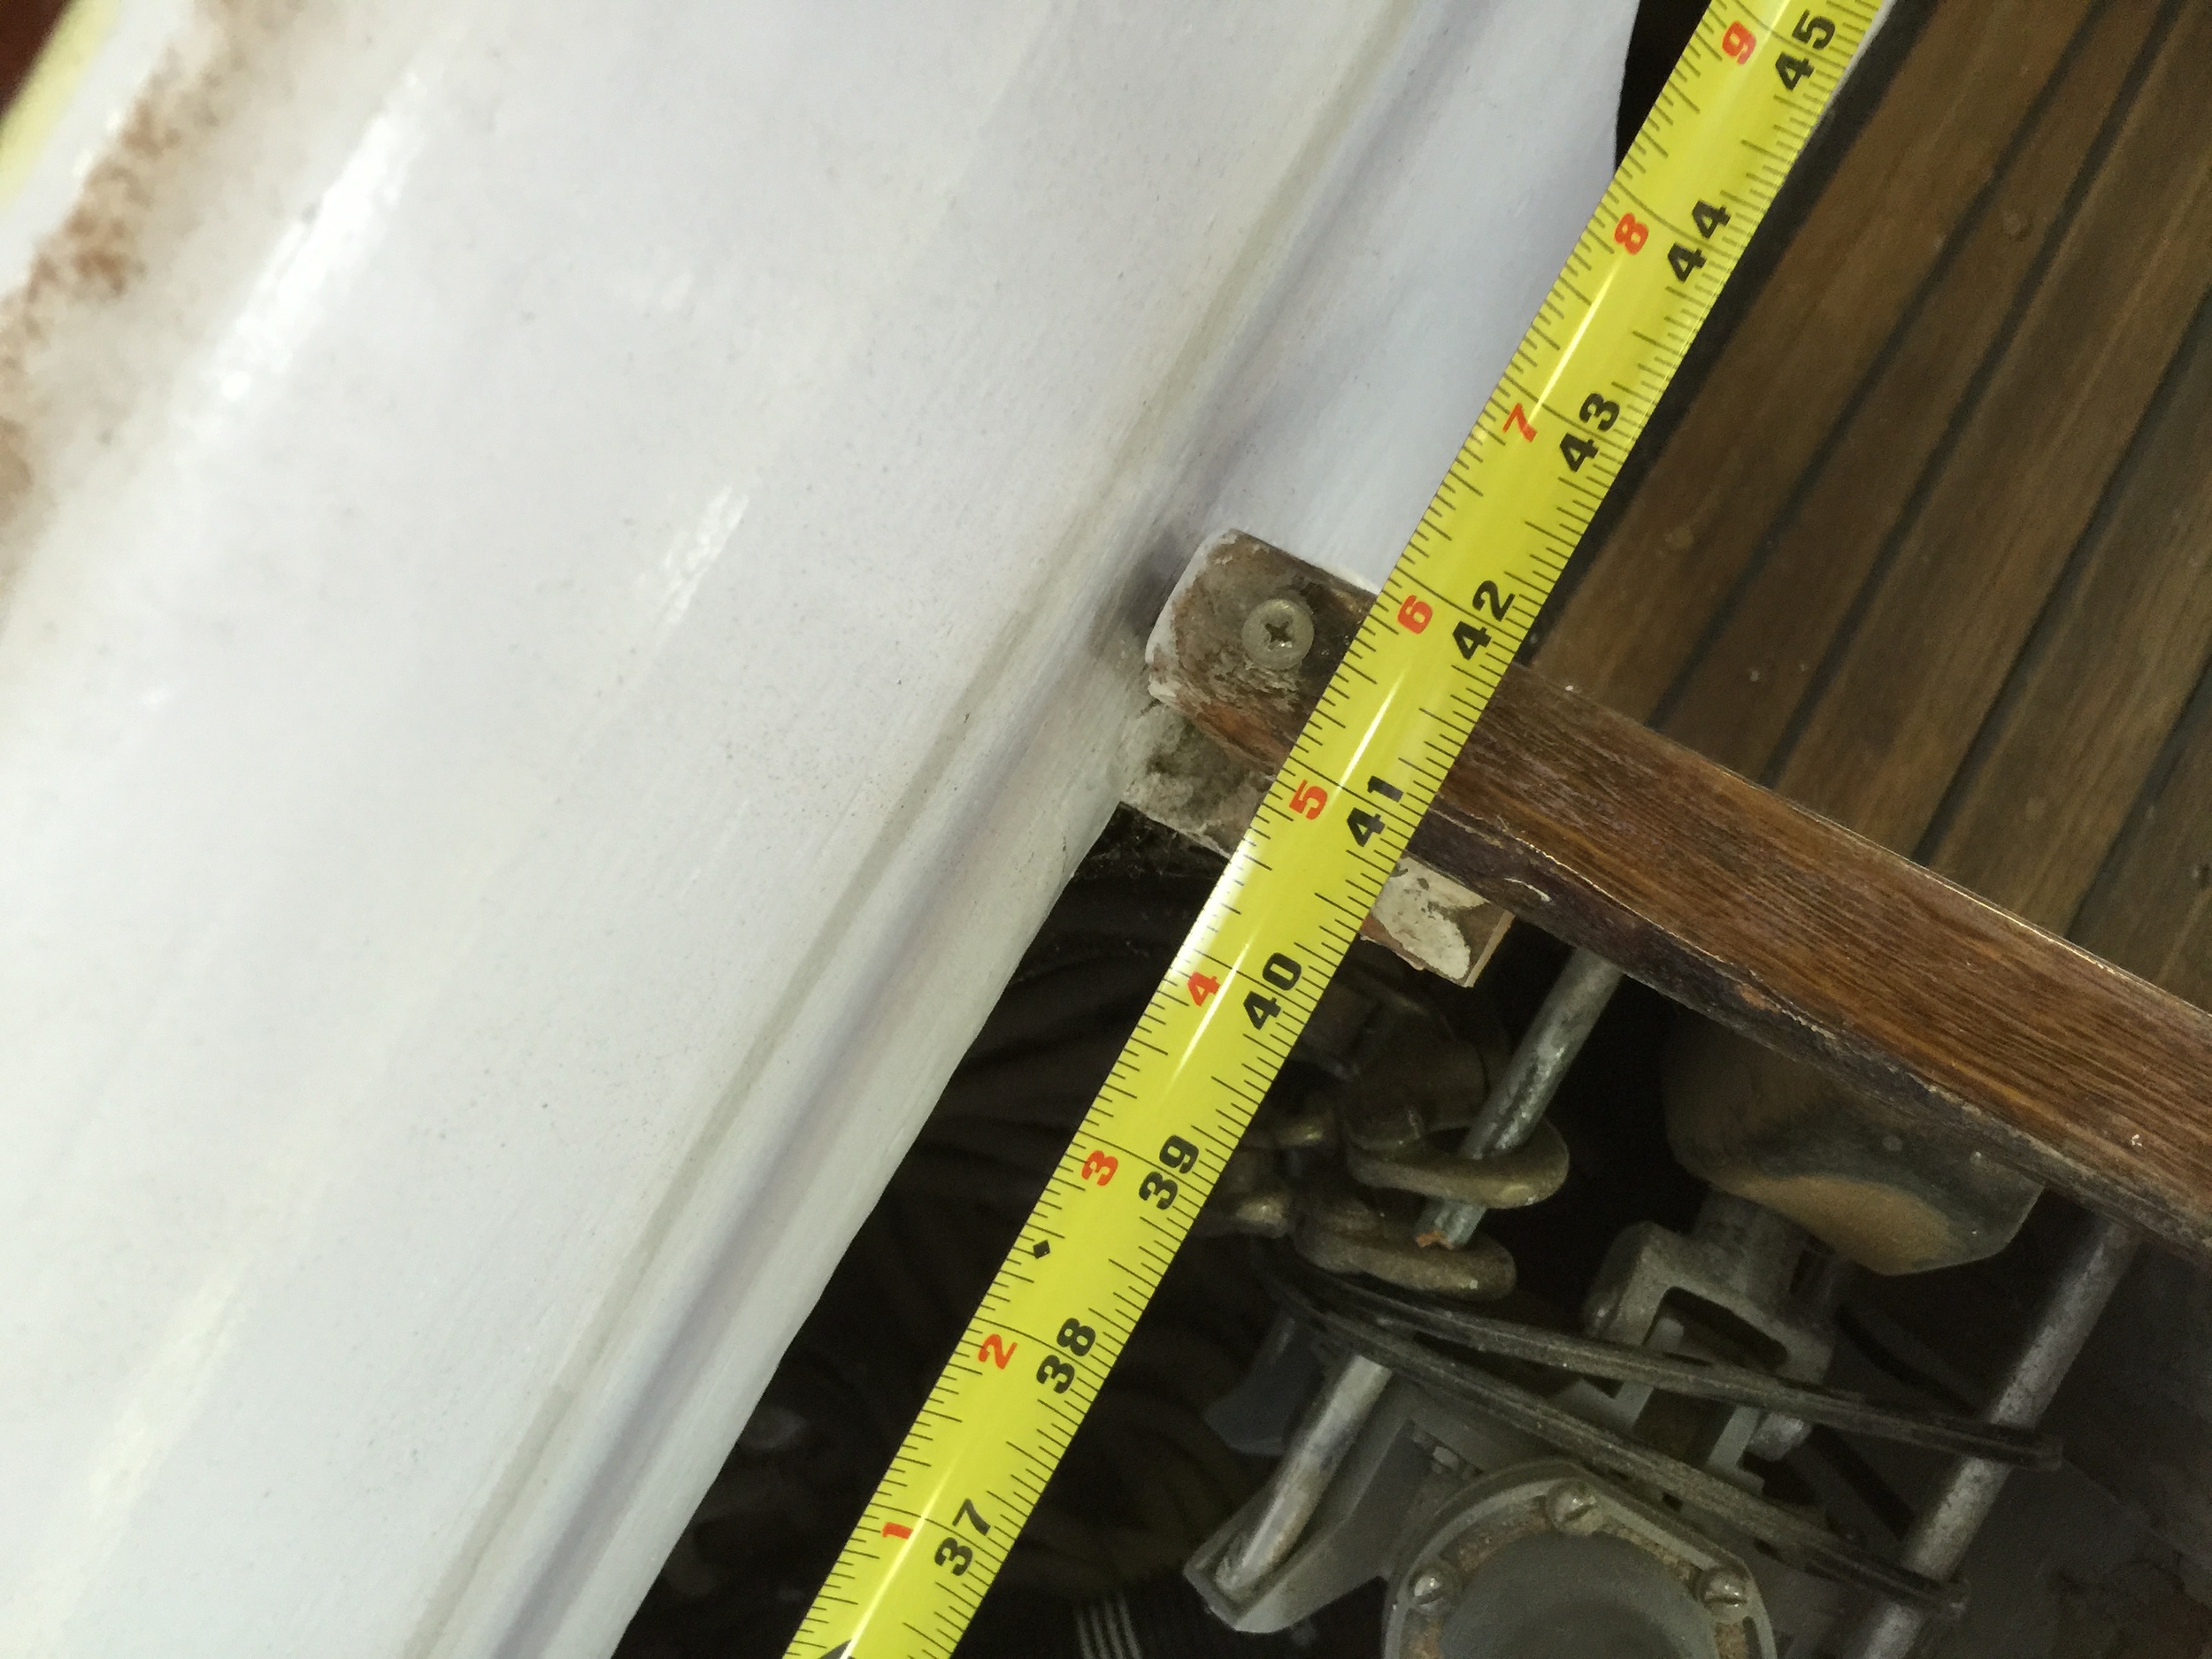
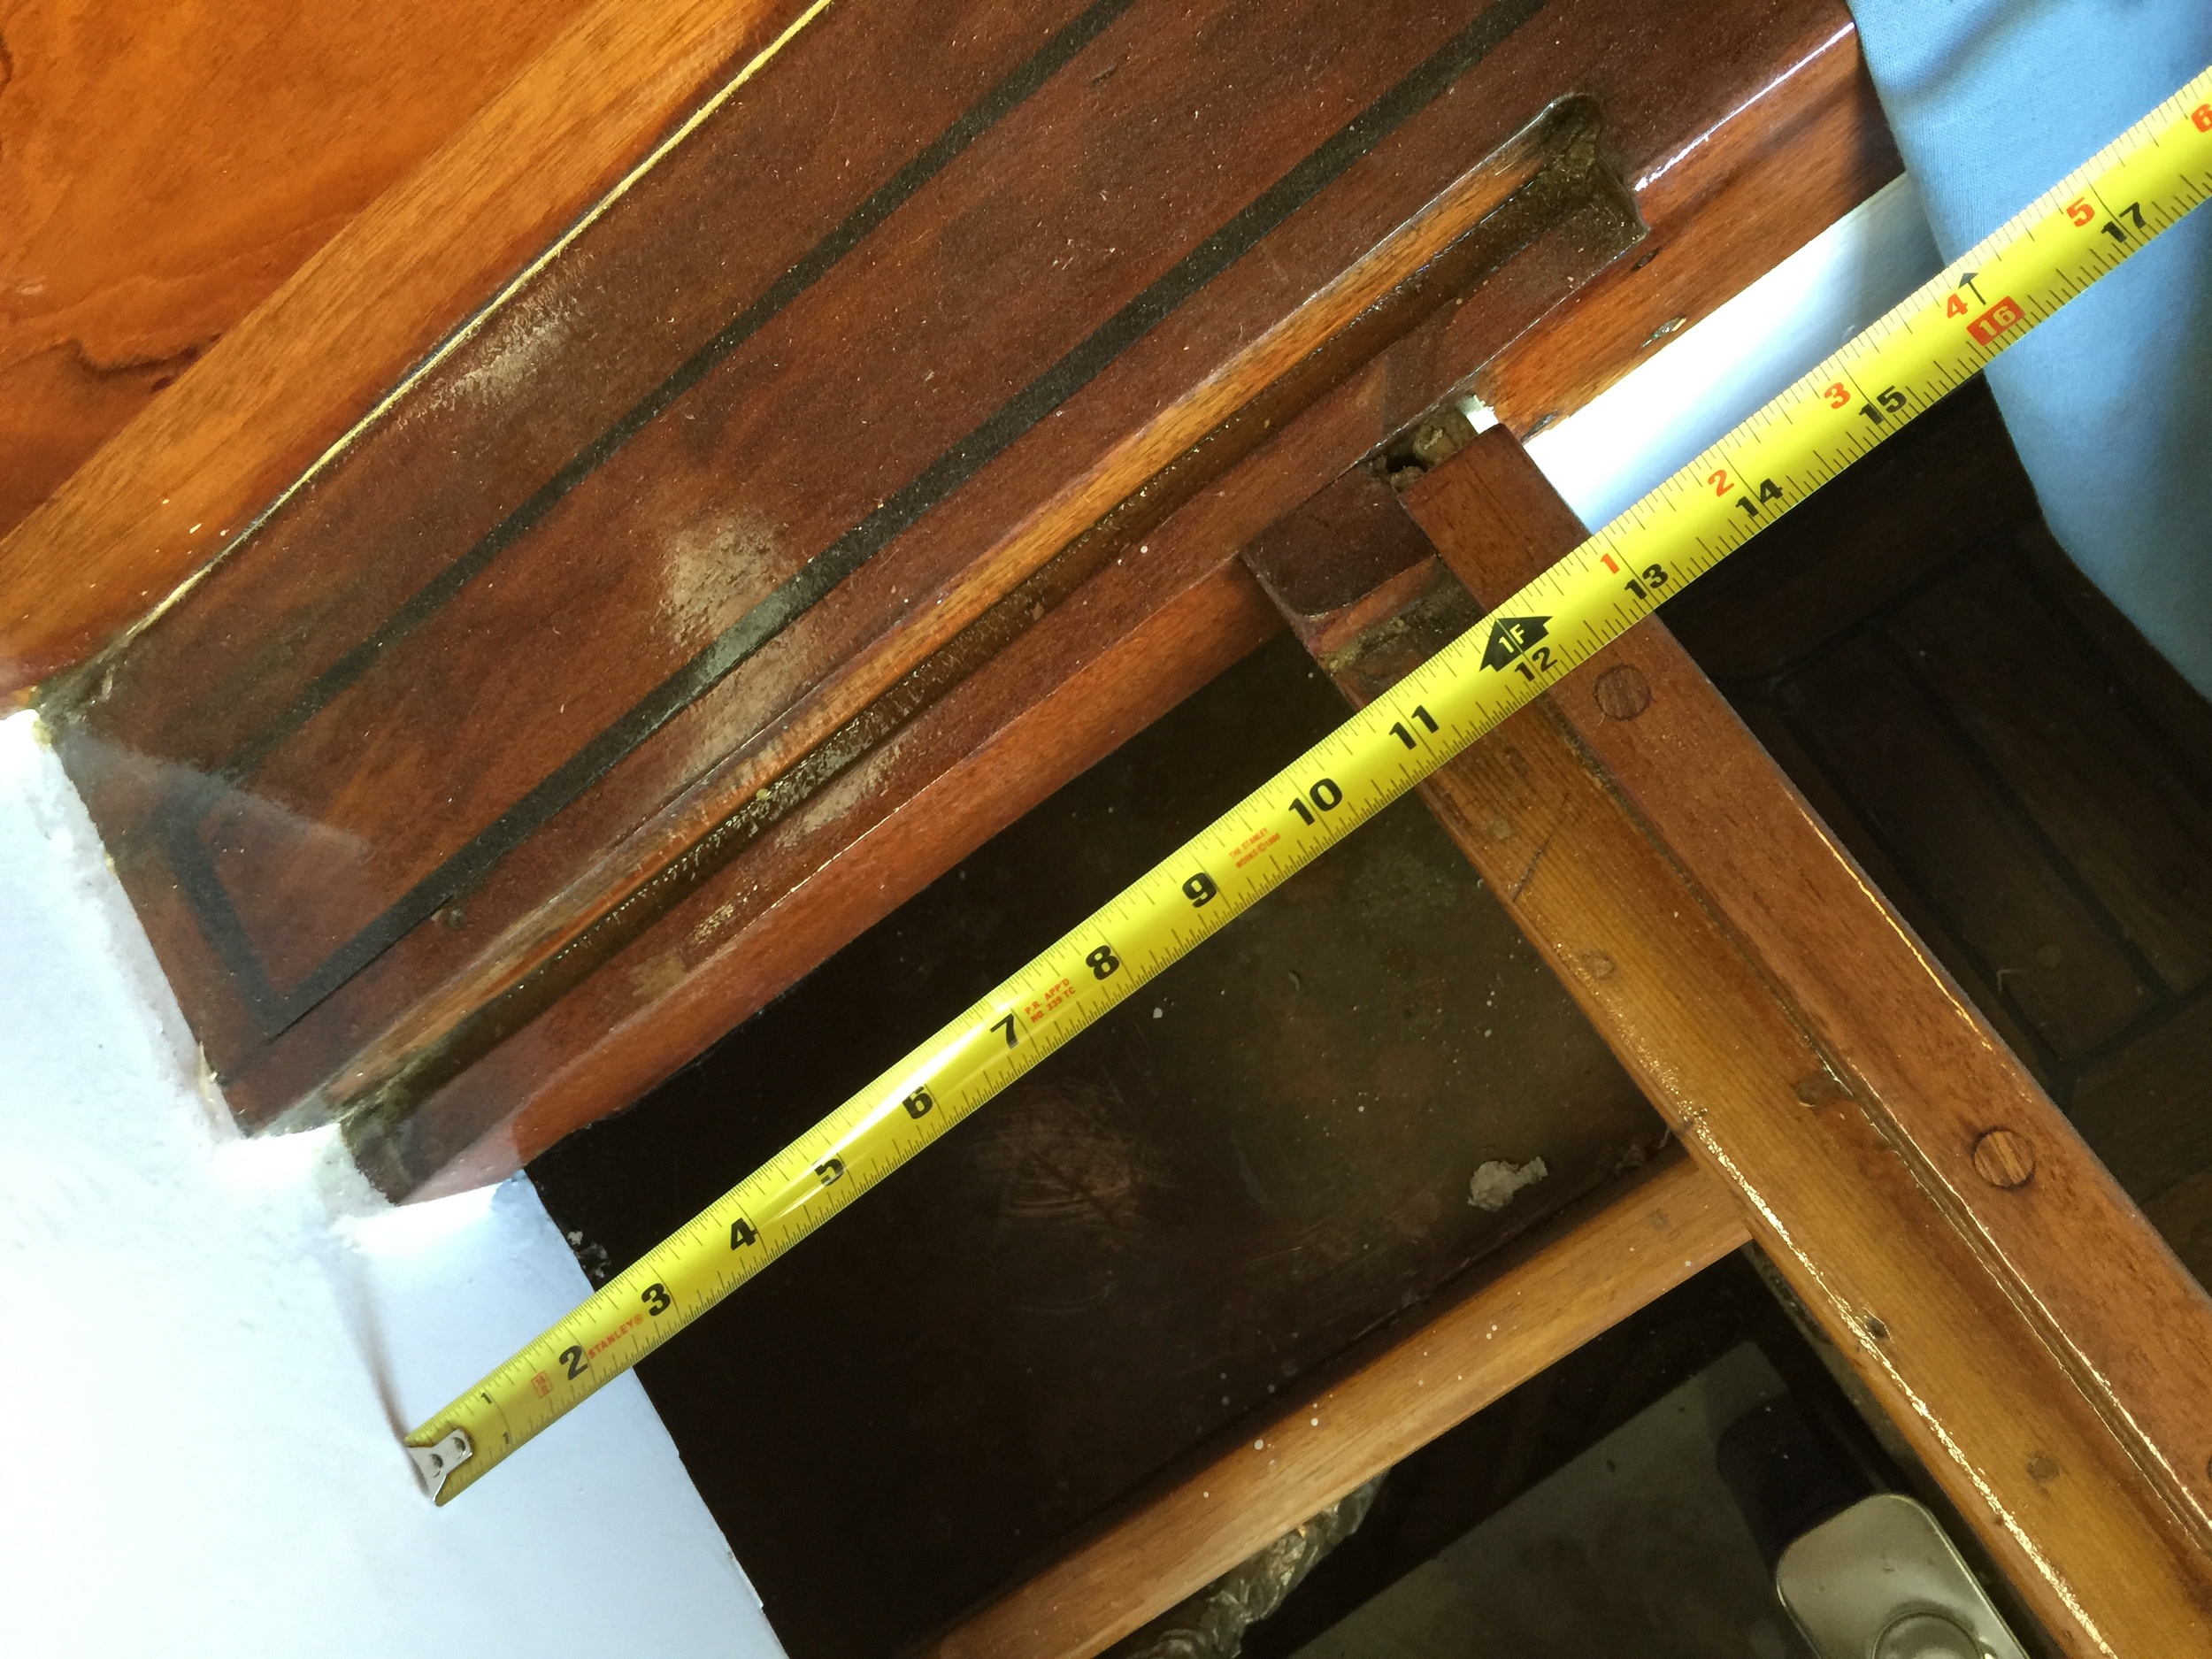
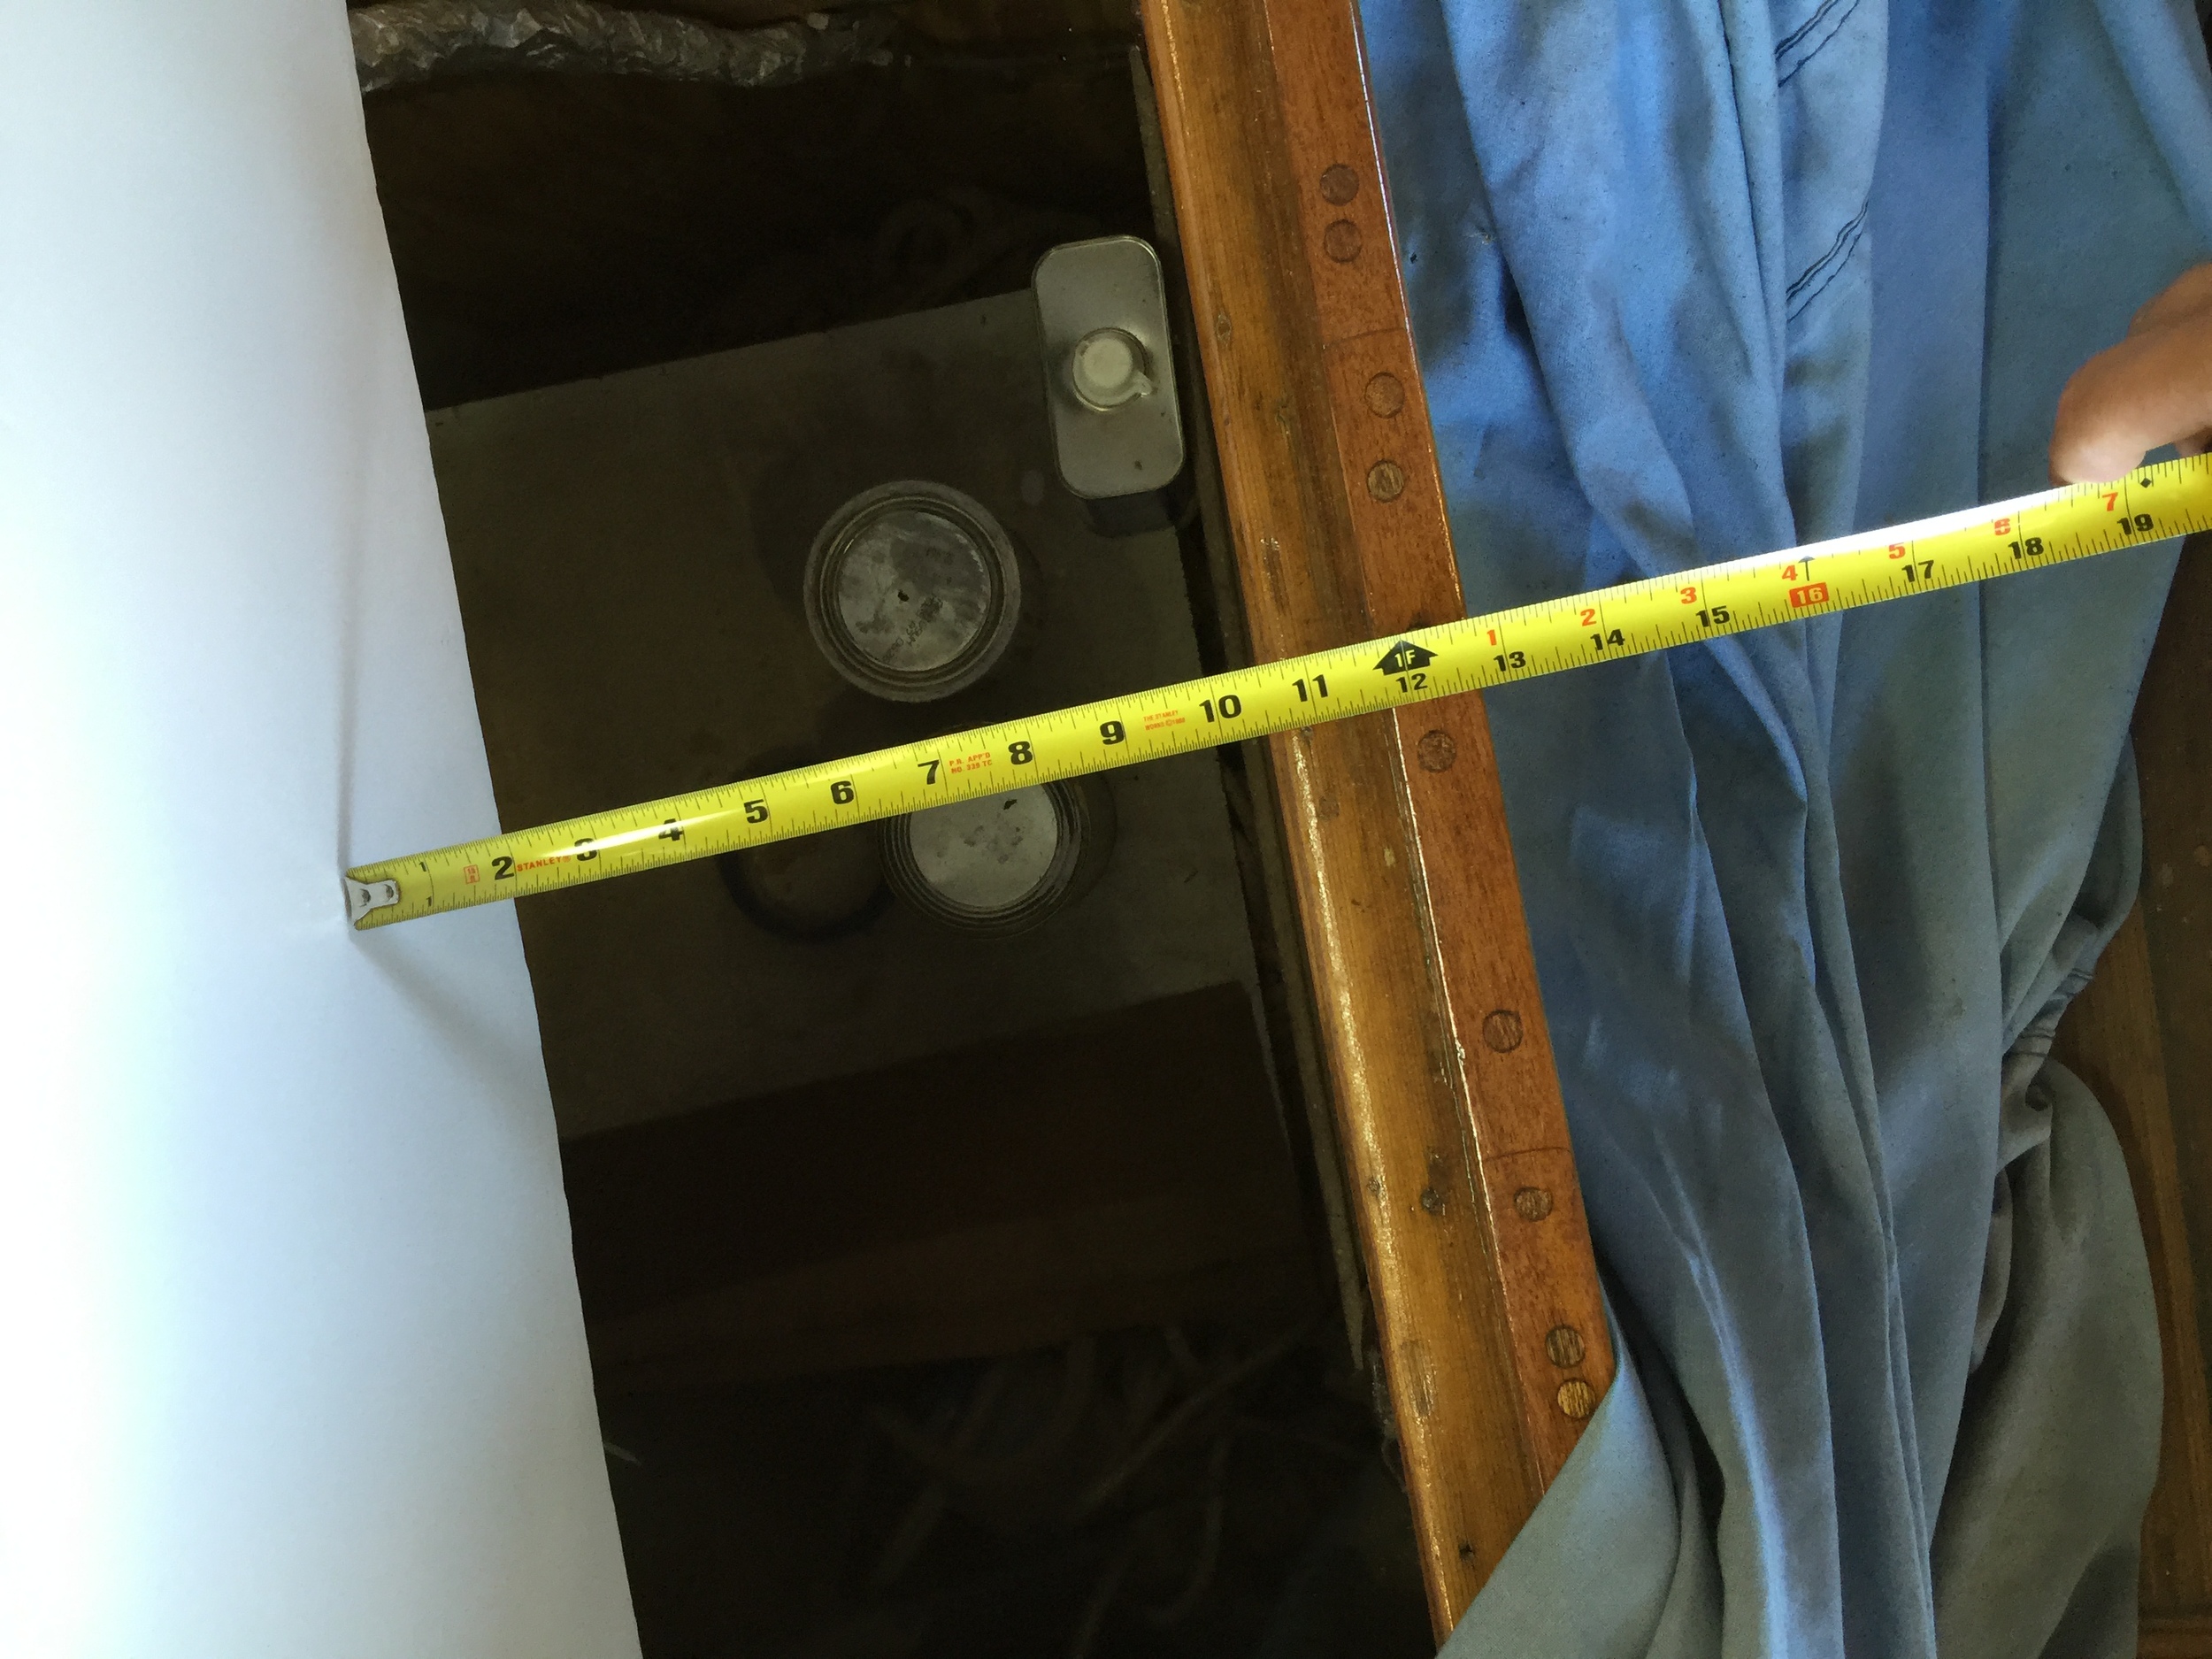
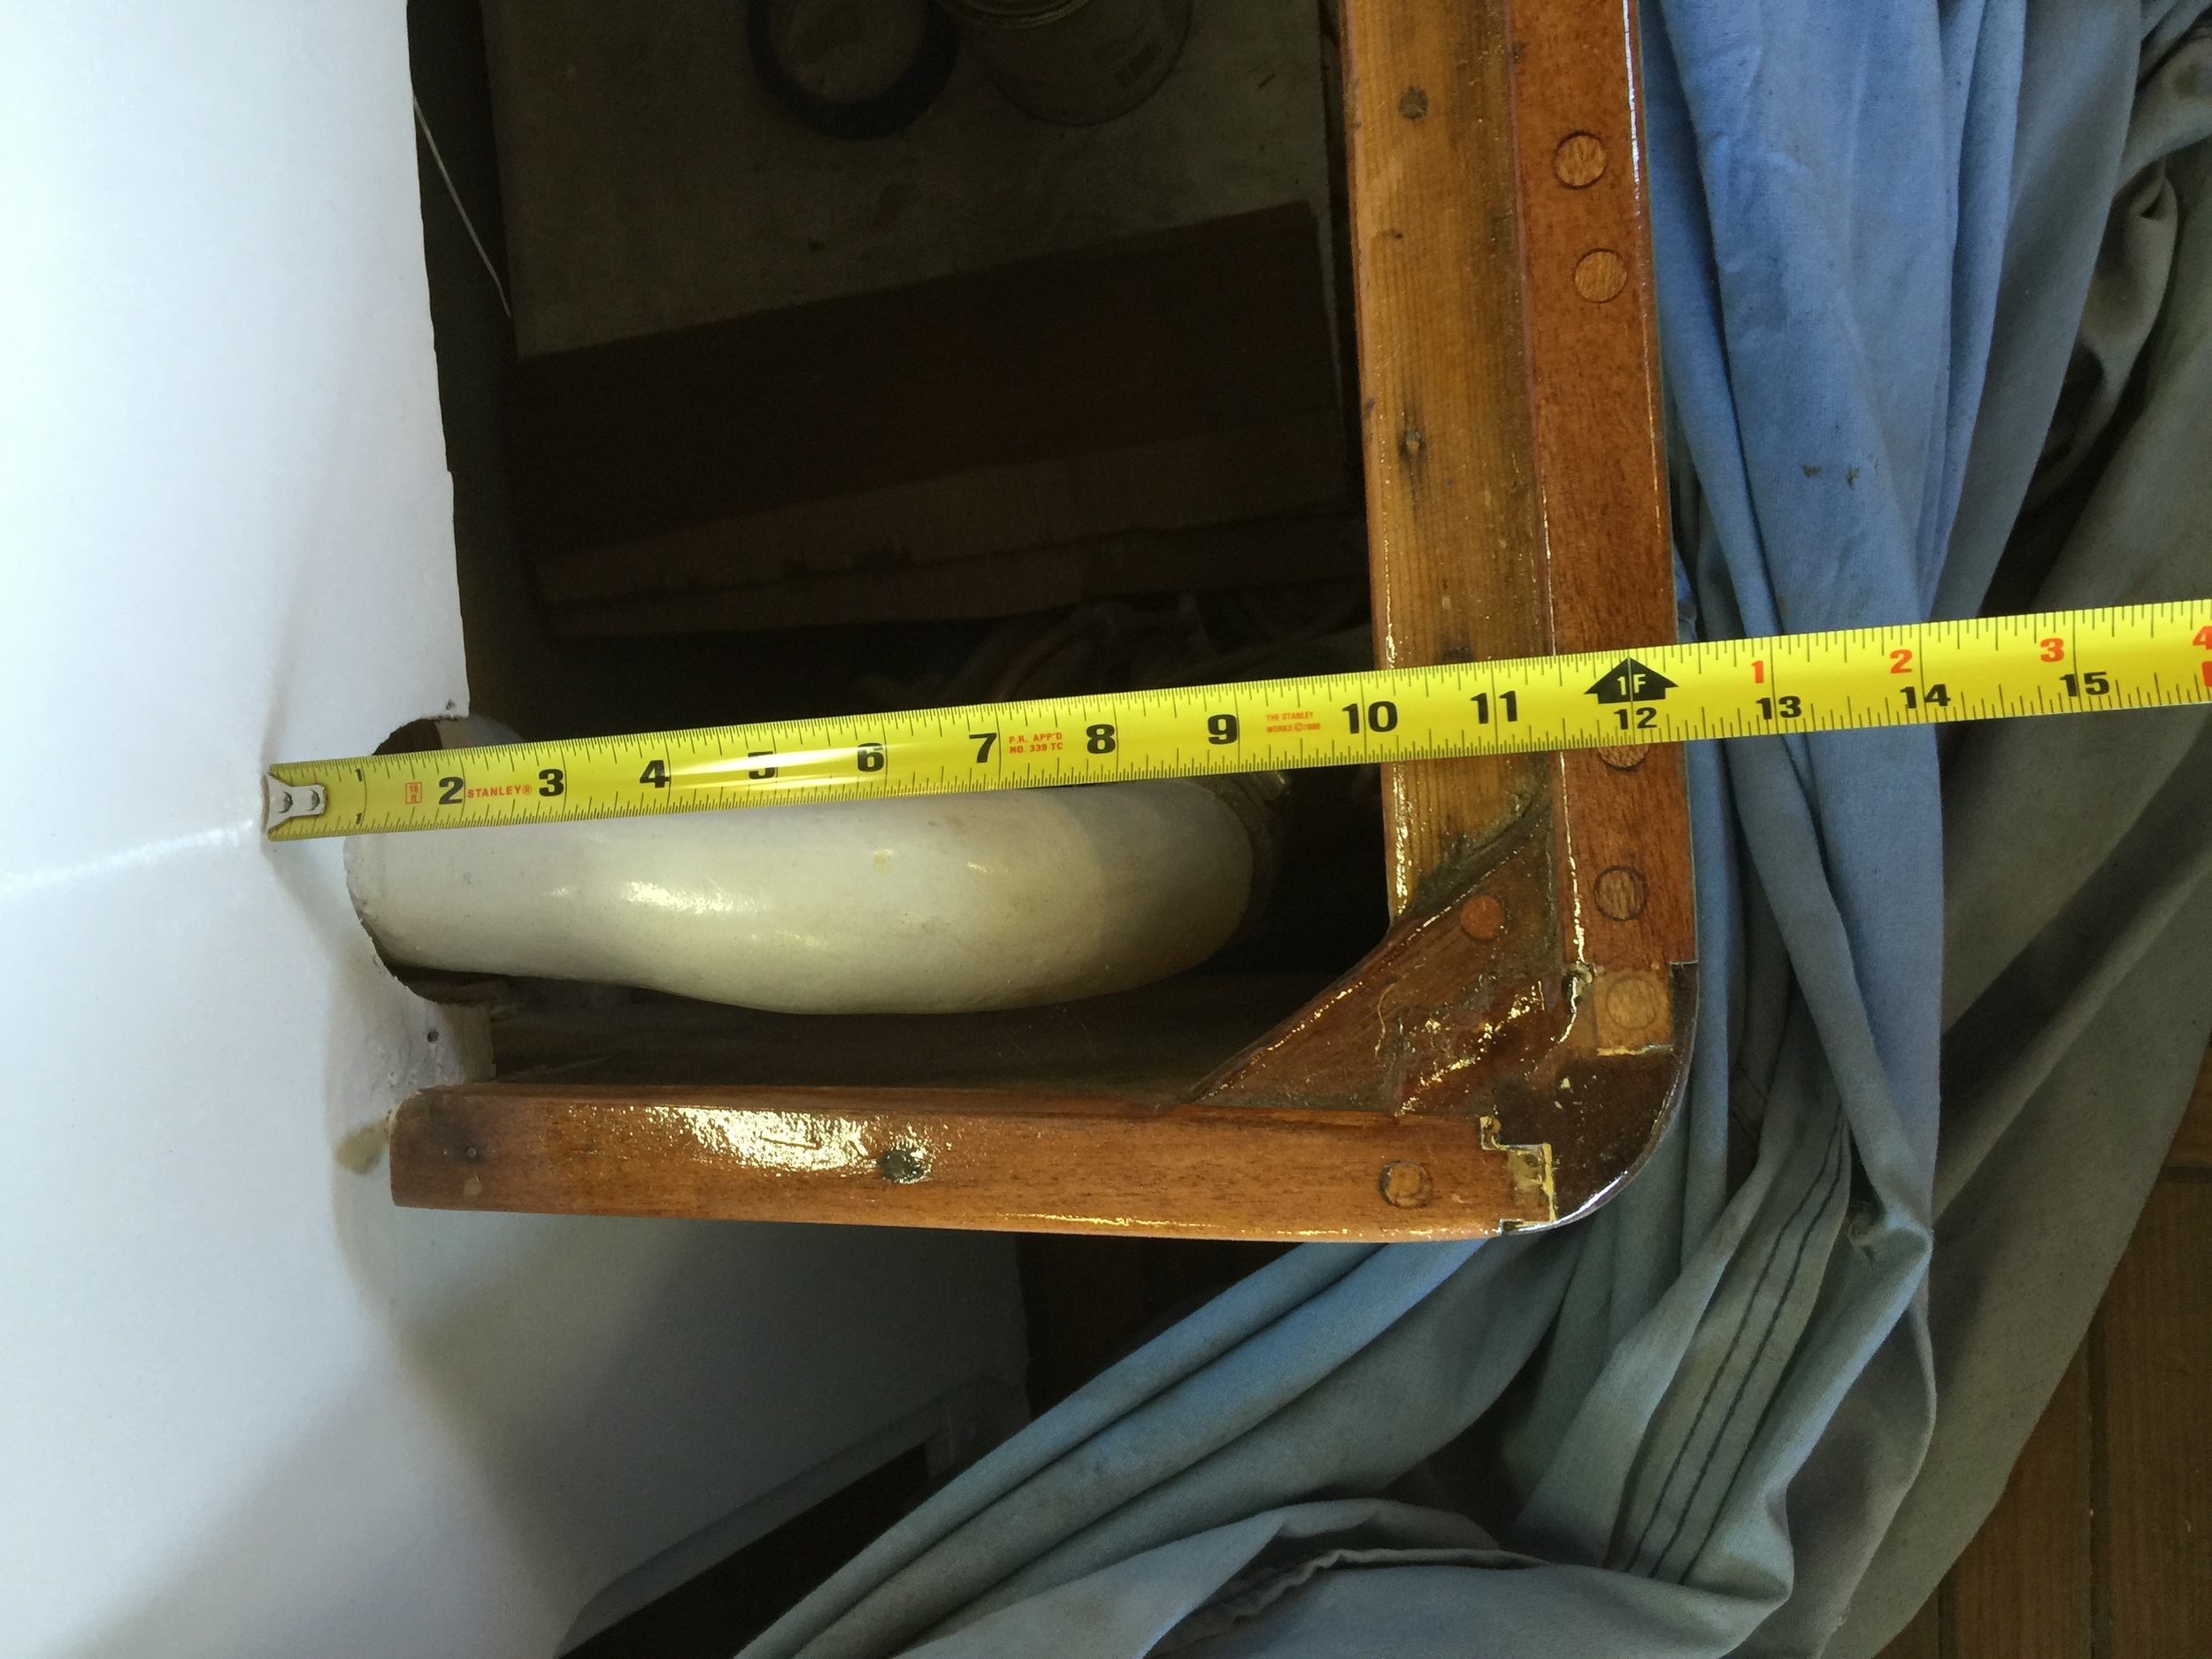
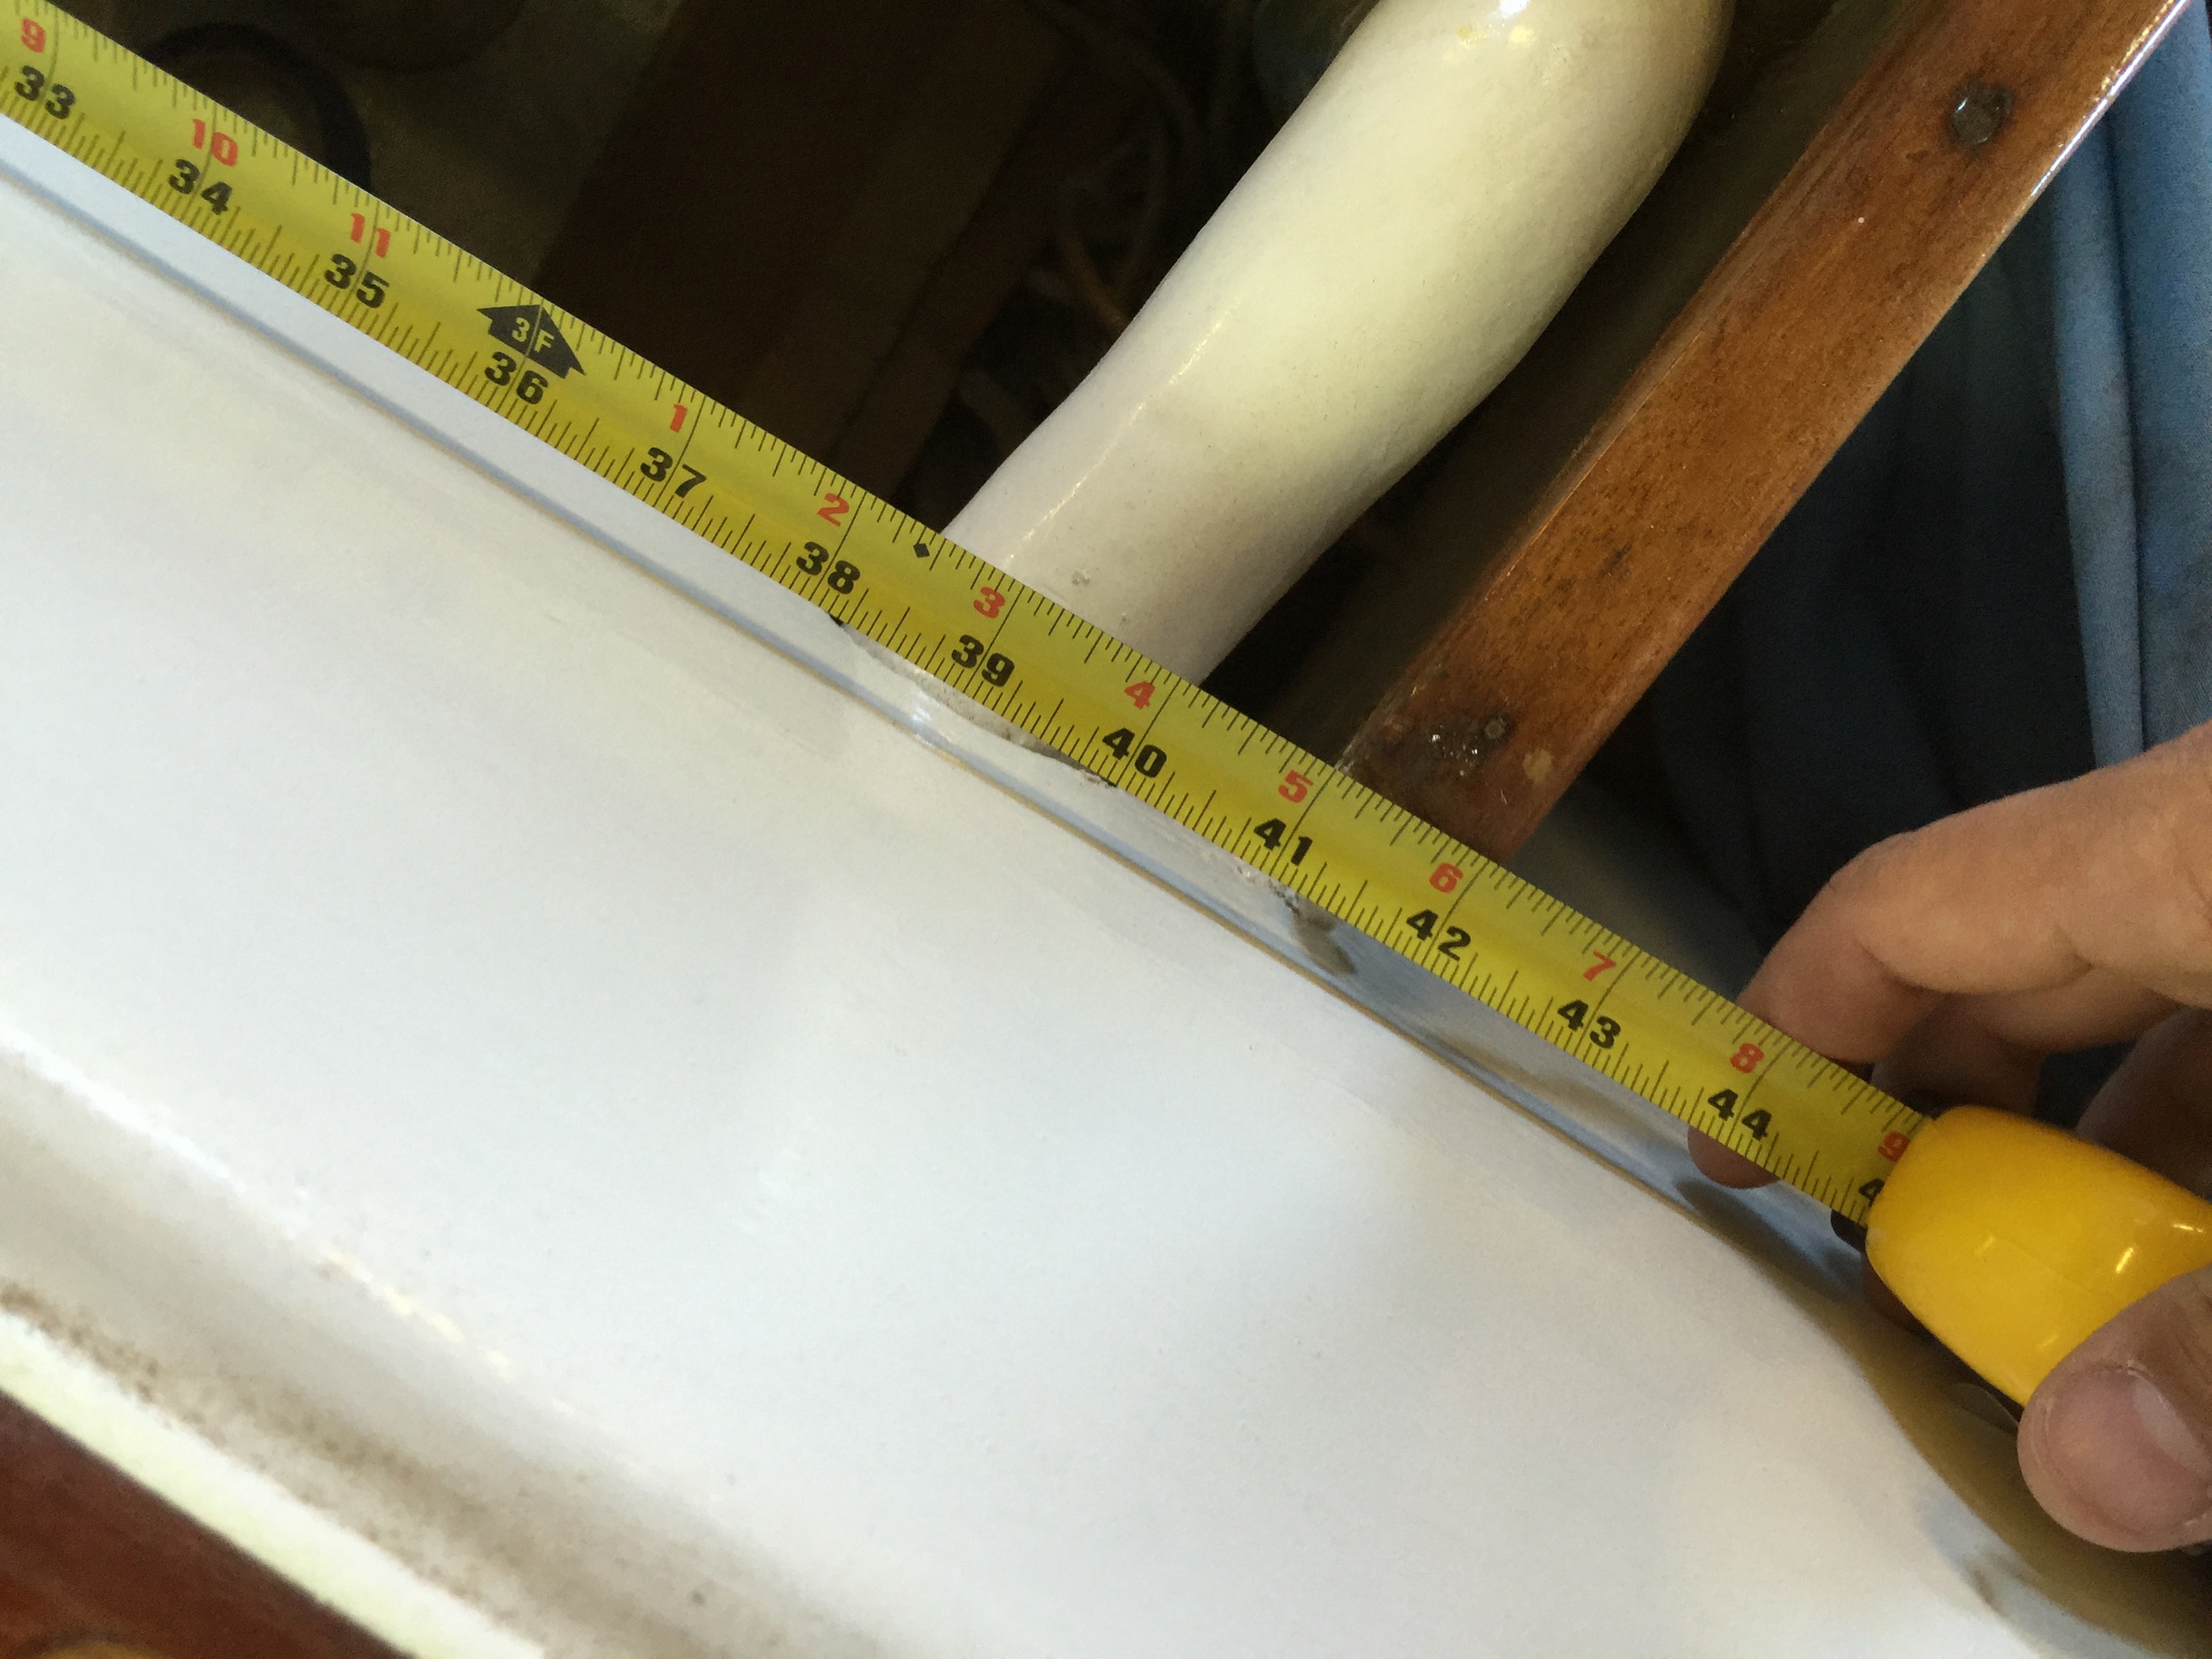
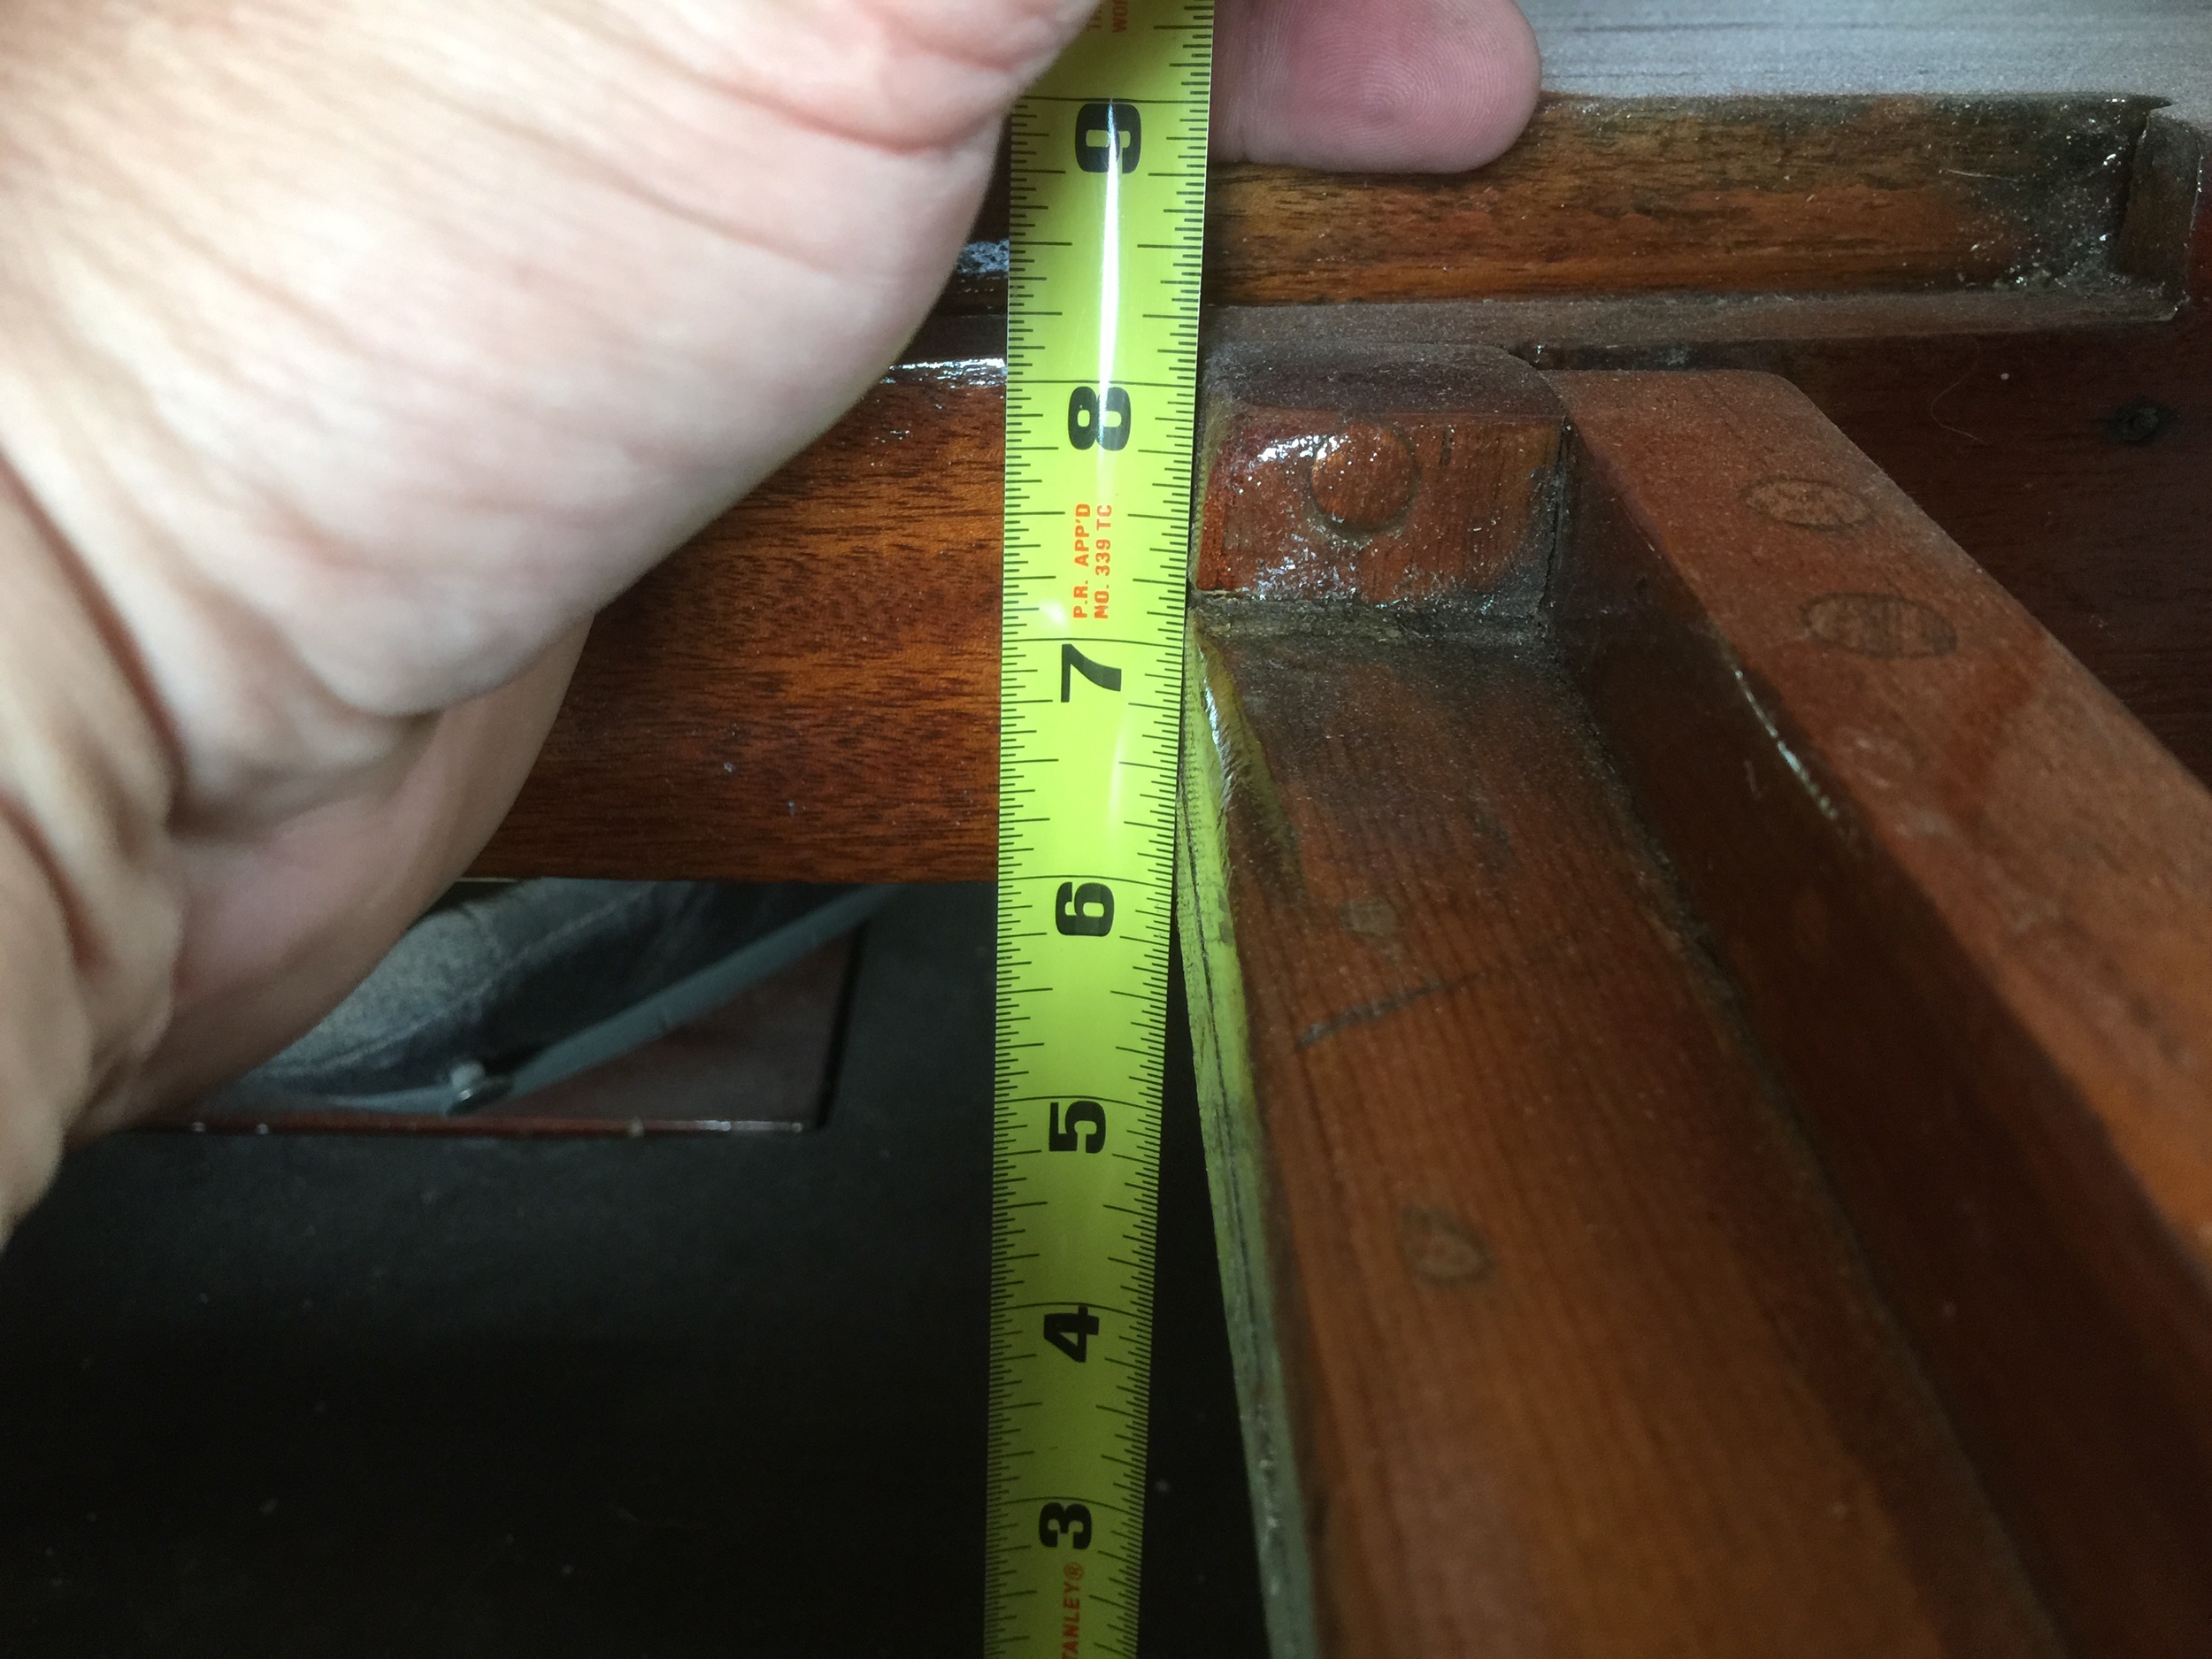
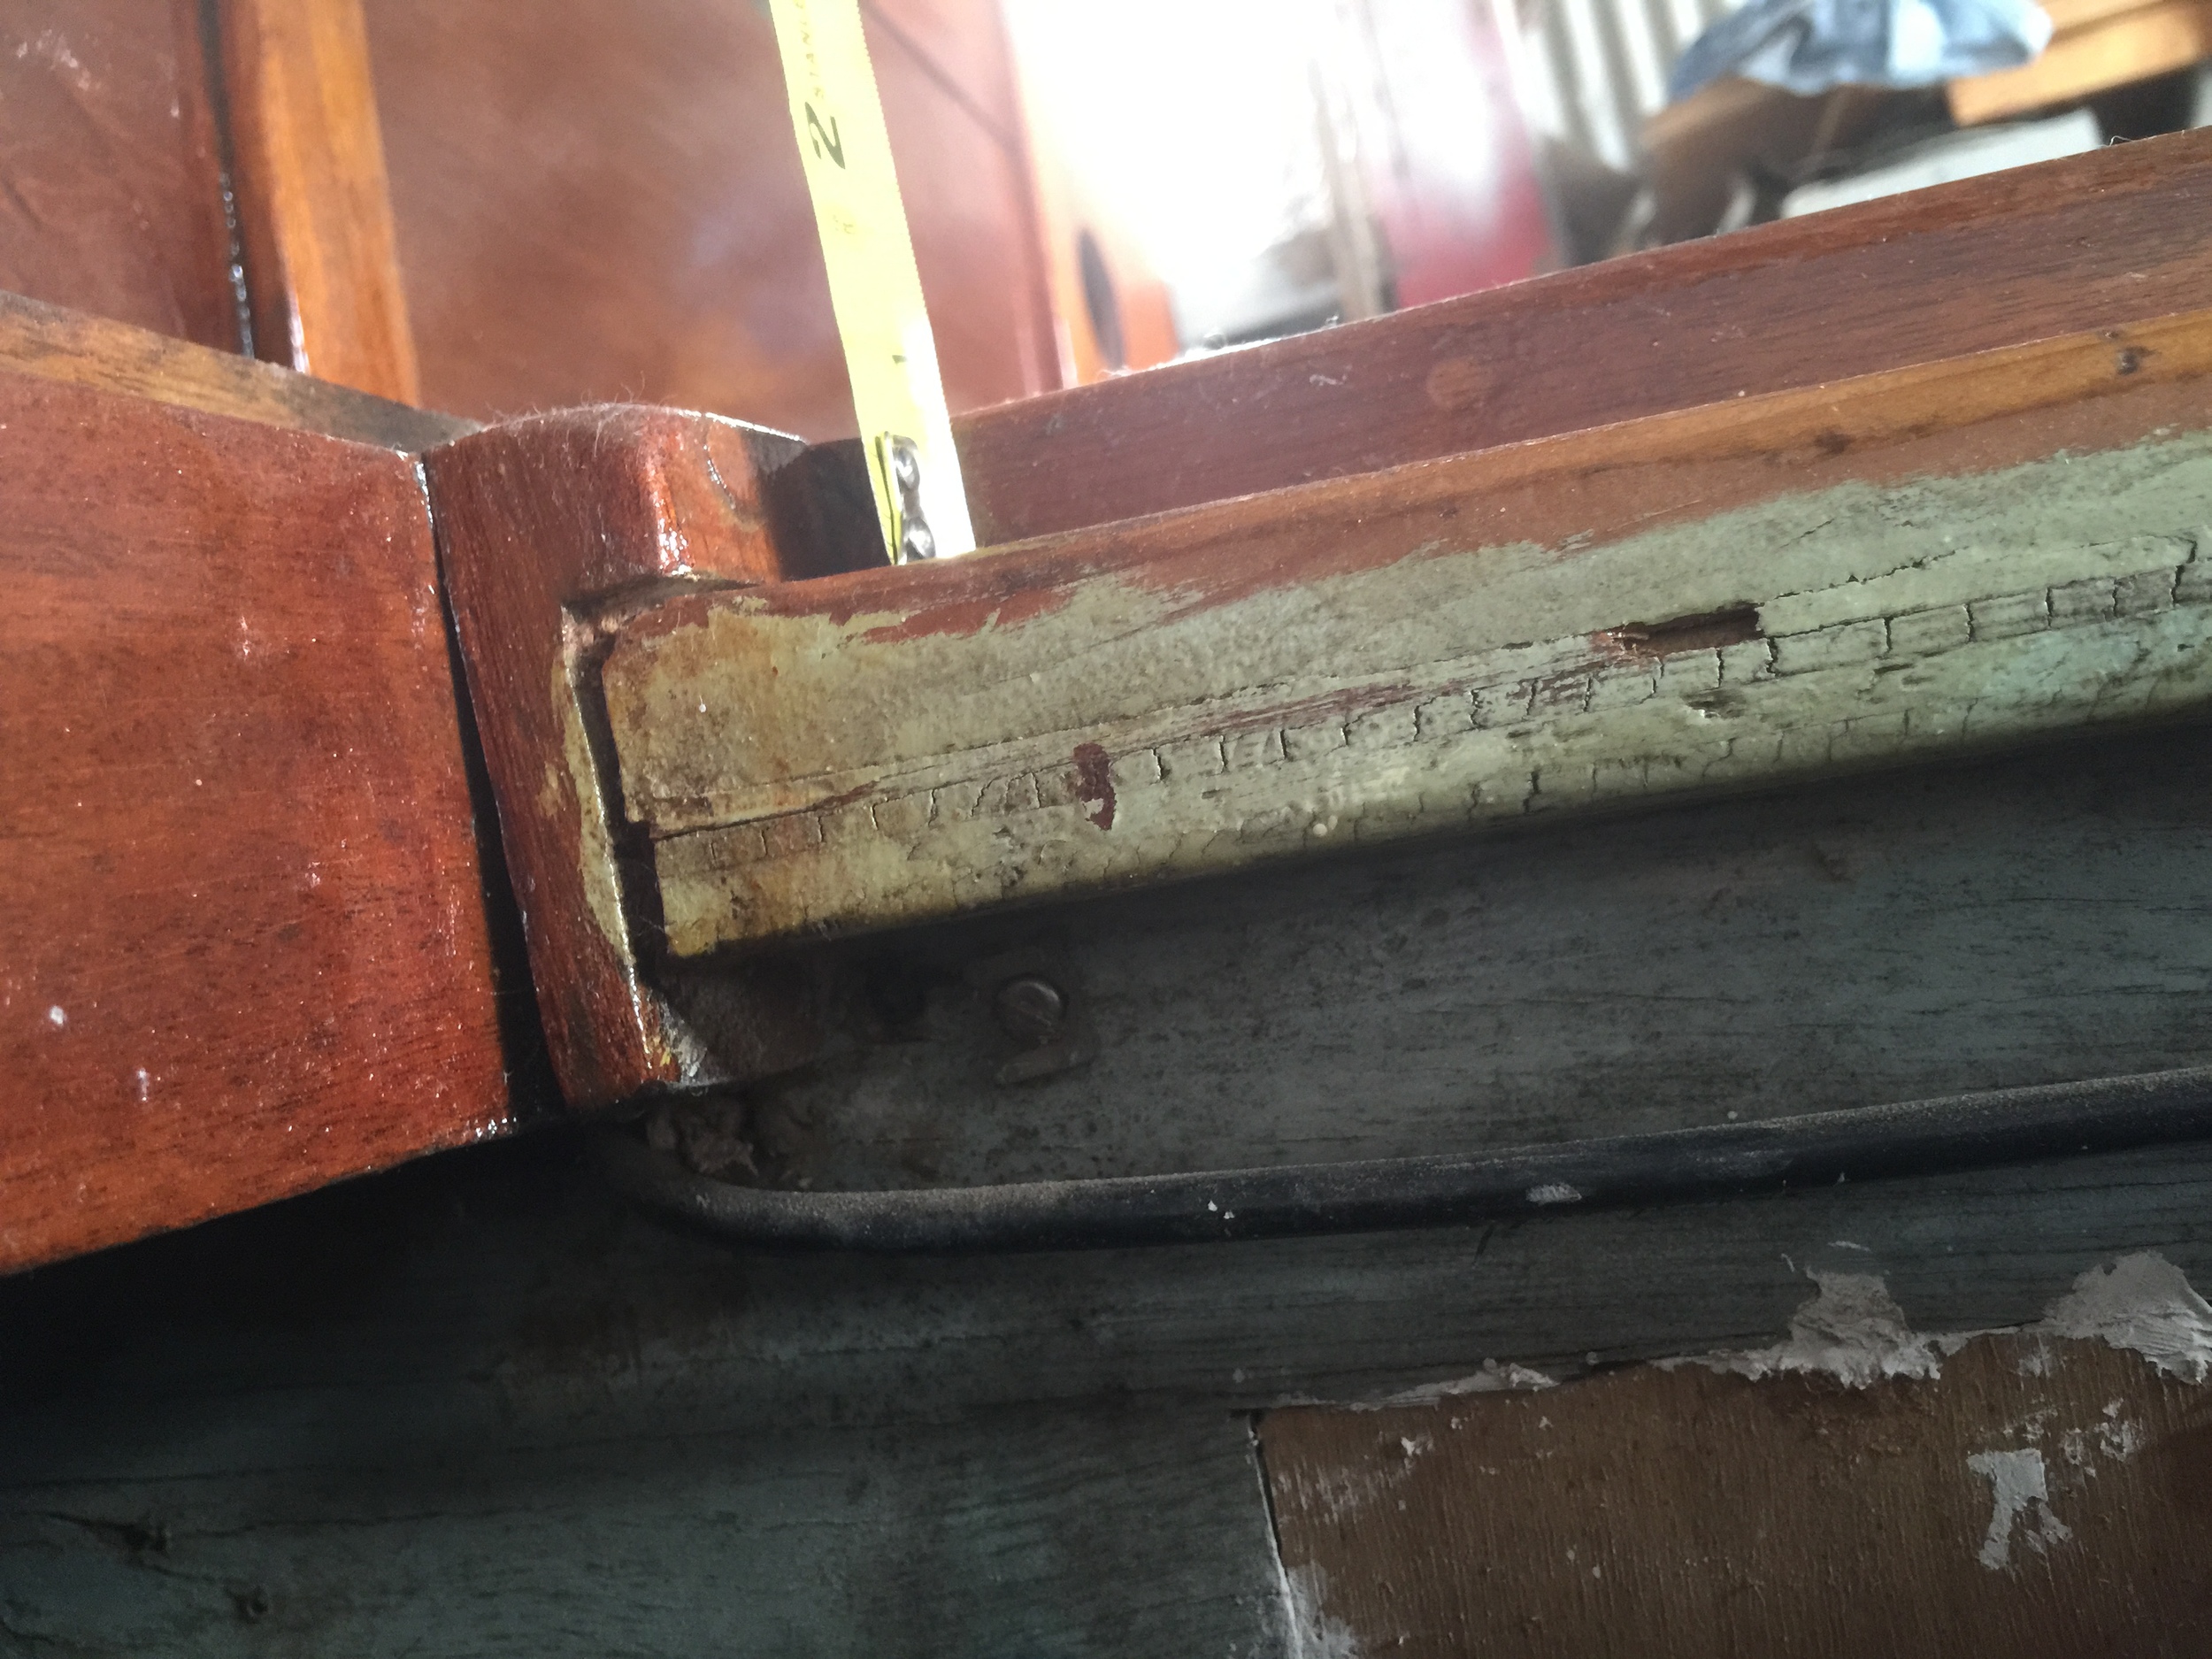
To make sure that all the slats would fit, I measured the bench-support openings and tolerances to ensure they would not stick out and prevent the benches from closing etc.
Epifanes Rapidcoat
I also started to stain/coat the slats with the Epifanes Rapidcoat. I knew I had to re-coat the slats after I had drilled the wholes and put in the plugs and sanded that side down, but at least the underside of the slats that would be touching the wood, already be coated. I would not glue the slats but only fasten them with the screws since I had already coated and varnished the benches and I was not sure that wood glue or other glues would hold.
With all the proper measurements in hand, I started to cut the slats to size. I decided on three slats for each bench and I had to sand the side that would line up with the backboard on an angle and attached them to the bench with three 3/4" brass wood screws, #8. I had previously bought a counter sink drill bit with the accompanying wood plug cutter. My friend john helped me with cutting the plugs. I had given him some scrap 4/4 afrian mahogany for cutting the plugs, but unfortunately, the drill bit did not go completely through, but we managed to cut out the 18 plugs we needed anyway.
The slats went on pretty fast and the screws by themselves feel pretty sturdy and hopefully will give the slats enough strength and prevent any warping or sagging.
I inserted the plugs with a little bit of wood glue to ensure they would stay in place. After the glue had set I used a chisel to cut off most of the plug that would stick out, but this may not have been the best way to do it, since 2 or 3 of the plugs would snap off BELOW the main plain of the slat, so there was a slight indentation for those plugs. I think I chiseled those 2 or 3 plugs perpendicular to the grain but have to find a better, more predictable way to cut the plugs. (Research needed!). I also was not diligent enough to ensure that the grain of the plugs would line up with the grain of the slats for the first couple of plugs, so not all of them lined up nicely. Lesson learned!
I sanded down the plugs nice and flush and coated the slats with 5 layers of Epifanes Rapid coat. I did not use the Epifanes varnish on the slats; Part laziness and part of me thinking the slats will not see much sun anyway so why bother, but the end result does not look half bad, if I say so myself...Which of course, I am doing.
Next up, was to rooter out the slots for the hinges. I did not have the exact location of the hinges from the original benches, but decided to have the hinges be 10 inches from either side. That would have to do. I drew the outline of the hinges on the bench and used my trusty Dremel drill with a rooter bit and cut out the slots freehand.
Next up, will be to attach the hinges to the benches. In the original benches, the hinges were simply screwed in, but that was only possible since there was a slat in the longitudinal direction that would hold the screws. I need to use #10 at least, and you can only get 1.5 inch long versions of those and in my design, that would mean the screws would stick out. While I could simply add a small slat on the other side of the hinges, I decided to use #10 machine screws and bolts to attach the hinges to the benches. I have some of them, but not the 12 I need and I also want to put those locking bolts on there and some teflon washers to ensure I don't damage the wood too much, so back to Home Depot for some more shopping!

