Father forgive me, it has been 5 month since my last, huh, blog.
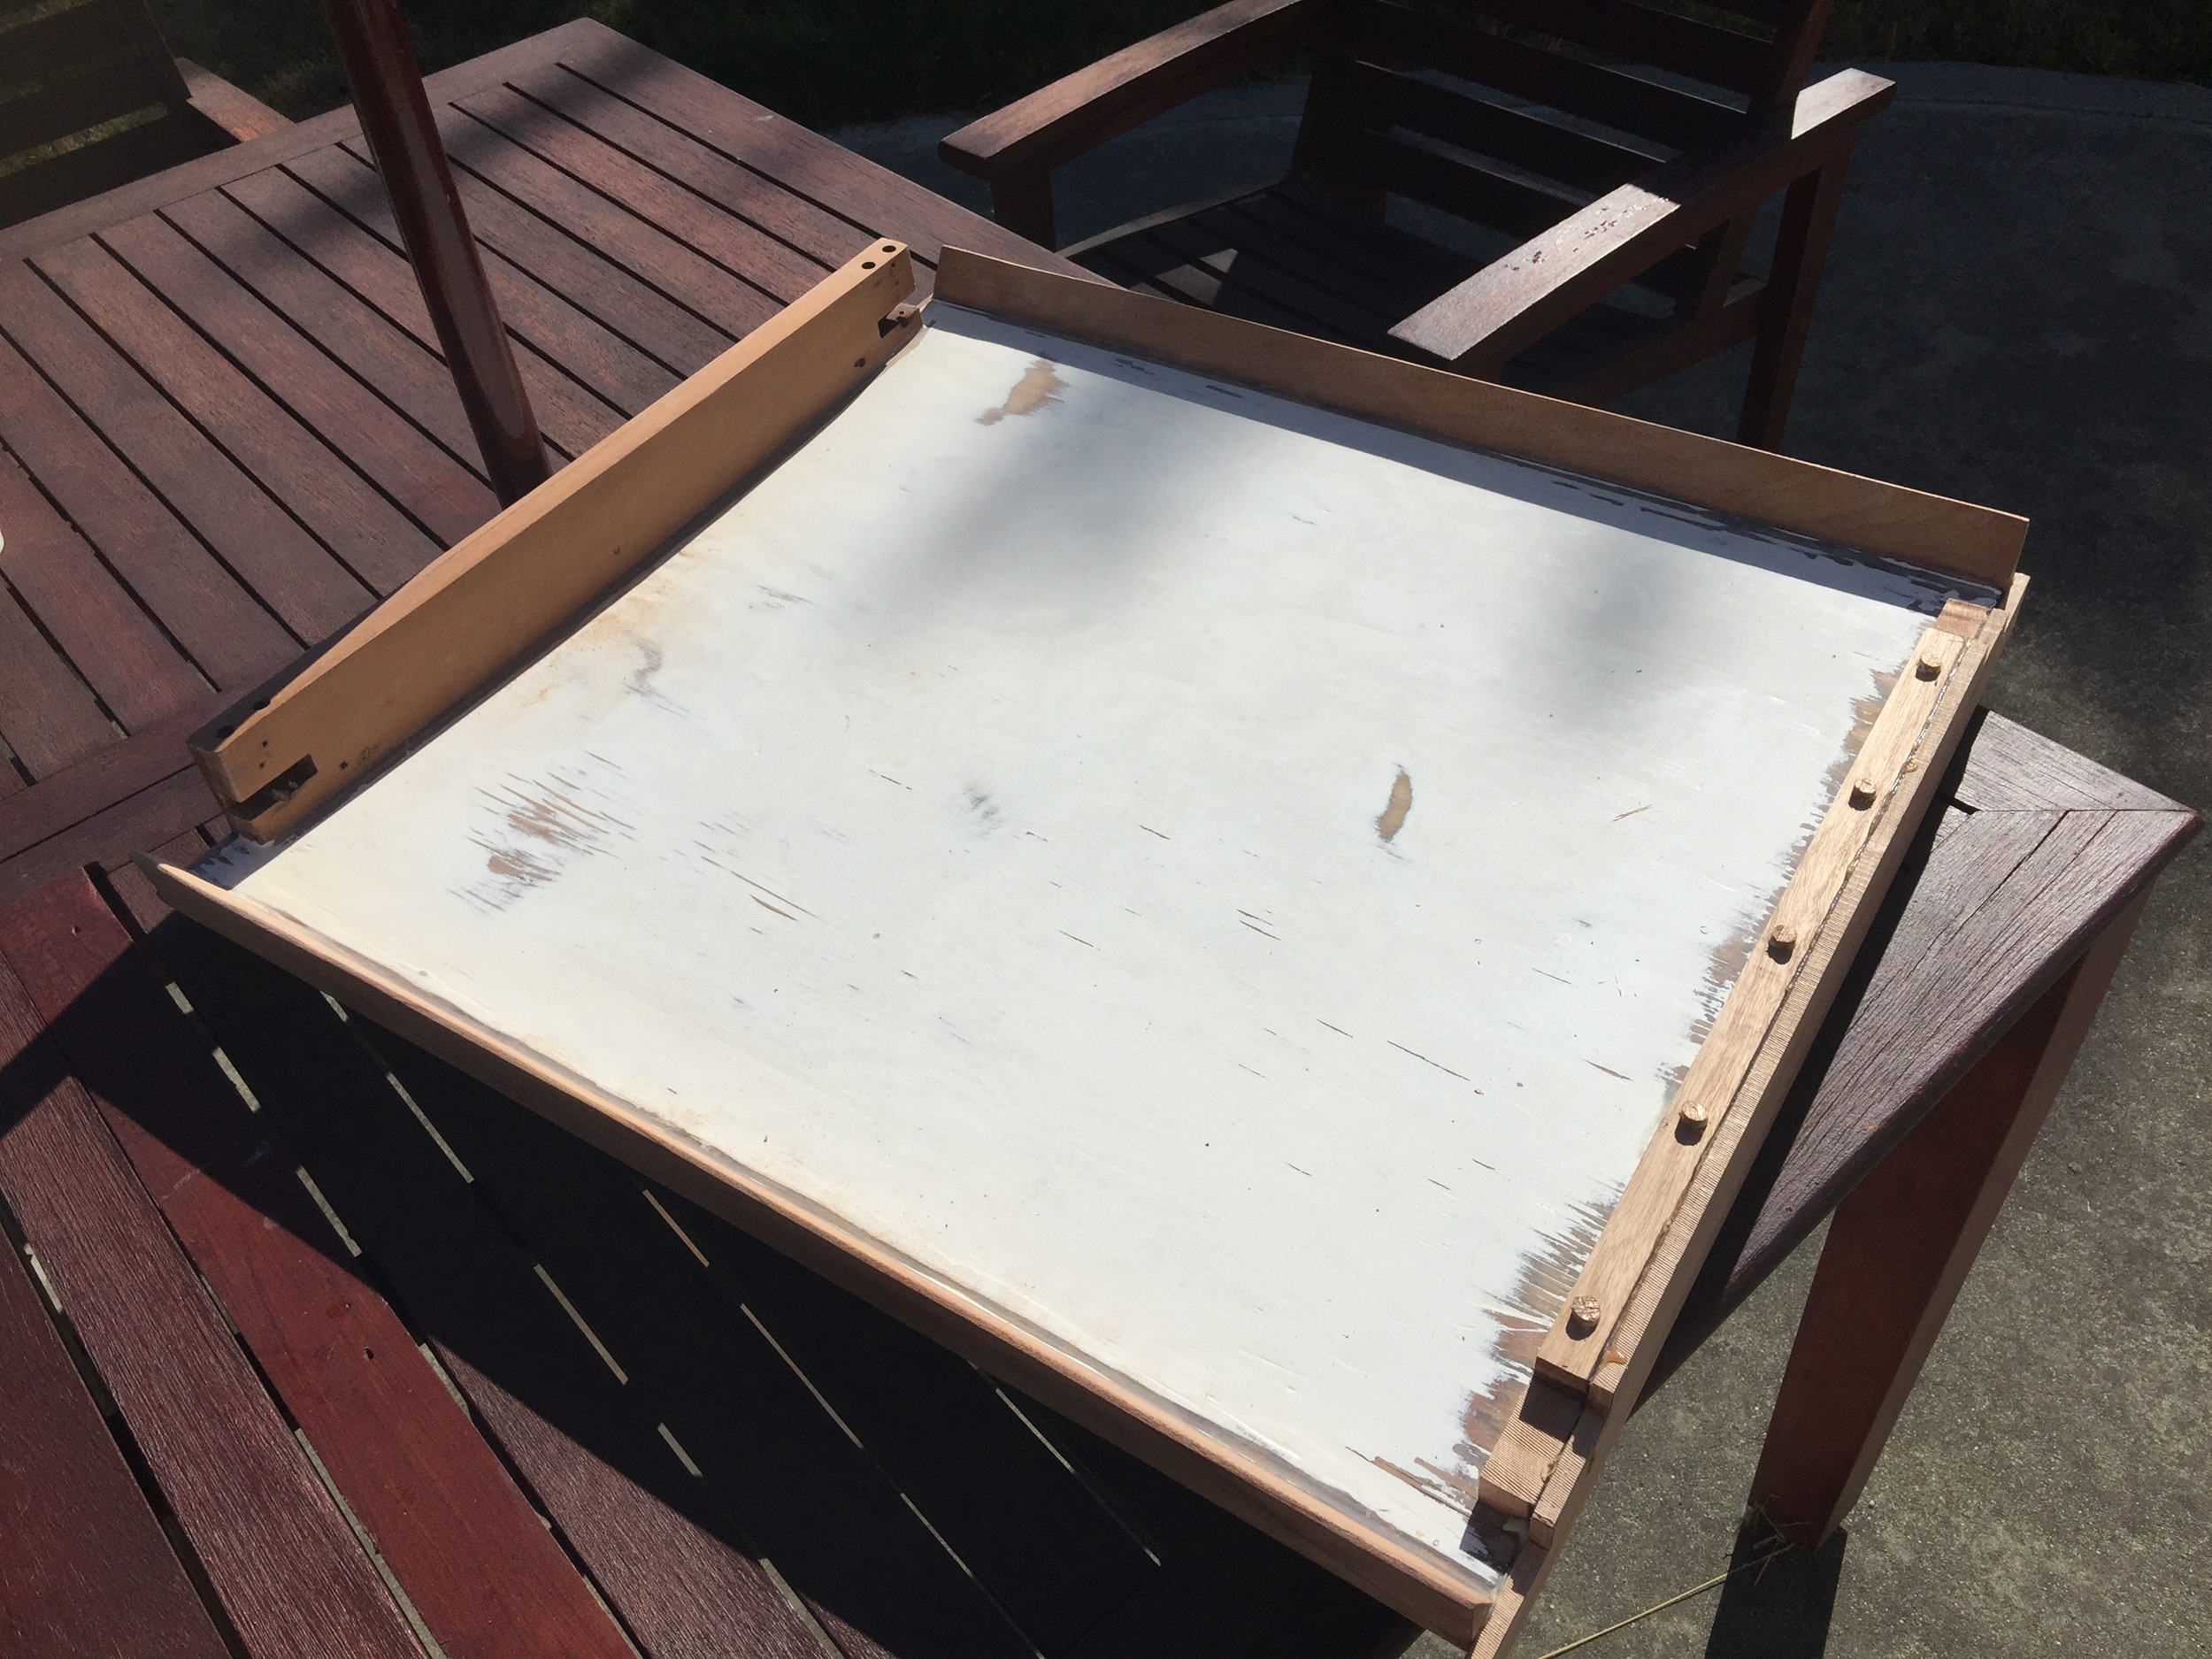
There is one more piece I had worked on, and that is the hatch. The hatch was in decent shape, although a little worse for wear like the rest of the pieces. The front piece was broken and had been repaired, but it was cracked all the way through so that at least had to be replaced. The bottom looked decent but the top was quite weathered and needed to be dealt with. The hatch is just sliding on four pieces of plastic which made the hatch a little hard to slide and it was also laying on top of two wood sliders and did not have any rails or anything to slide on.
I had looked on the internet at some of the other kettenburgs and had found a cool looking hatch with teak slats and felt that it looked better than the white covered hatch I now had so I decided to see if I could recreate that hatch.
A picture of a nice hatch I found on the internet on another Kettenburg
I figured I should not try to put the slats on the existing hatch, since it would be far to high so I decided to create the hatch from scratch. I figured I would take some maple or other strong wood to create the bottom and then put on the slats perpendicular to give it strength and make it look as nice as the one in the picture. I got some maple planks about 10 inches wide and using the jointer I made the edges nice and straight and glued them together.
I probably should just have taken a piece of marine plywood to make the base, but why make it easy on yourself!
Then I ordered some teak slats to make the top and that is as far as I got. I took another look at the existing hatch and felt more and more that it was probably easier to just fix that hatch, rather then building a new one. I figured I could always built a new one later while getting the old hatch in order...So that is what I did.
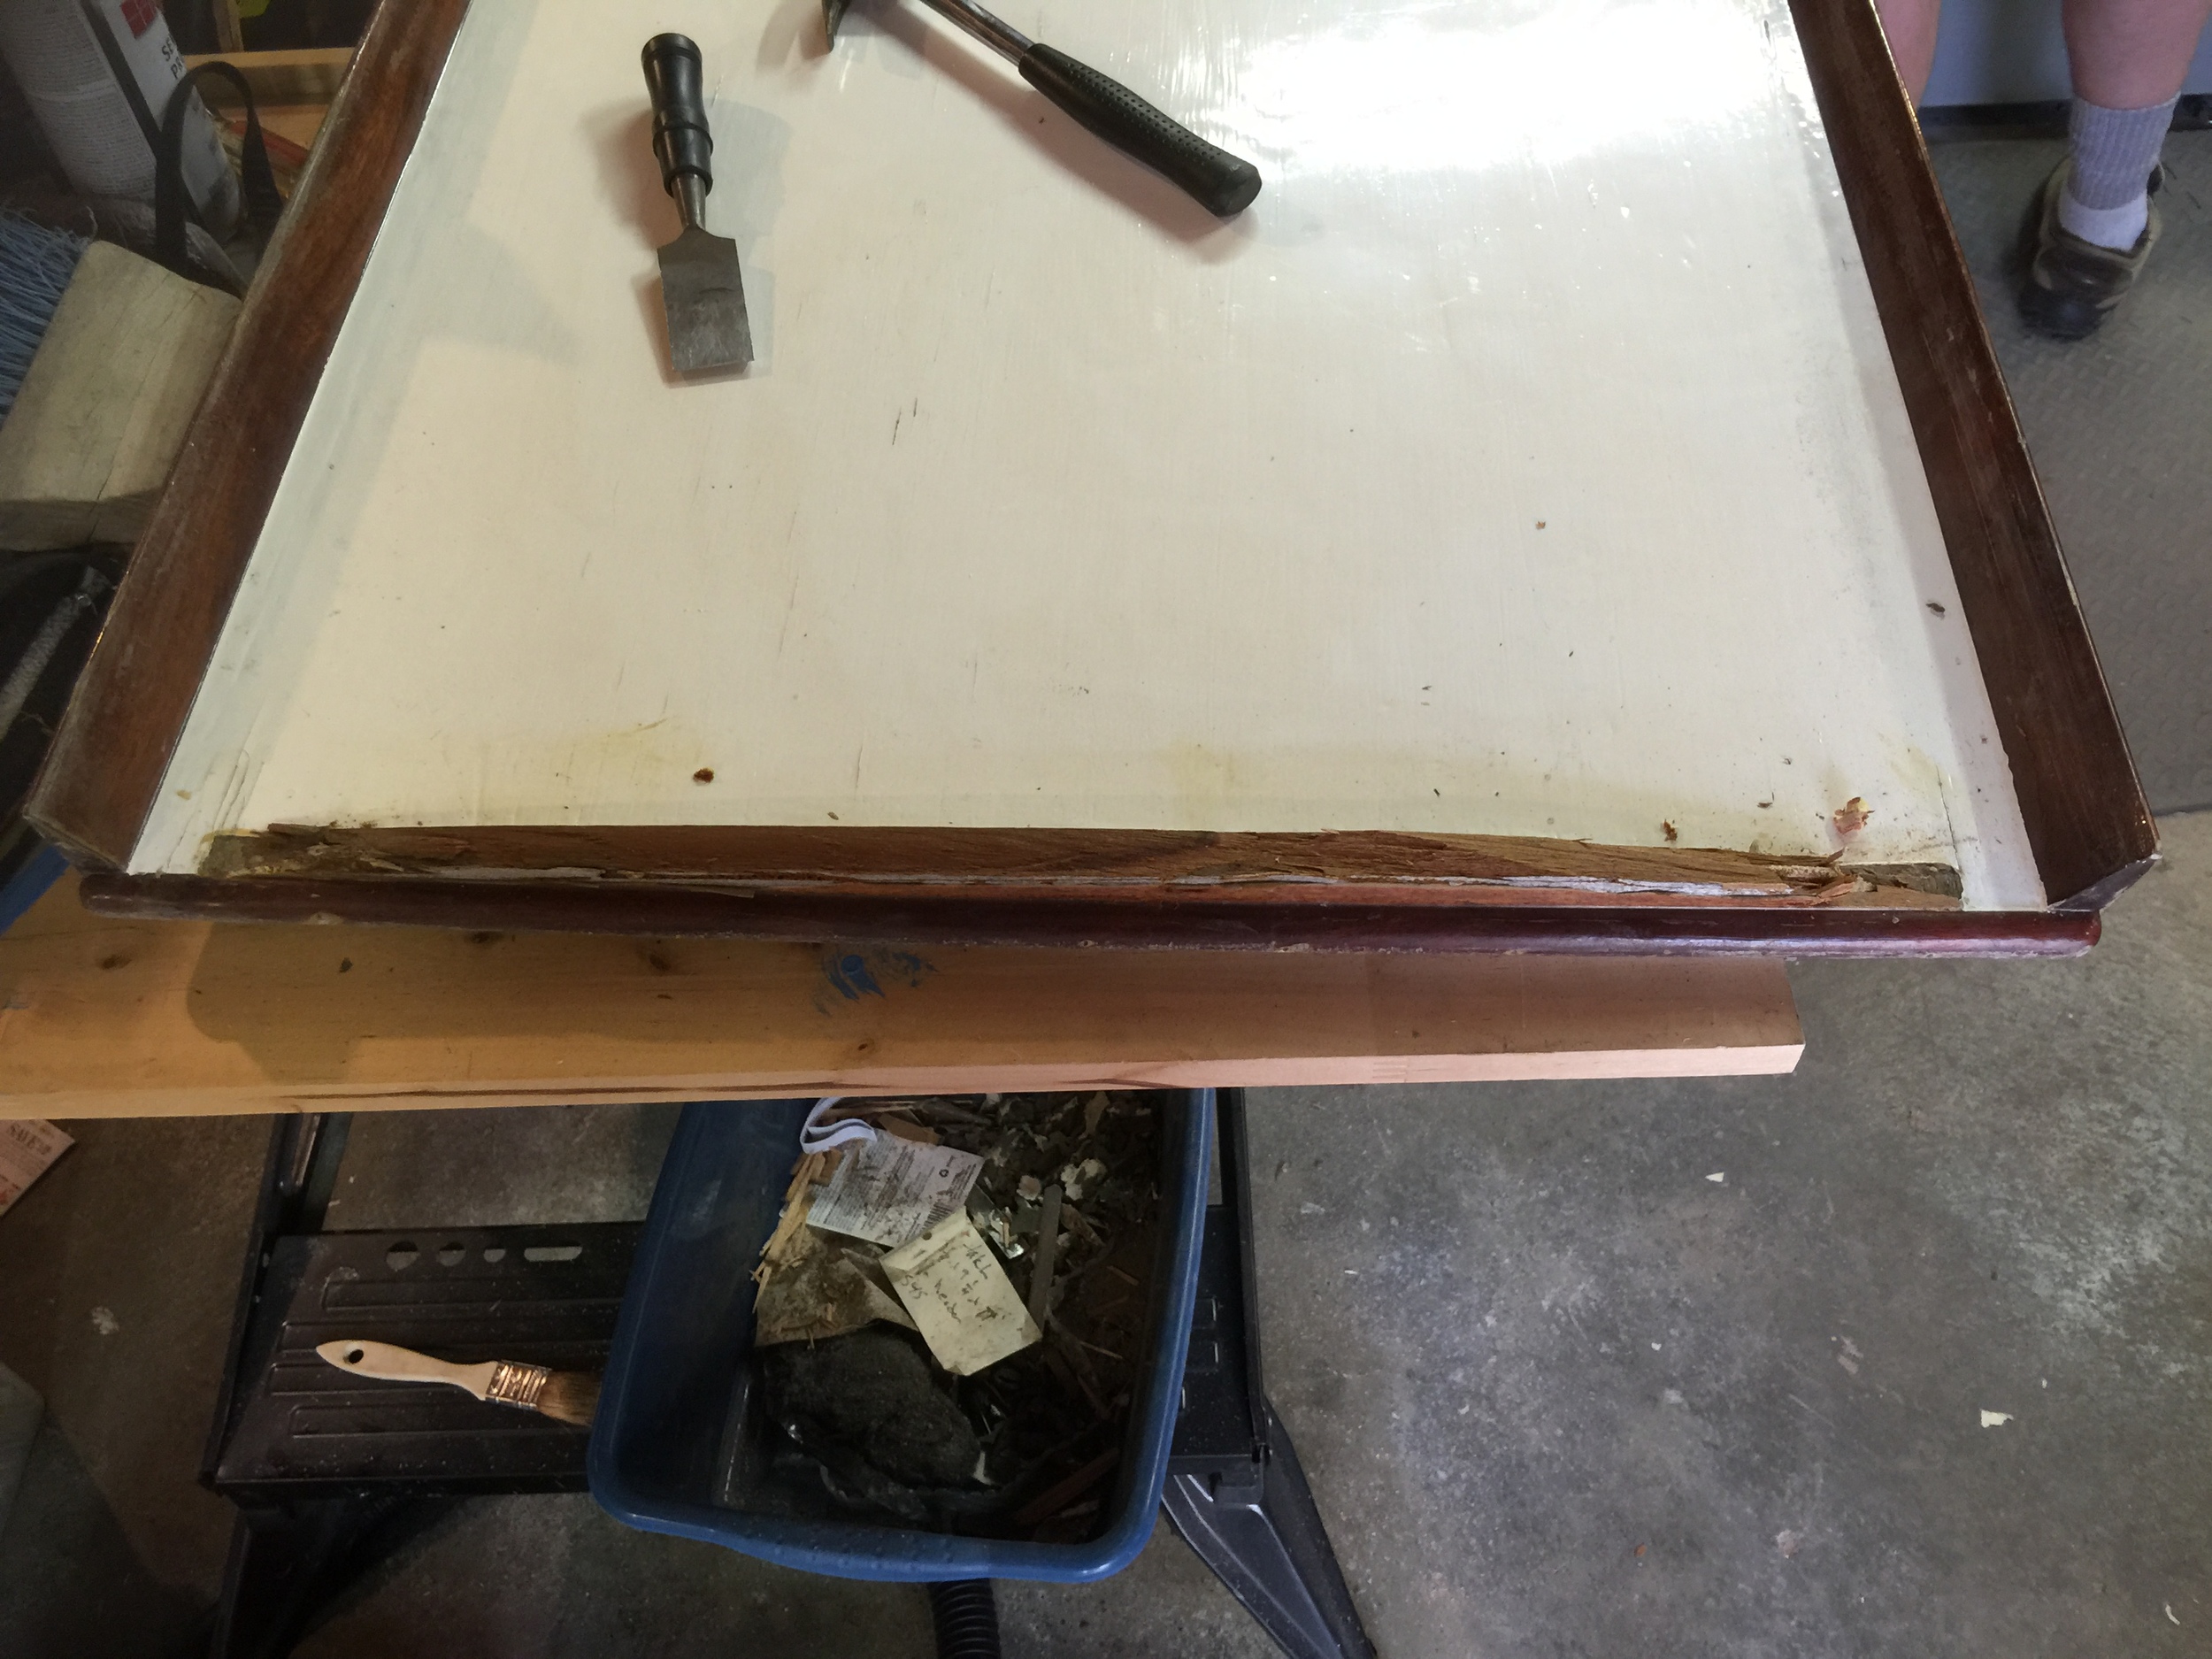
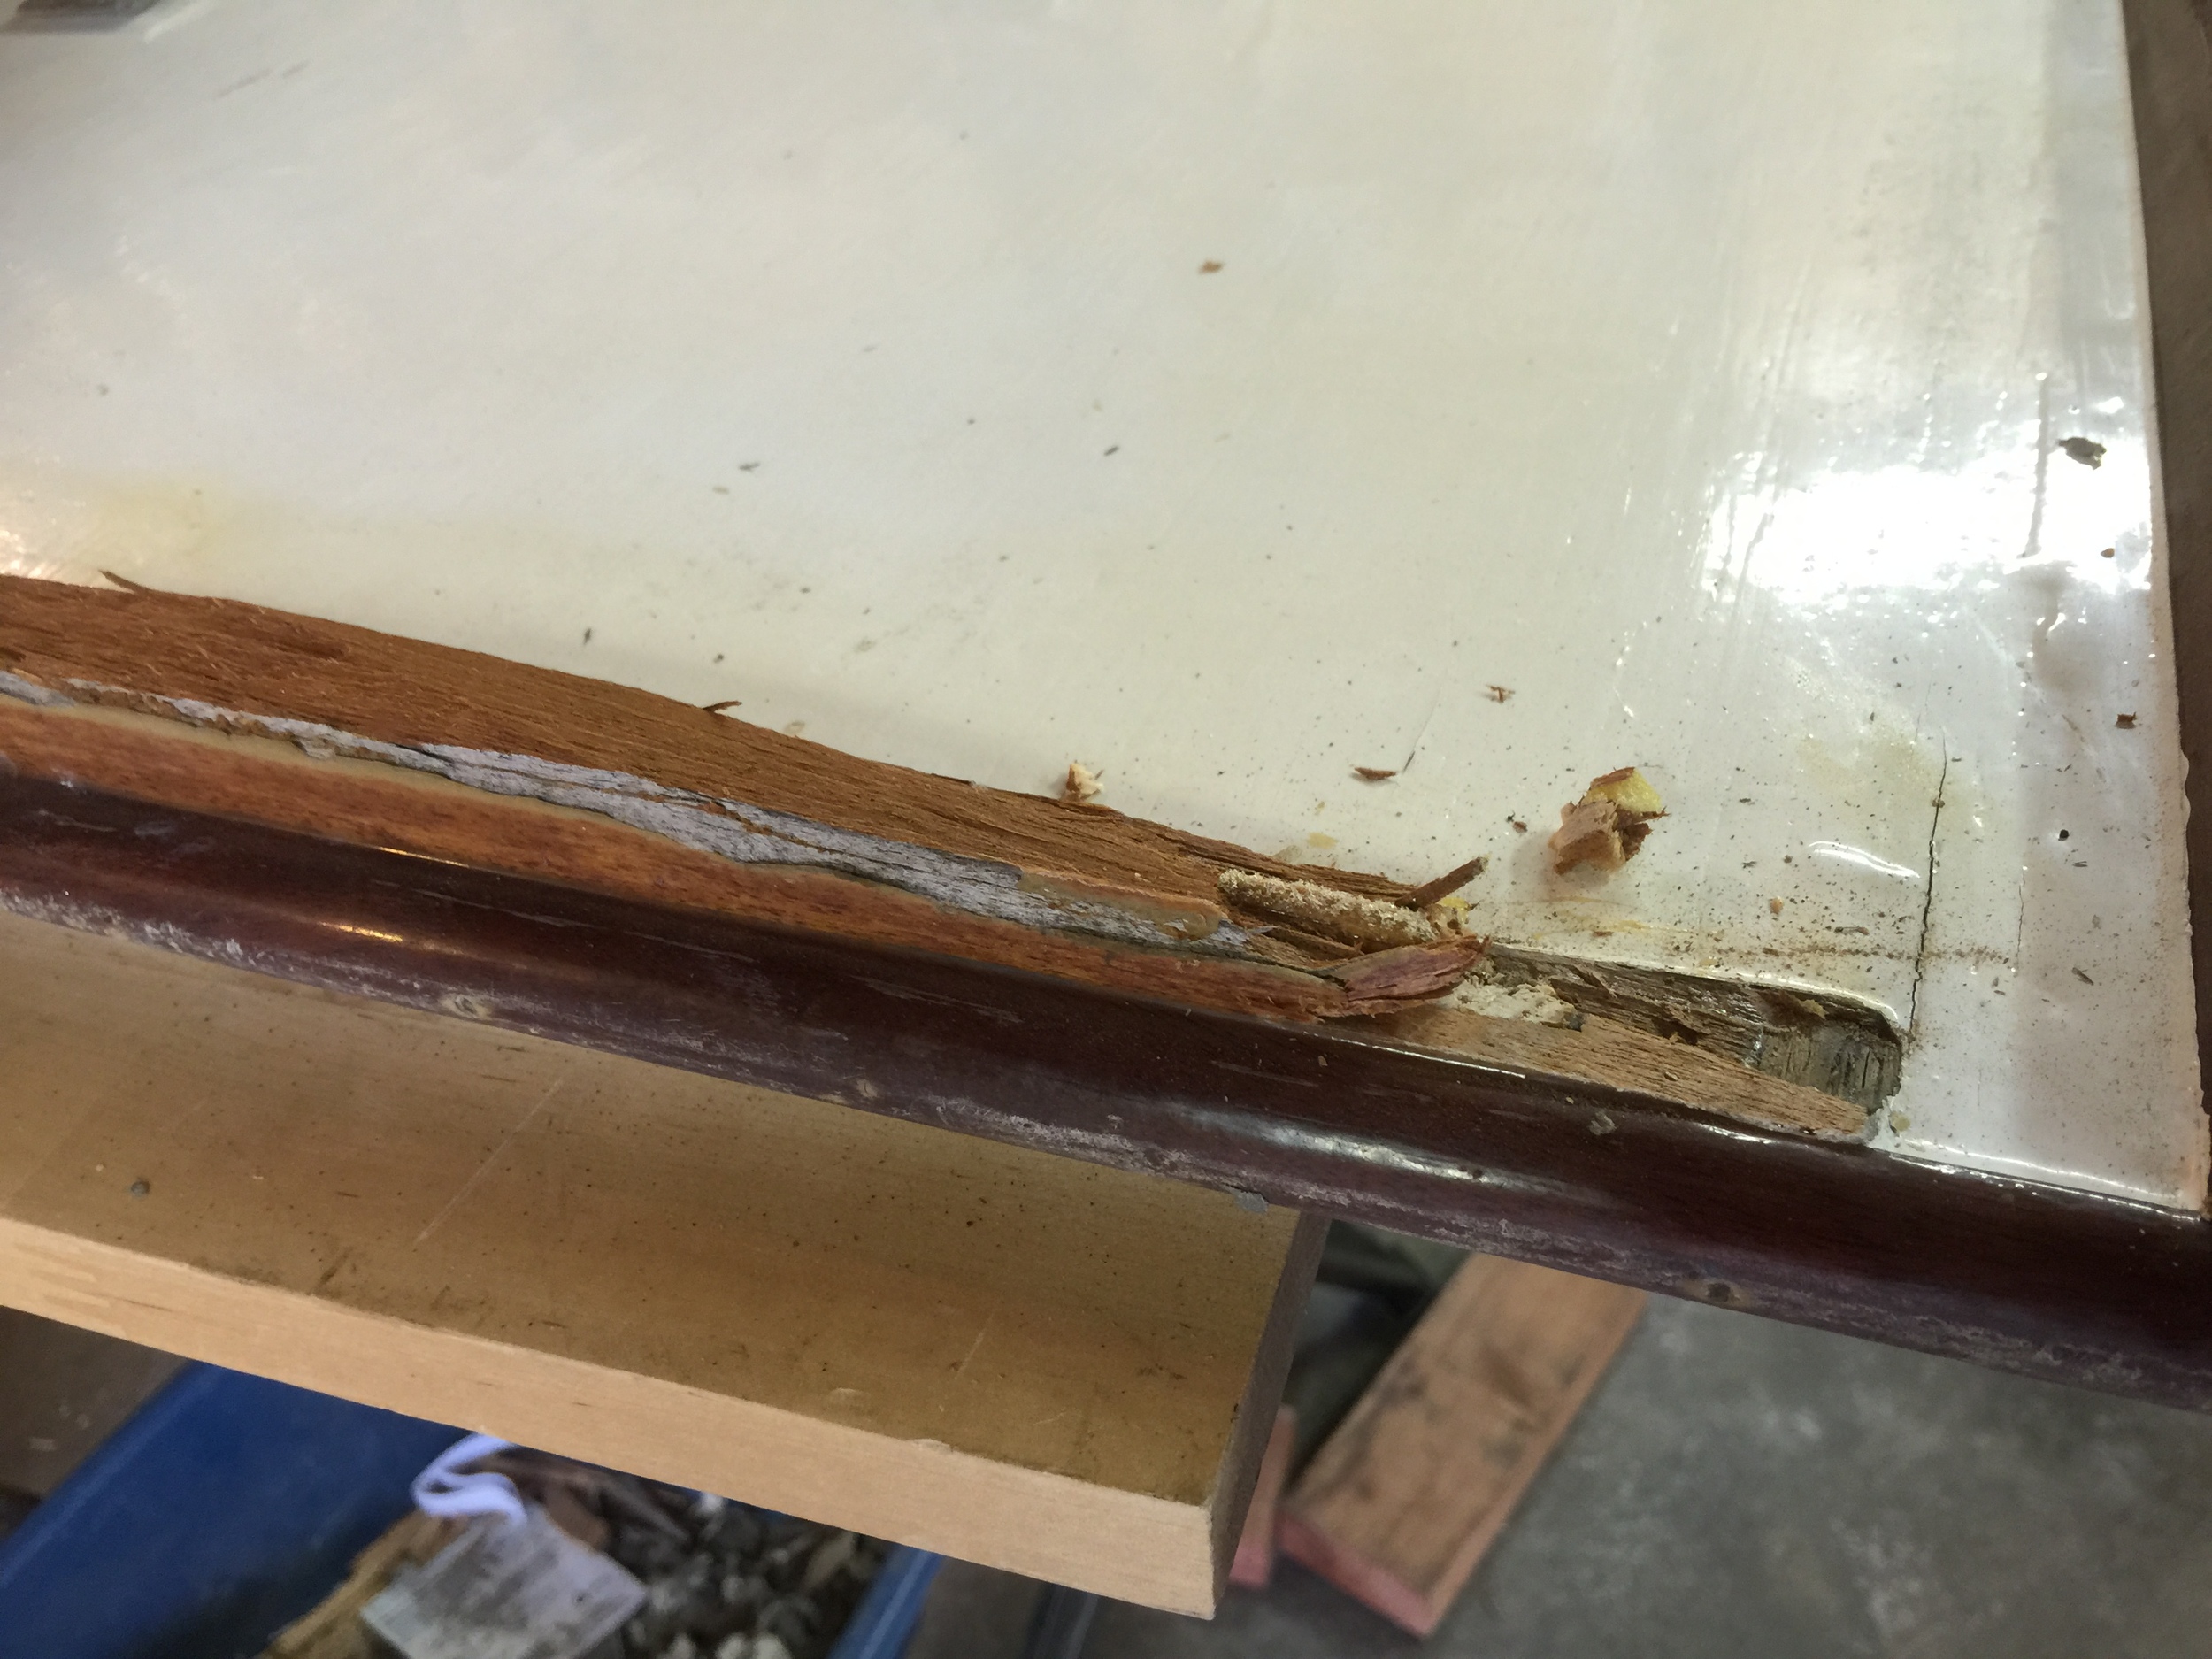
The first thing I had to do was to remove the front piece so it could be replaced. It was cracked and repaired and did not look very nice, so got my chisel and started wailing at it.
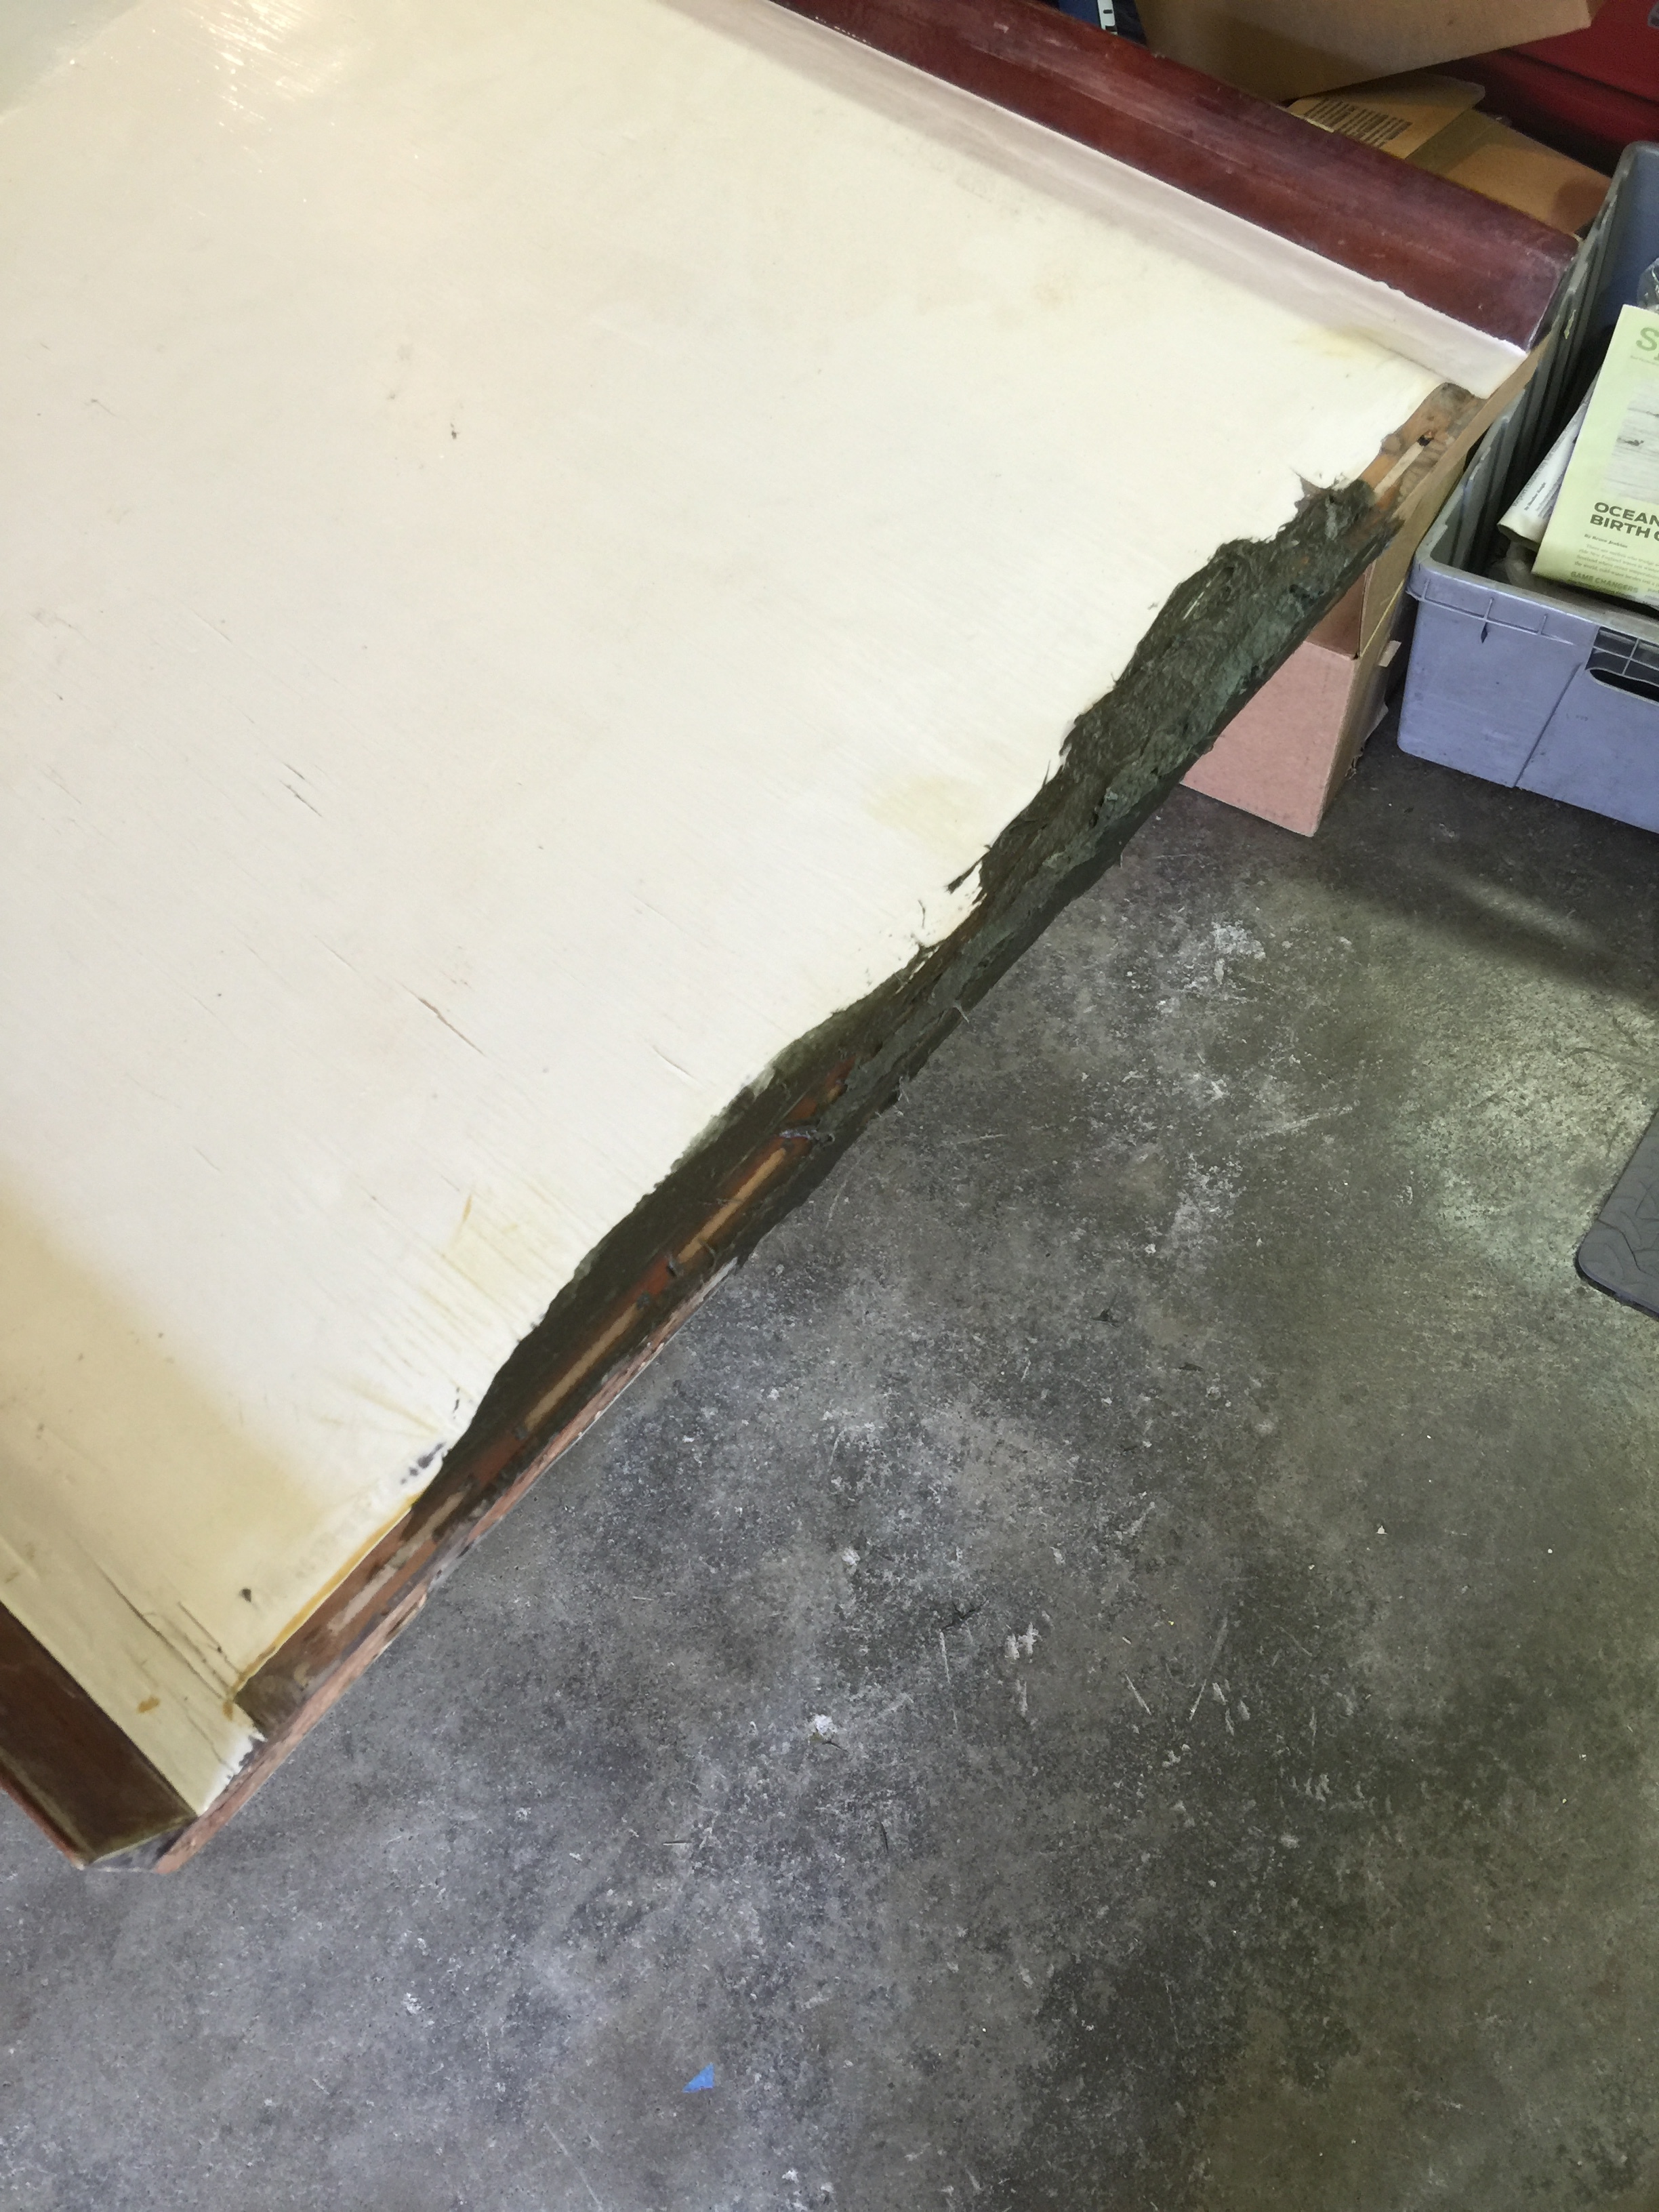
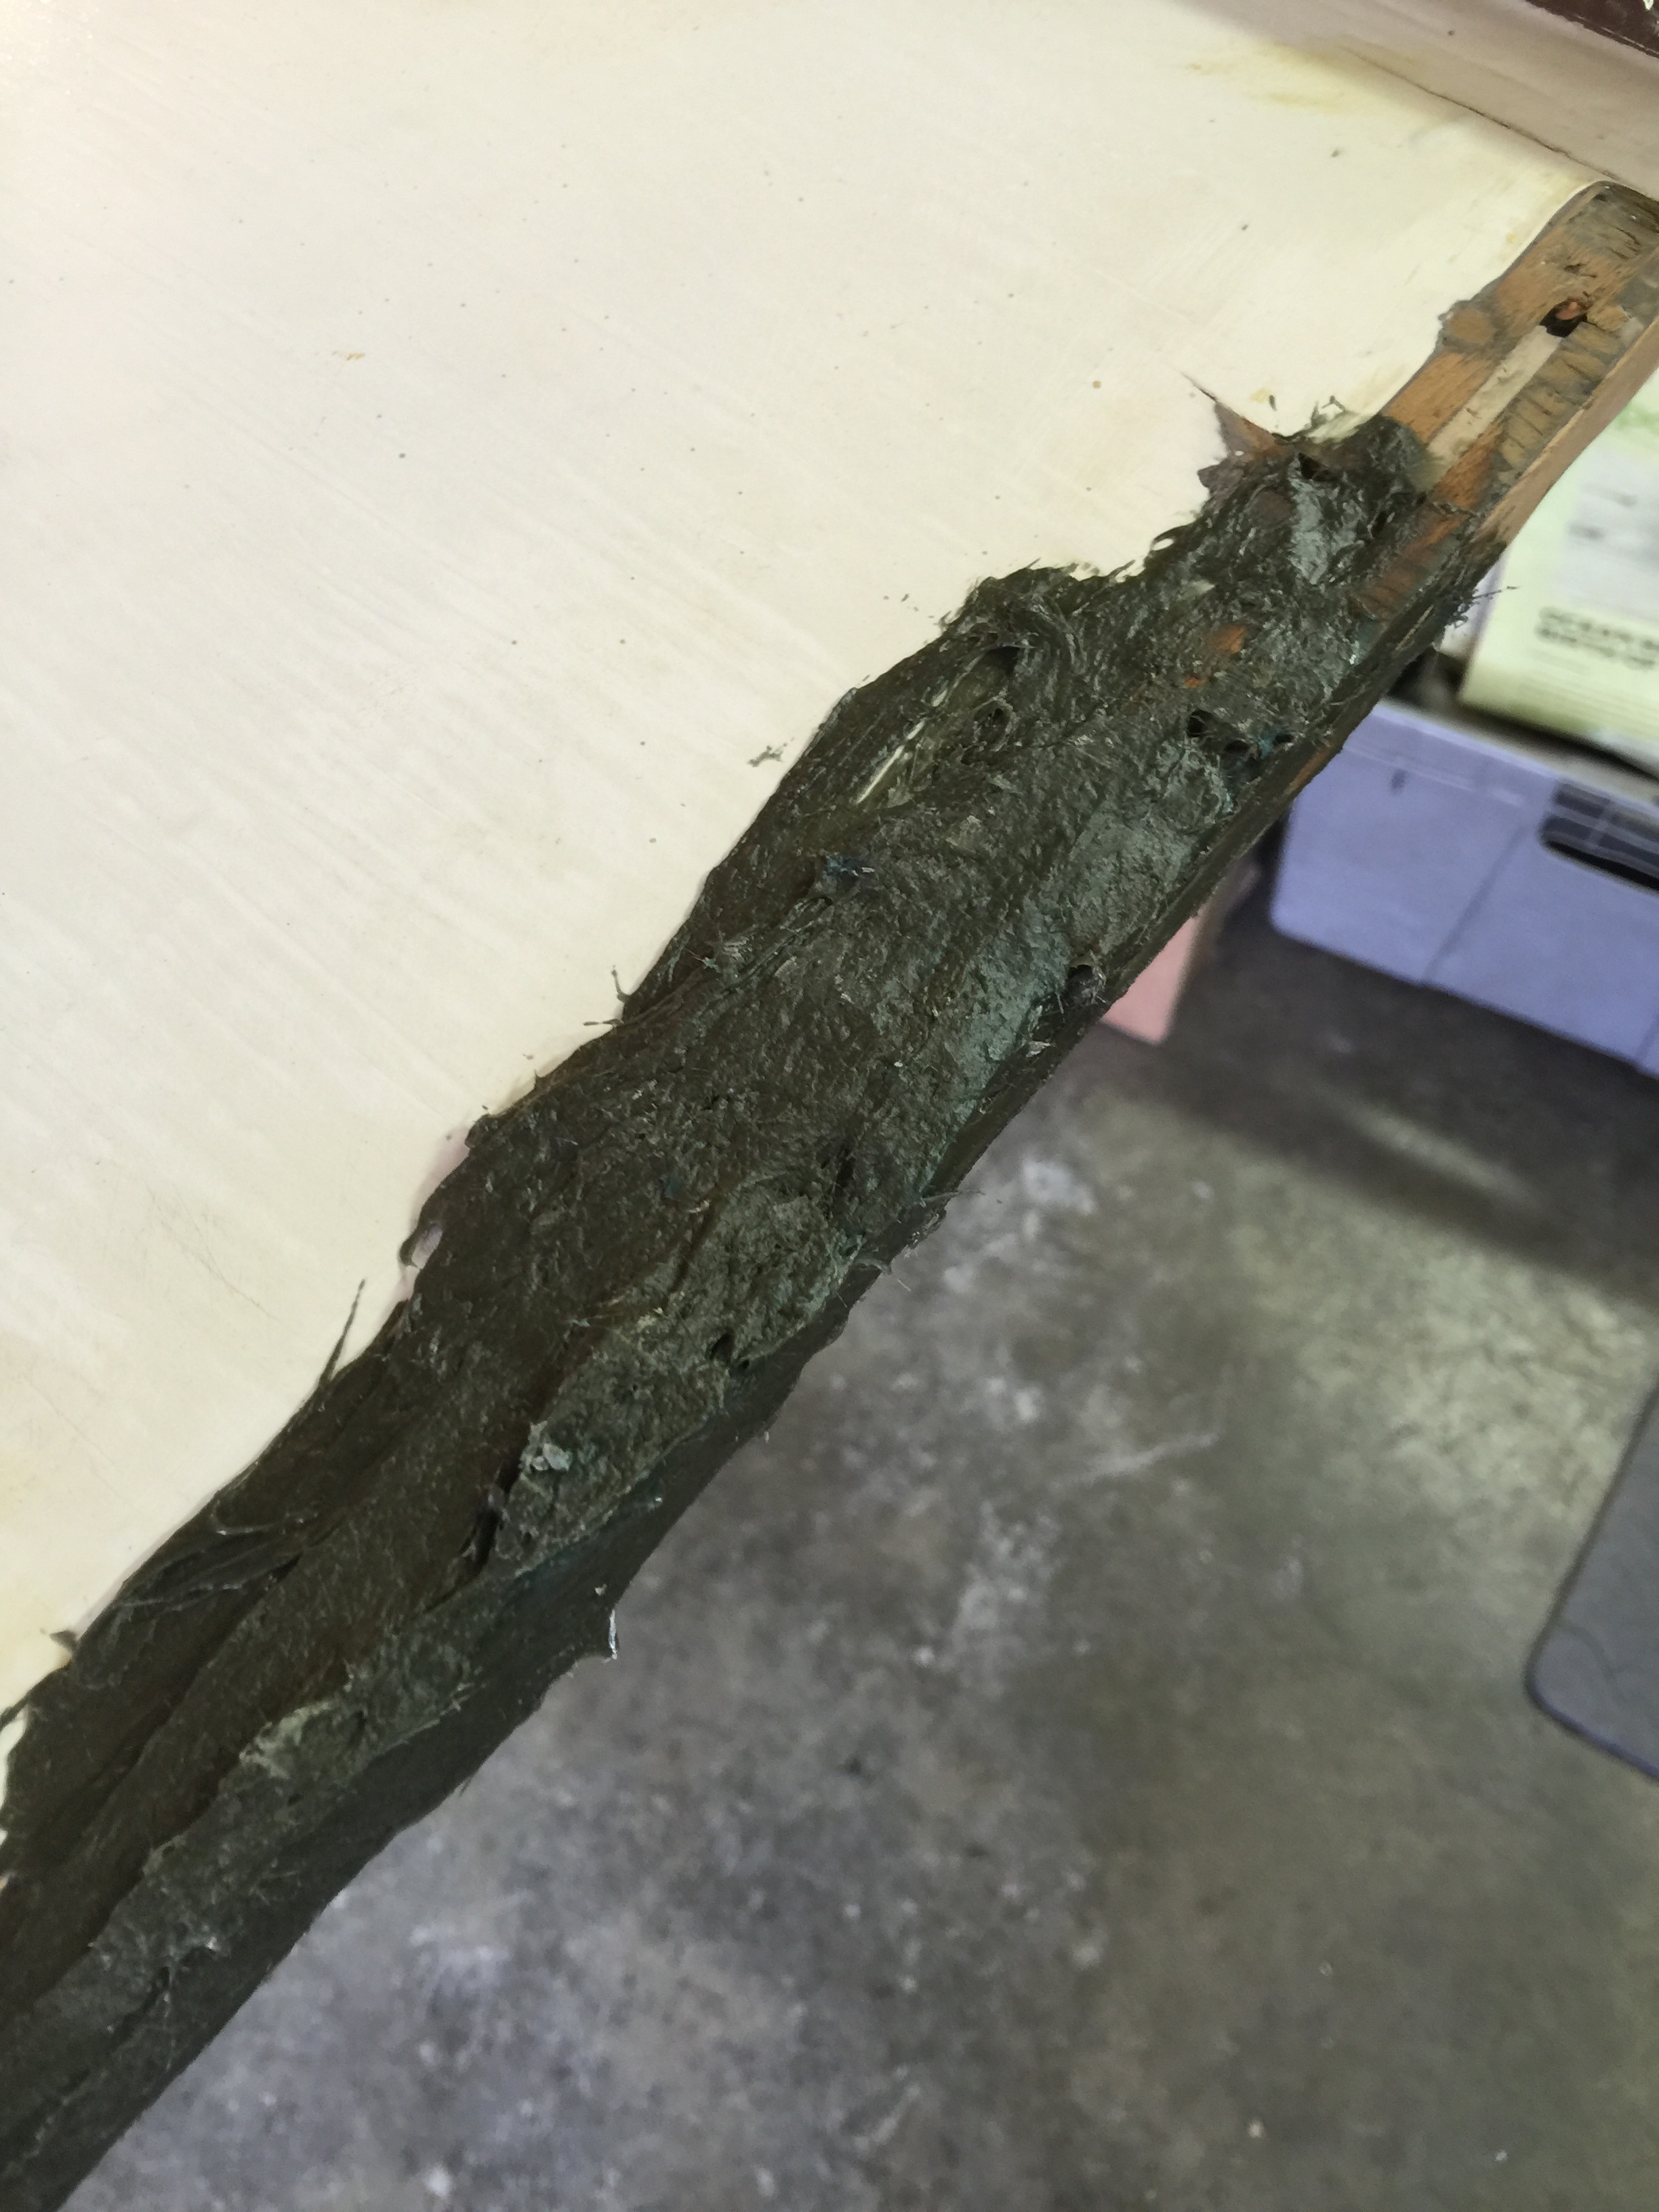
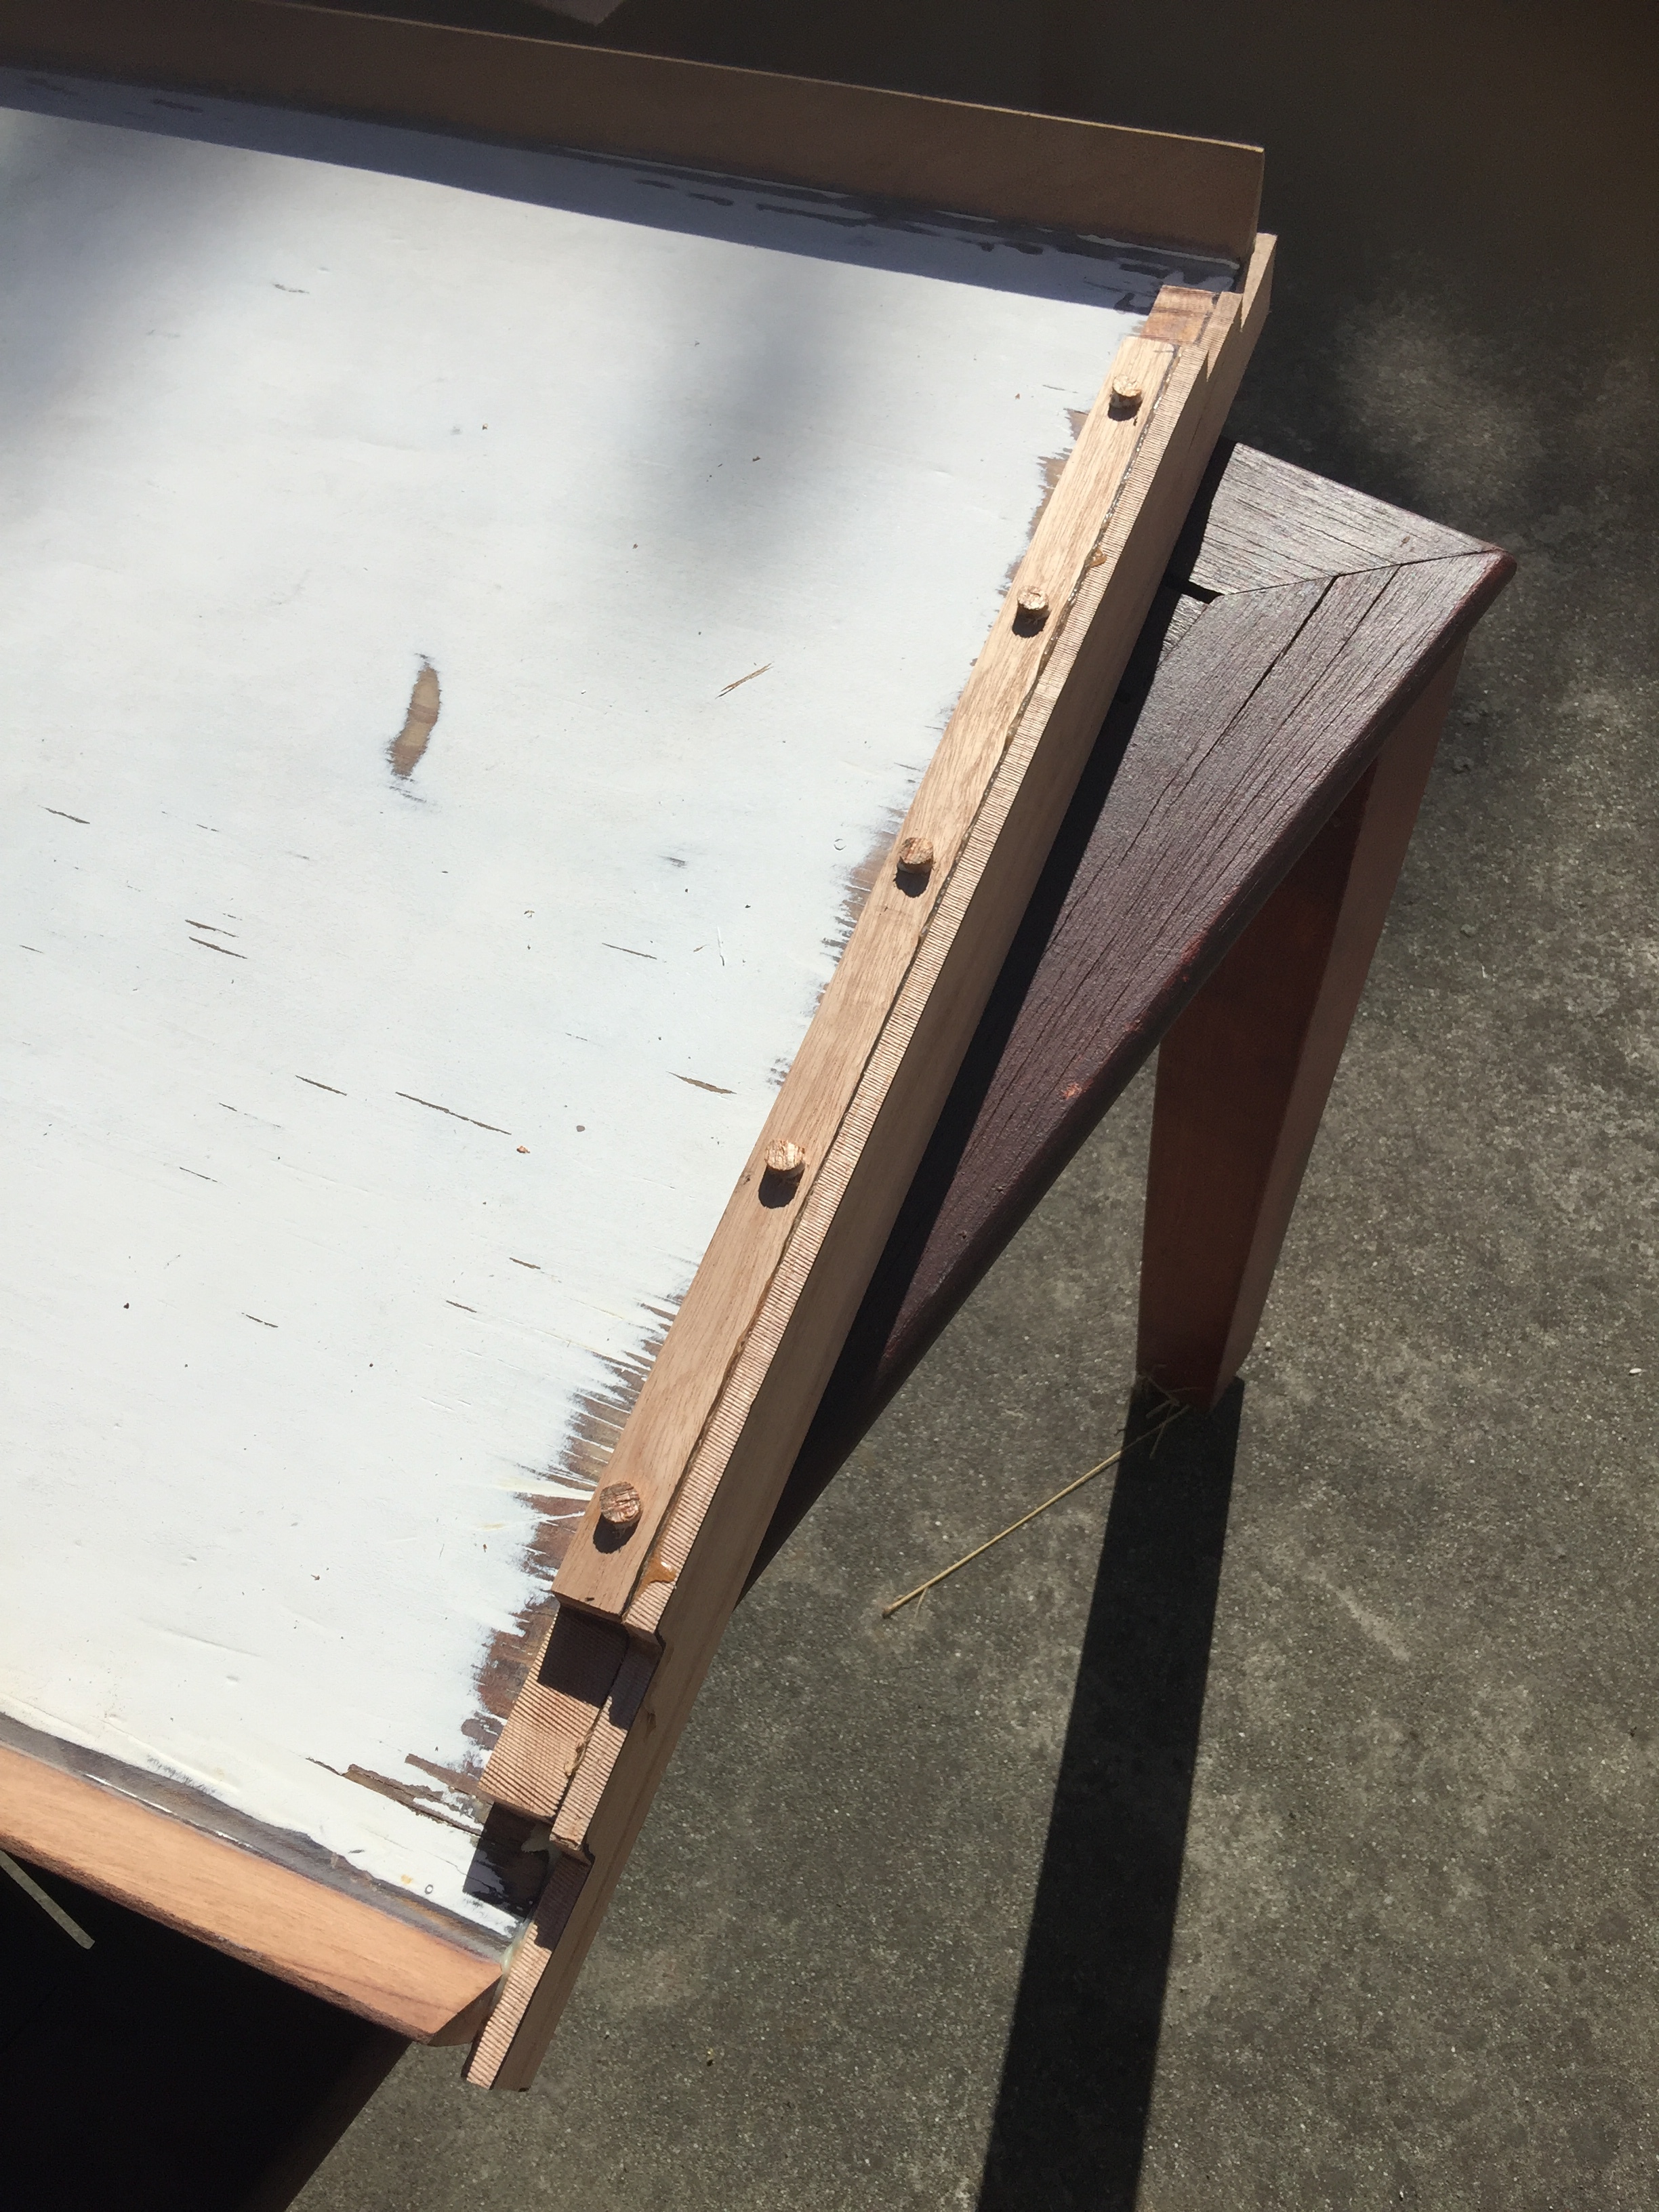
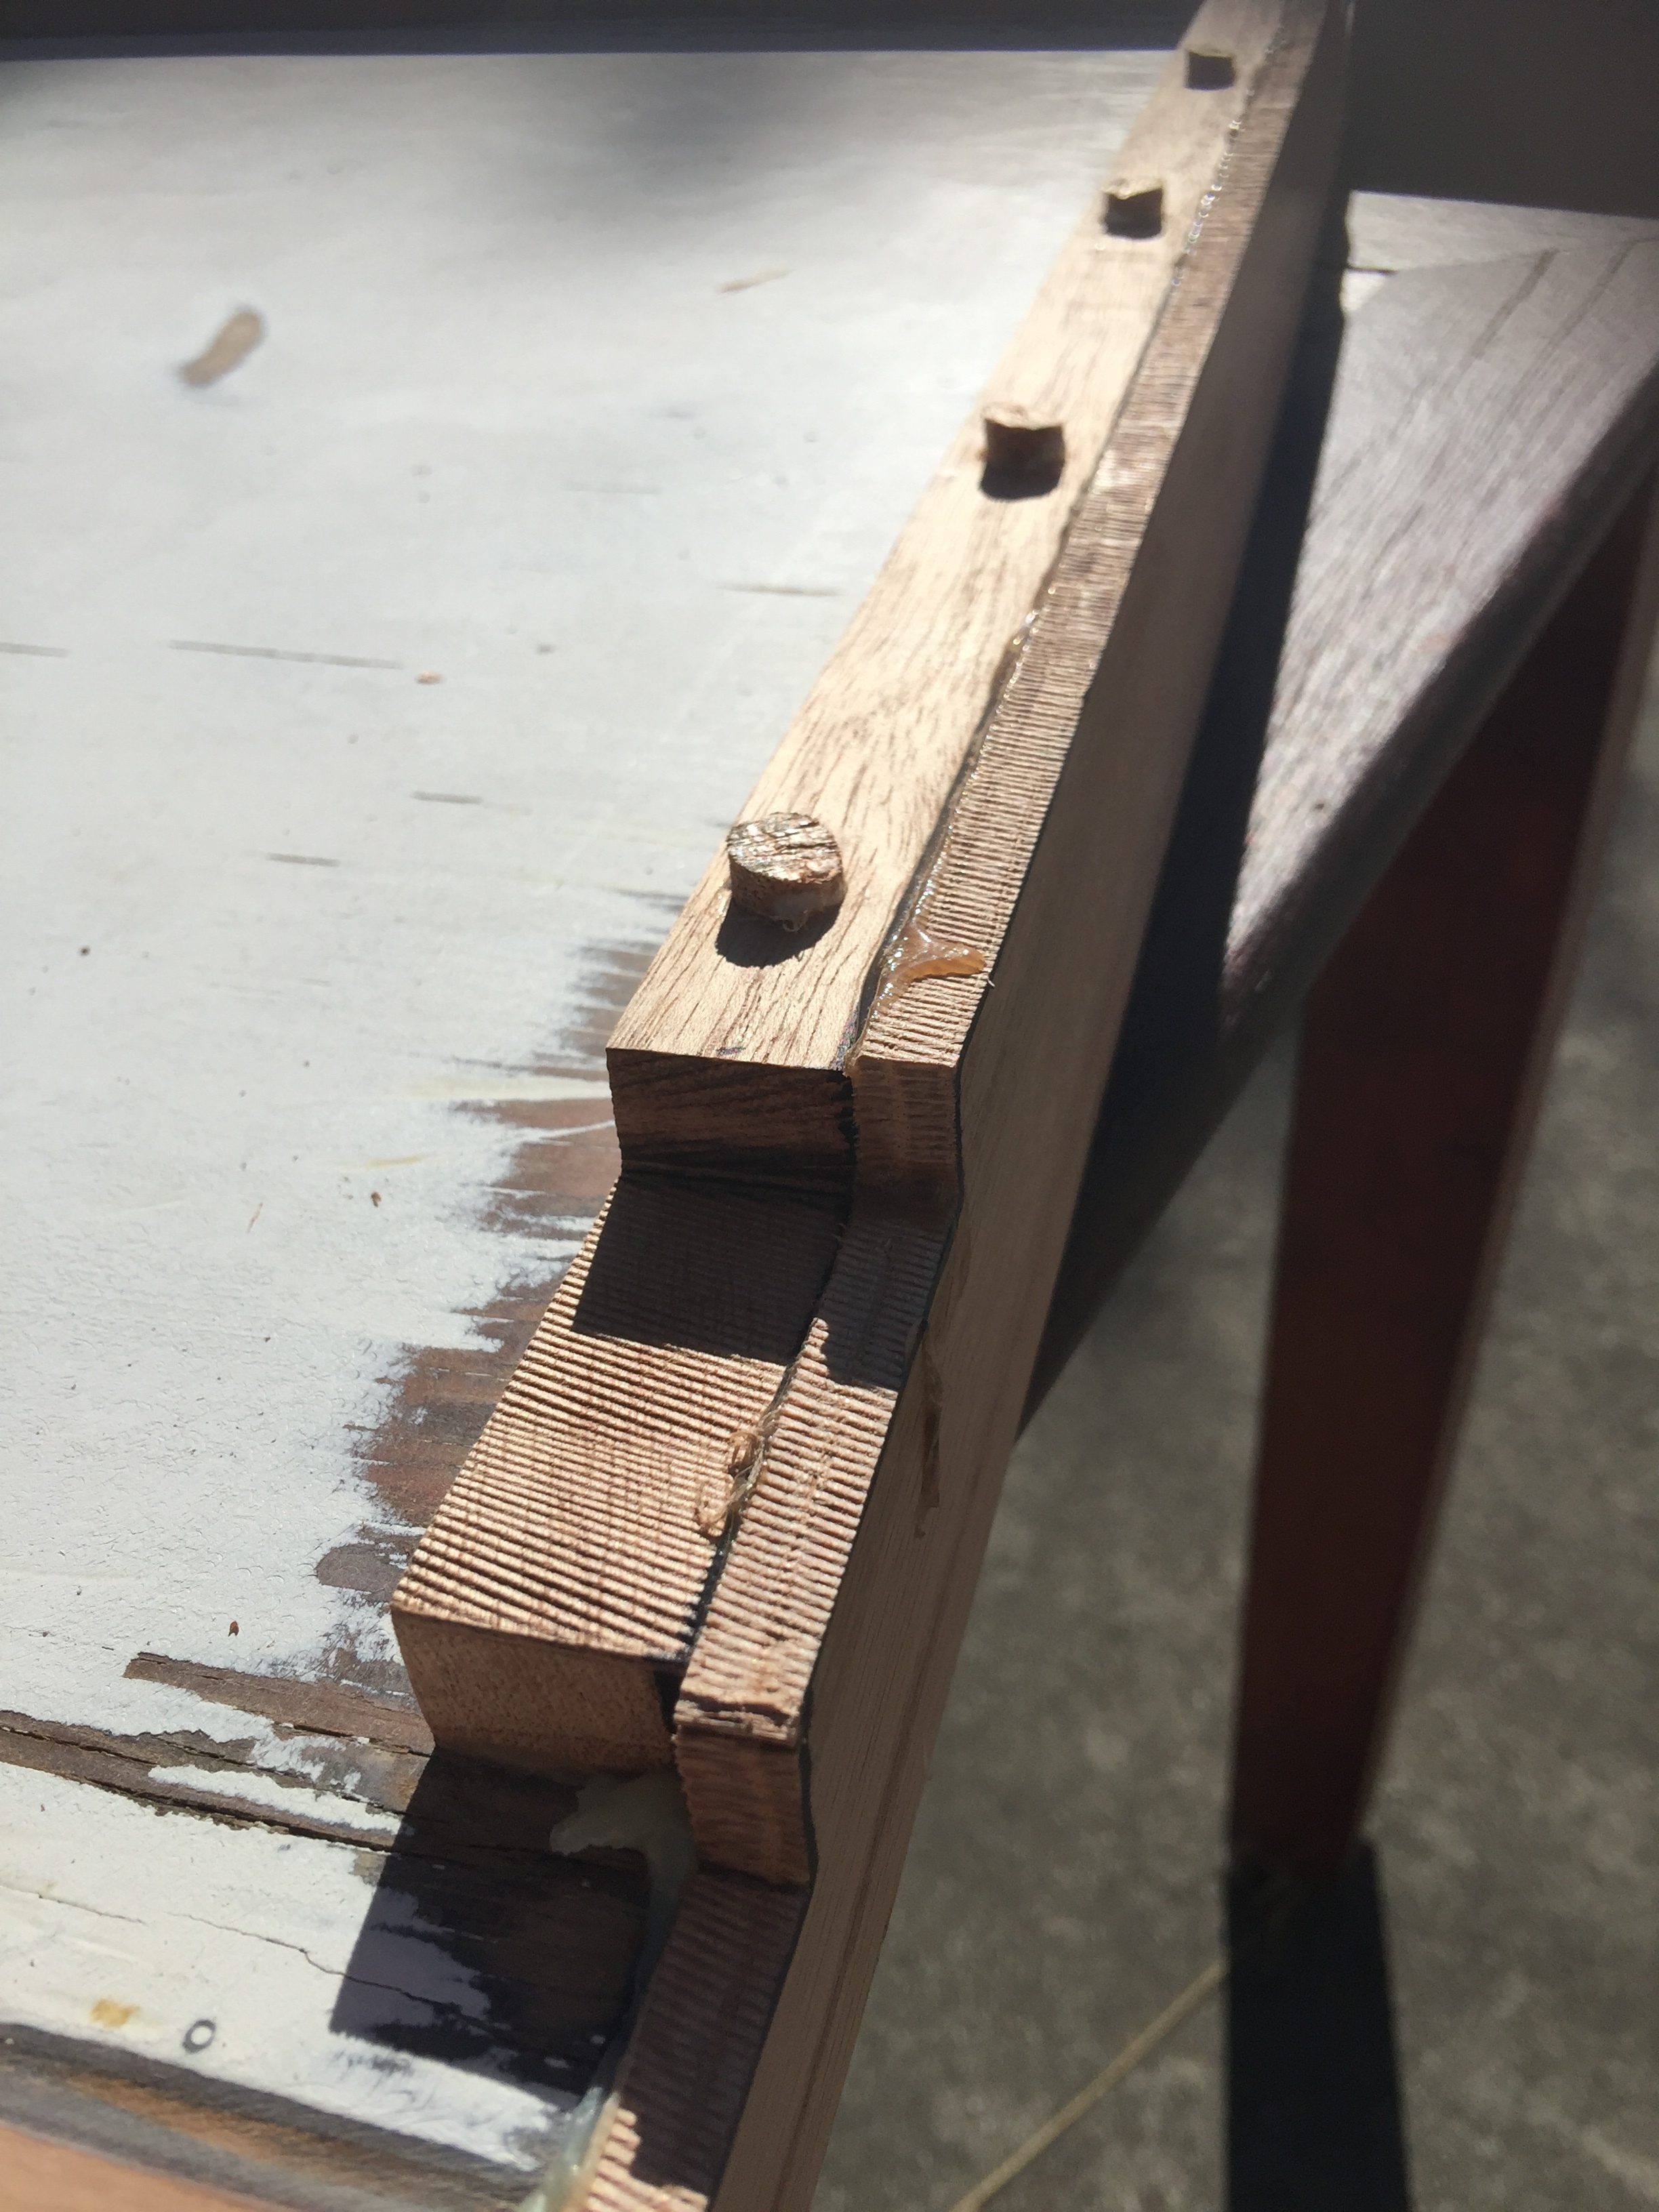
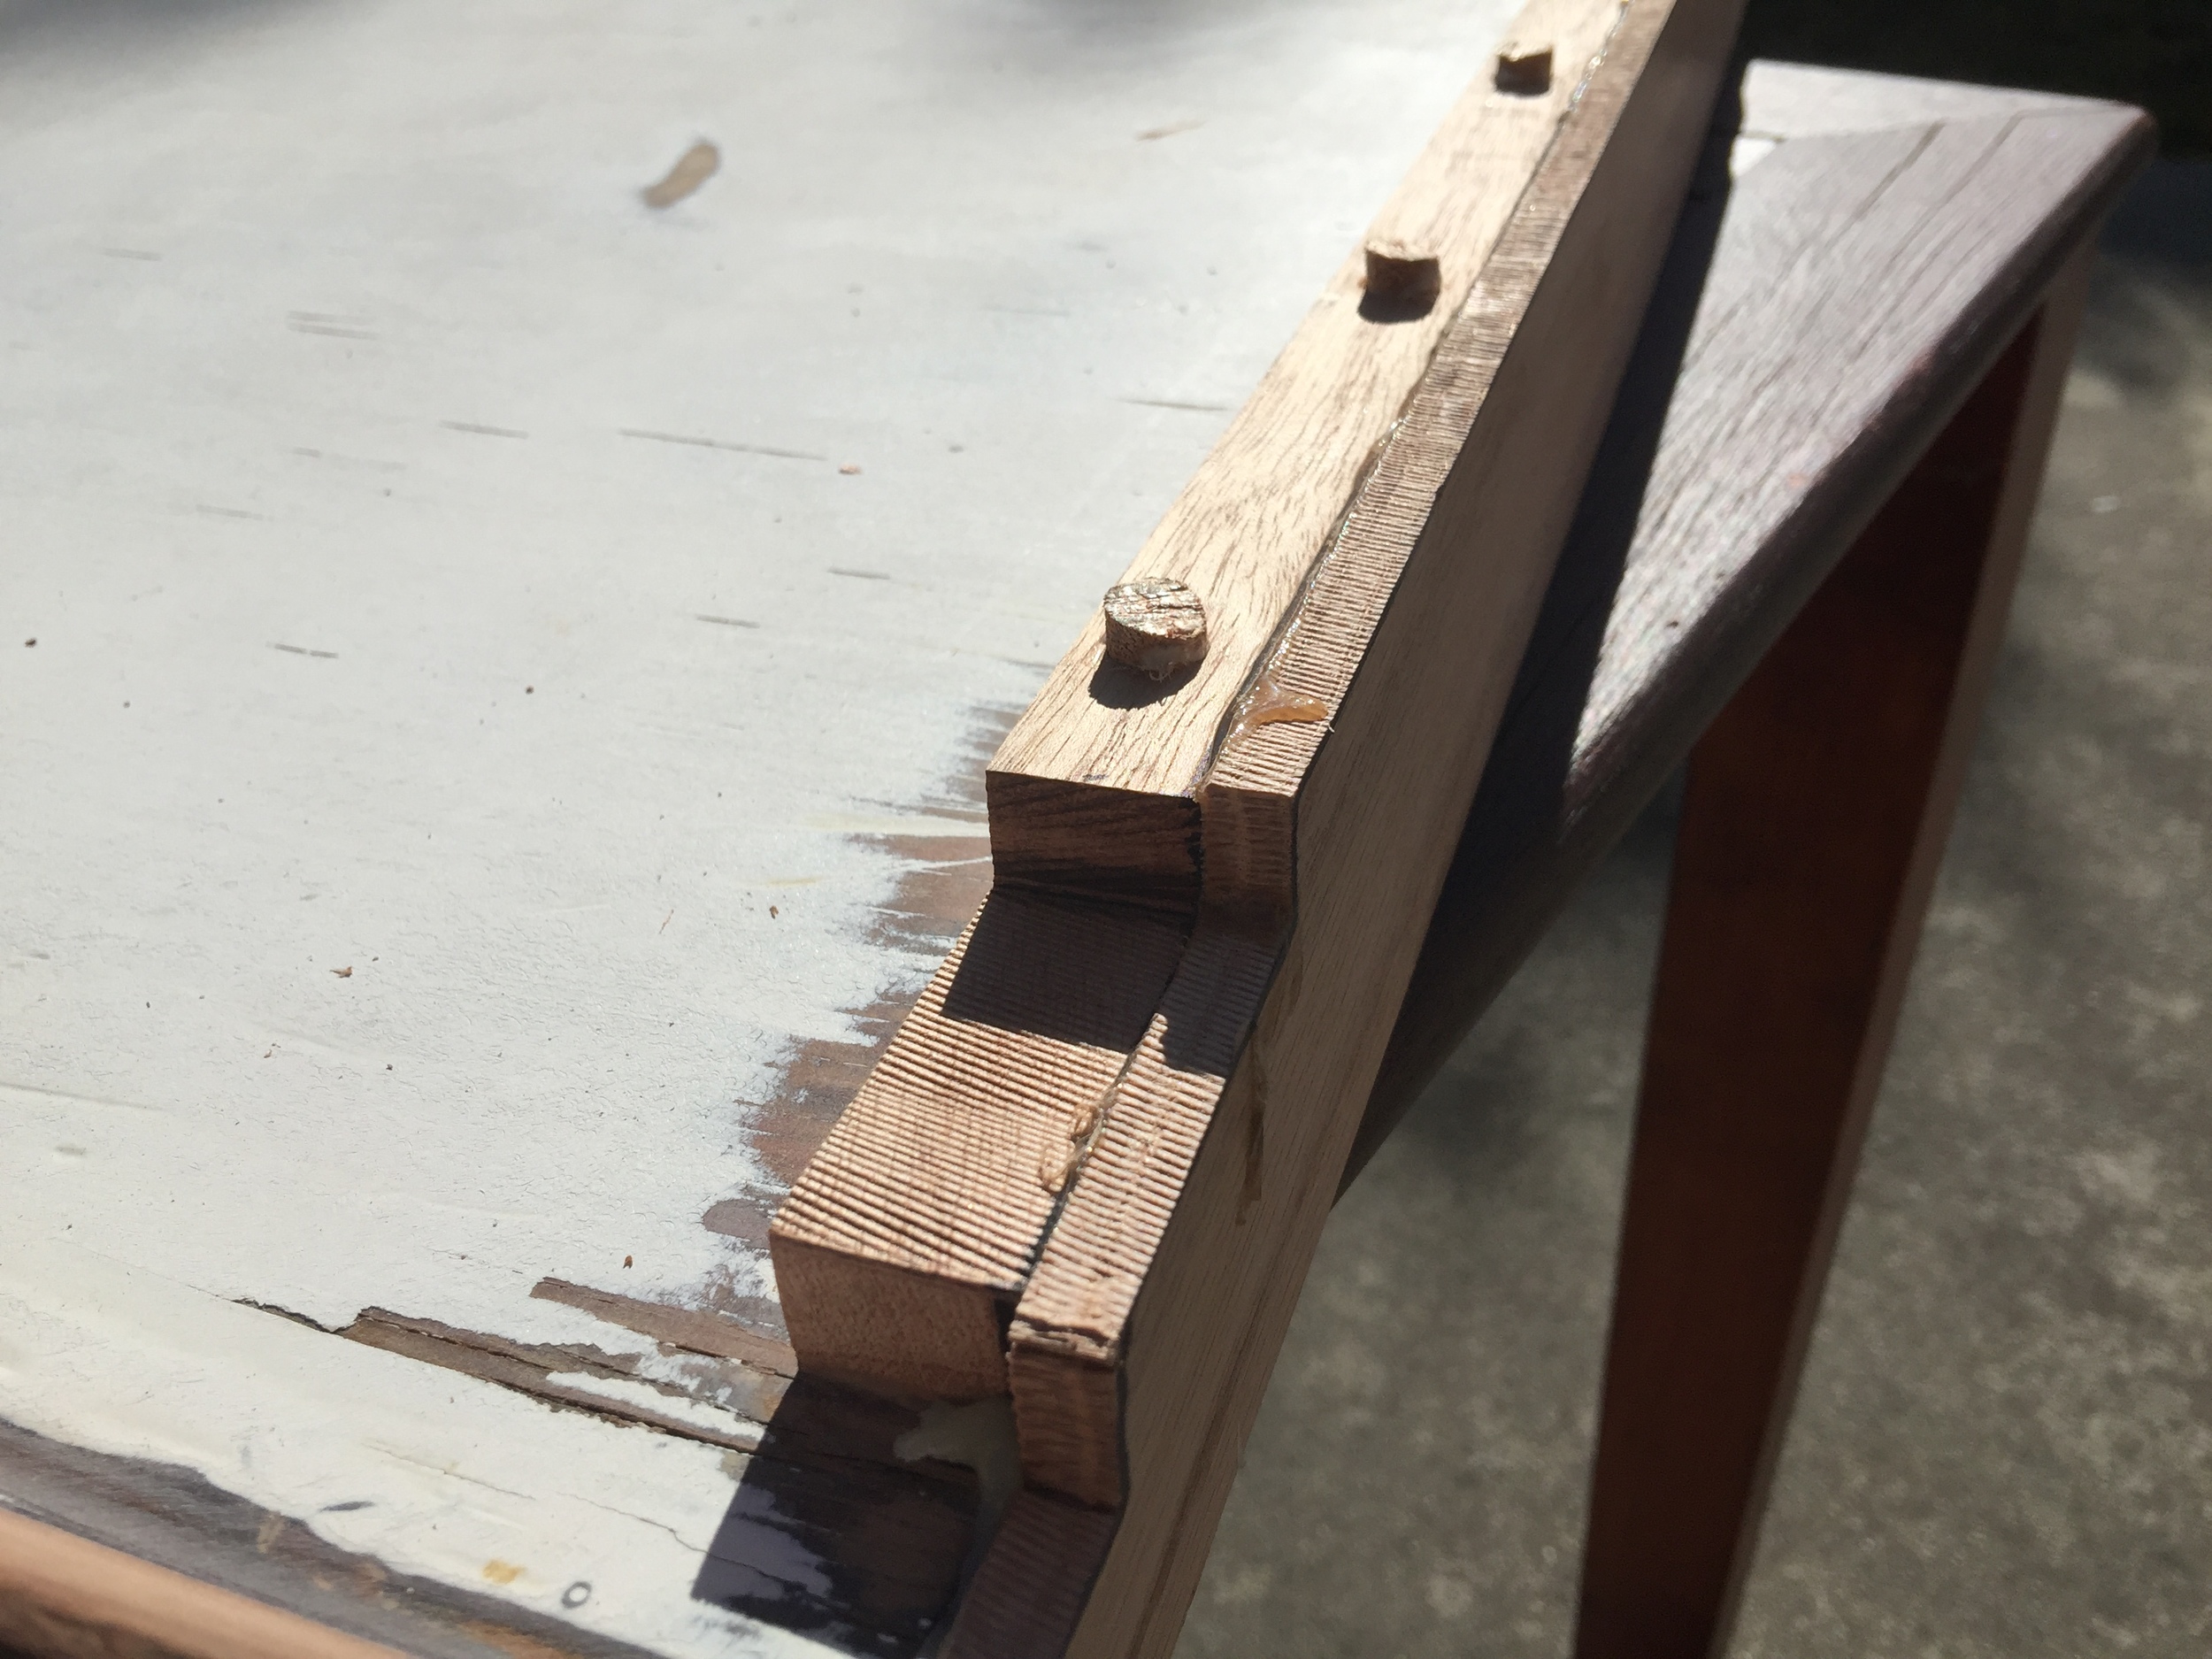
The front piece had been expertly attached to the hatch with some sort of tongue-in-groove (not the correct term) splice and epoxied into place so it was quite a tour de force to remove it, but I managed to do it, albeit it with some damage to the hatch that I had to repair. Bring on the Bondo! This is a filler, usually used on cars for repairs etc. but my friend John and a jar of it so I used it.
I sanded down the pieces that were sticking out, but some of the holes I filled with Bondo and let it set after which I sanded it down. It is quite easy to do with Bondo and it also sets in less than an hour so easy to work with (Bondo, make the check payable to "Anthonius P.N de Boer, thanks).
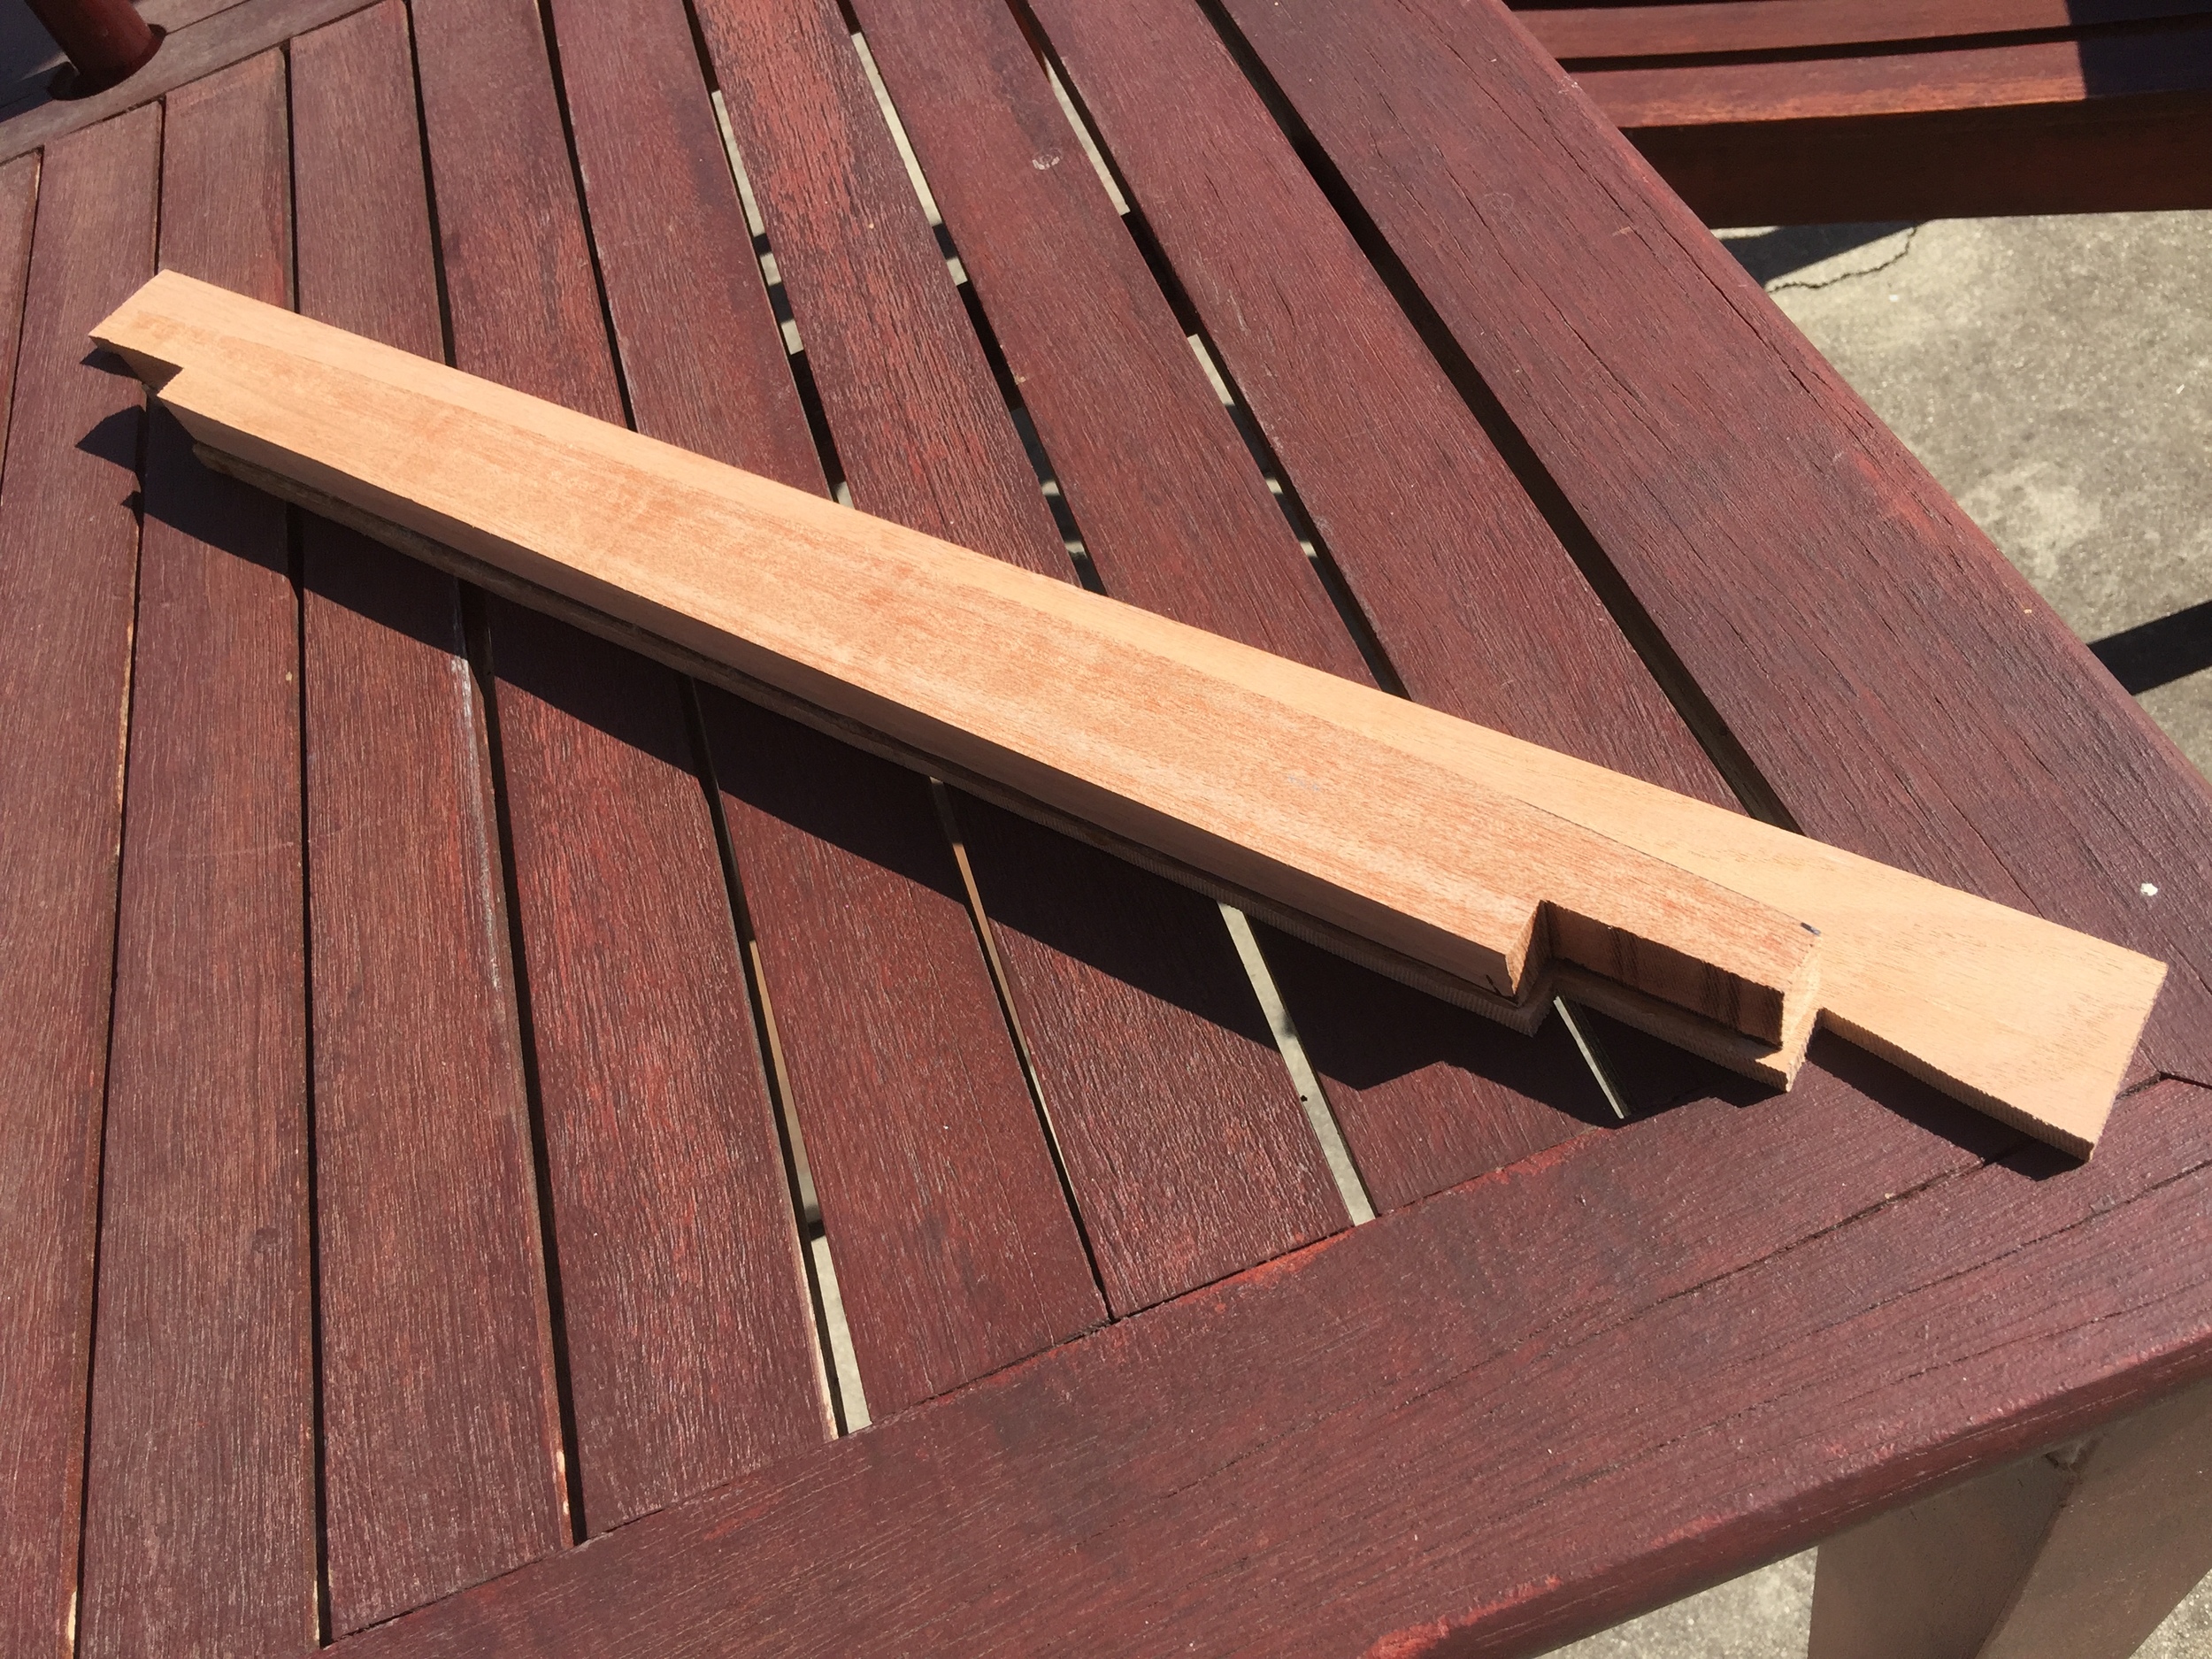
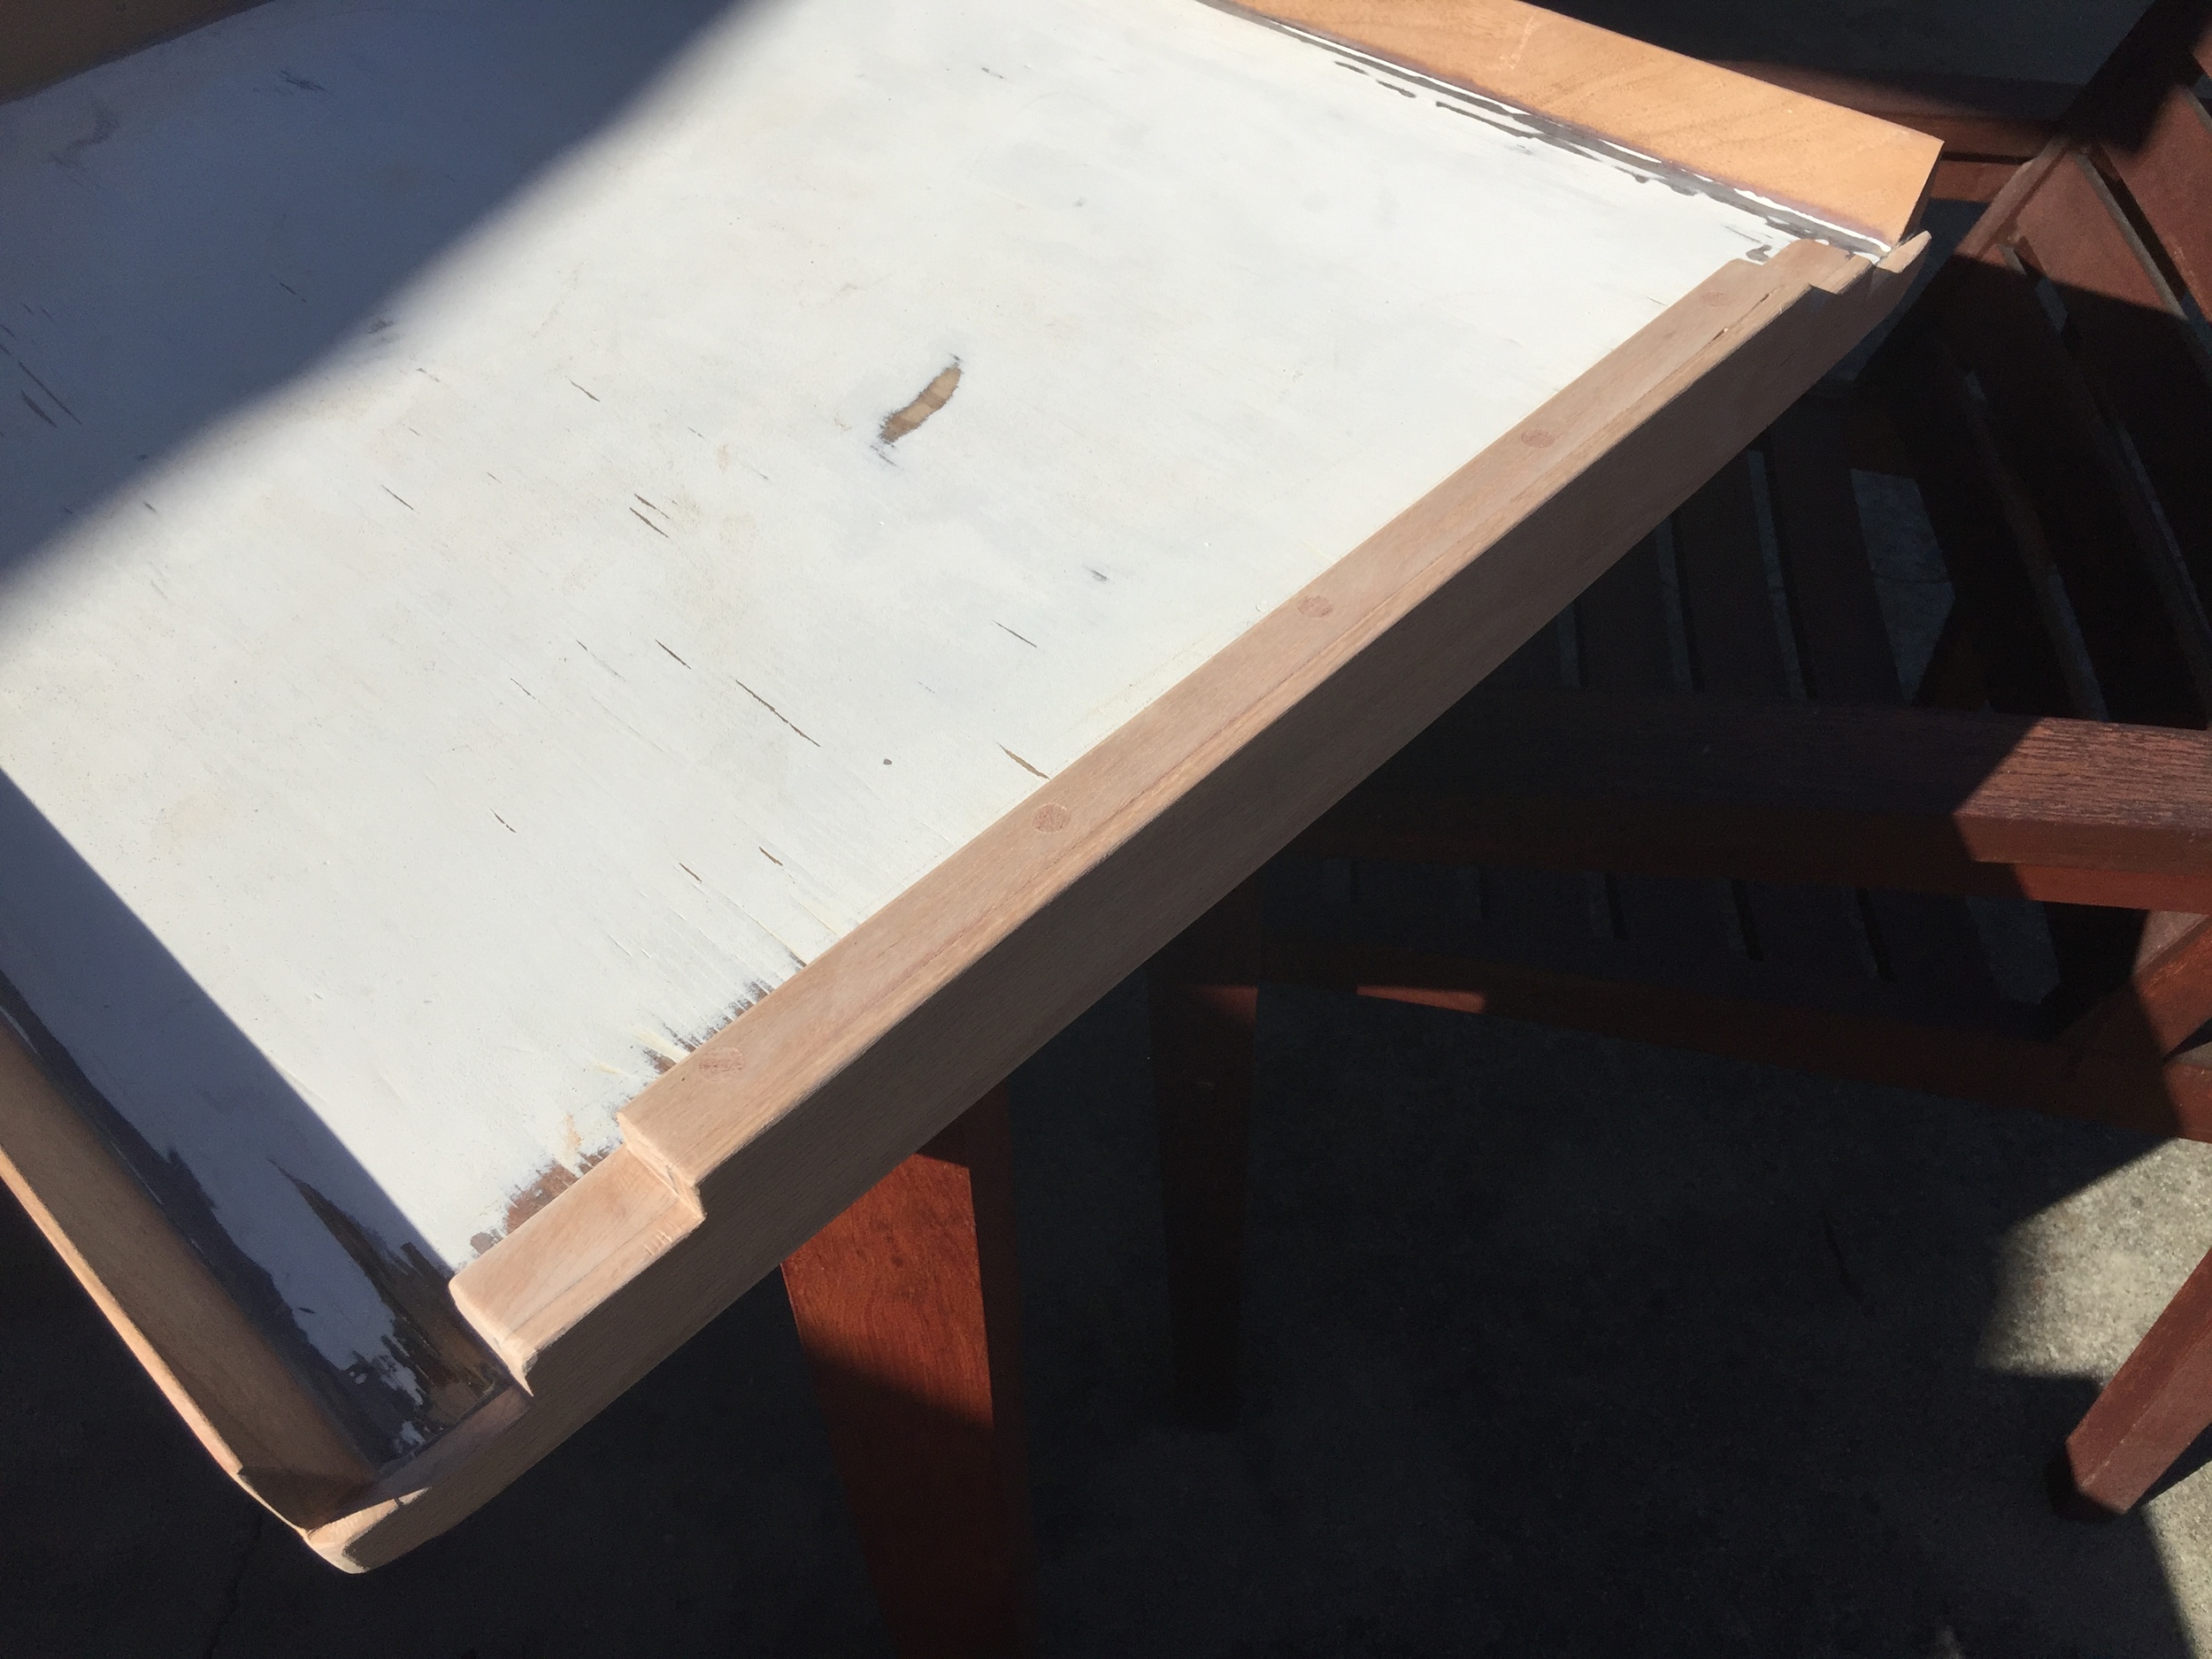
Next I had to make a piece to replace the piece i had removed. It was a little tricky since the hatch is curved but I managed to make the piece fit nicely after a lot of patient sanding and fitting.
The original hatch had a little rounded edge but I decided not to try to recreate that and just put a pice of wood covering the new piece and the edge. I only had a piece of red oak, which is far from ideal, since it is not that durable, but since I plan to replace the hatch at some point anyway, I went with it.
I epoxied the main piece to the hatch and also used 5 screws to hold it down. I counter sinked the screws and created plugs and sanded it all down flush.
Good...Now I had hatch that is in pretty good shape and only need to focus on painting and staining it.
Previously I had started to sand down the top which looked like it had been epoxied since it was quite tough to sand it down. I probably should not have bothered with sanding it down to the wood and just did a light sanding, but it was too late for that. I had actually sanded it down so hard in certain places, that there were now holes and indentations in the wood...So, time for Bondo again!
Now I was ready for staining and painting. I was going to use the regular stain I use for all my wood and regular white paint for the inside of the hatch, but for the outside I decided to use Epoxy again, since the rest of the deck is also epoxied. I got the west marine epoxy system and on suggestion from my friend Leif, I simply added white coloring to the epoxy to get the painted white like the rest of my deck.
The first coat of epoxy was rolled on and it started to pull holes which were hard to get rid of.
The coverage was also not great so I ended up putting on about 5 coats of epoxy but the end result looked absolutely AWESOME!
Next time...On MyKettenburg.com.
See how my Kettenburg goes from THIS:
To THIS:


